
To take a picture with your Macbook, simply open the Camera app from the applications folder. Click the camera icon within the app to capture your photo.
Want to capture memorable moments or use your Macbook for video conferences? Taking a quick snapshot is a breeze with your built-in camera. Whether it’s for work or play, knowing how to operate your Macbook camera opens up a world of possibilities.
Follow these easy steps to snap pictures and record videos effortlessly. Let’s dive into the process of capturing photos on your Macbook and unleash the full potential of your device’s camera feature. So, let’s get started with capturing those precious moments with your Macbook!
Credit: www.parallels.com
Checking The Camera Settings
When it comes to taking a picture with your MacBook, it’s essential to ensure that your camera settings are properly configured. Checking and adjusting the camera settings can greatly improve the quality of your photos and enhance your overall photography experience.
Adjusting The Camera Resolution
To capture high-quality images, adjusting the camera resolution is crucial. Higher resolution settings result in clearer and more detailed photos. To do this, simply open the camera app on your MacBook, navigate to the settings, and select the resolution option. Choose the highest resolution available for the best results.
Setting Up The Camera Timer
Setting up the camera timer can be incredibly helpful, especially if you want to be in the picture yourself or need a few seconds to compose the shot. To enable the camera timer on your MacBook, open the camera app, locate the timer option in the settings, and choose the desired delay. This feature allows you to set the timer and get yourself ready for the perfect shot.

Credit: www.wikihow.com
Taking A Picture Using The Photo Booth App
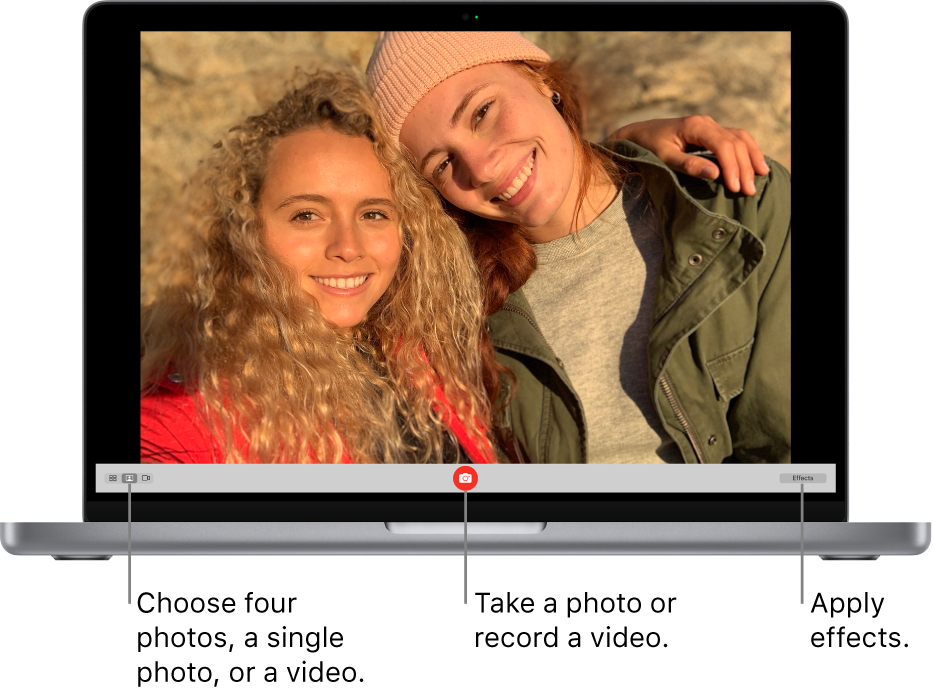
To take a picture with your MacBook, you can use the Photo Booth app. Simply open the app, position yourself in front of the camera, and click the capture button to snap the picture. It’s a quick and convenient way to capture memorable moments on your MacBook.
Opening The Photo Booth App
To take a picture using your MacBook, you can utilize the built-in Photo Booth app. This app is user-friendly and offers various features to enhance your photo-capturing experience.
Selecting The Camera
Upon opening the Photo Booth app, you will have the option to select which camera you want to use. MacBook devices typically have a front-facing and a rear-facing camera. Make sure to choose the desired camera for your picture.
Taking The Picture
Once you have selected the appropriate camera, it is time to capture the image. Position yourself or your subject accordingly, then click on the camera icon displayed on the screen to take the picture.
Using Quicktime Player To Capture An Image
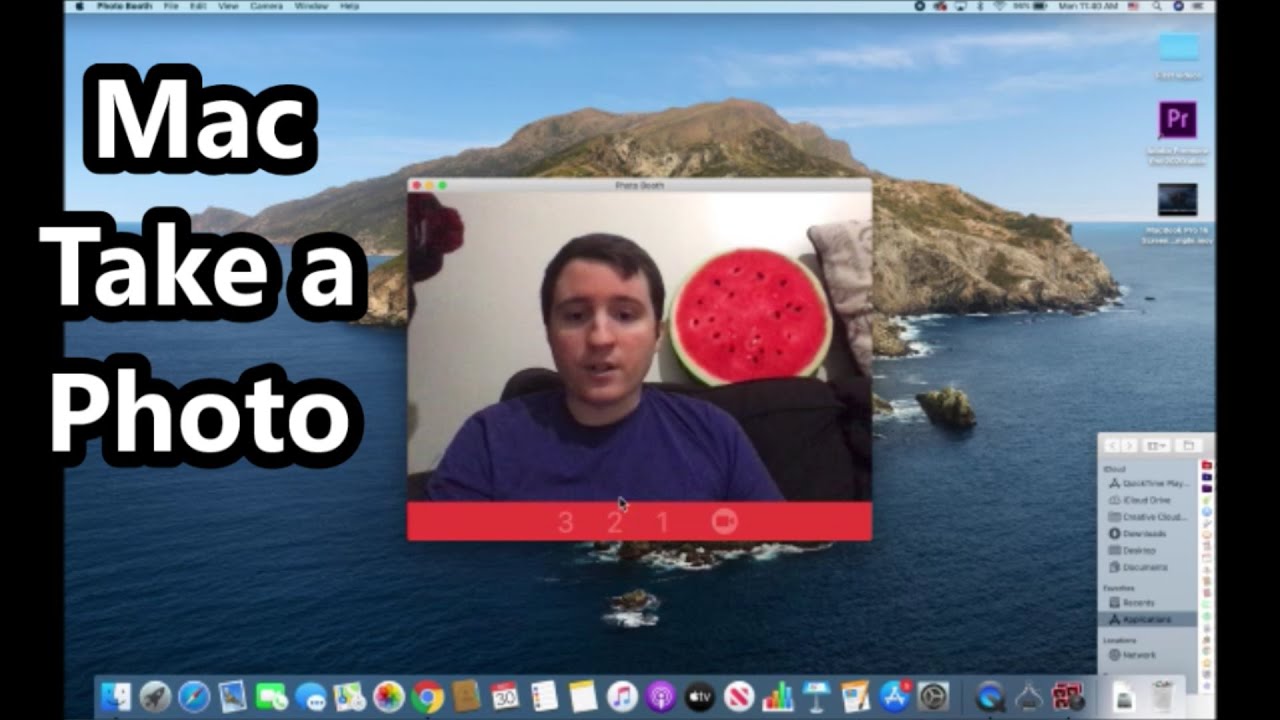
To capture an image using QuickTime Player on your Macbook, open the application and go to the “File” menu. Choose “New Movie Recording,” then adjust the settings to show the image you want to capture. Finally, click on the red record button to take a picture.
Opening Quicktime Player
To start, launch QuickTime Player on your Macbook from the Applications folder.
Selecting New Movie Recording
Click on File in the top menu bar, then select New Movie Recording.
Adjusting The Camera
Find the small drop-down arrow next to the recording button, click it and choose your Macbook’s built-in camera.
Capturing The Image
Position yourself in front of the camera, then click the red record button to take a snapshot.
Taking A Screenshot Of Your Screen
Using Keyboard Shortcuts
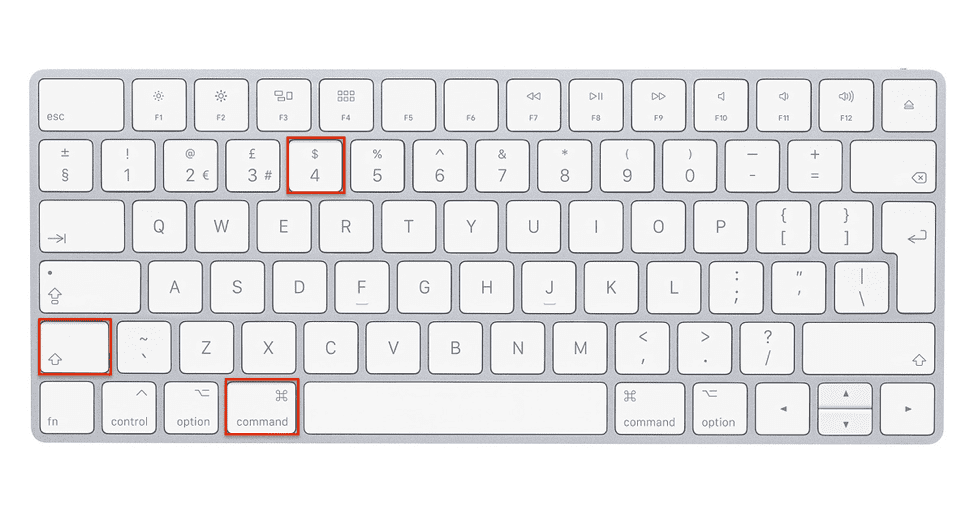
If you want to capture a snapshot of your entire screen, simply press Command + Shift + 3 simultaneously. Your Macbook will automatically save the screenshot as a file on your desktop. To capture a specific portion of your screen, press Command + Shift + 4 and then click and drag to select the area you wish to capture.
Using The Screenshot App
If you prefer a more customizable approach to taking screenshots, use the built-in Screenshot app on your Macbook. To access this app, press Command + Shift + 5. This will open the Screenshot app, where you can choose to capture the entire screen, a selected window, or a specific portion of the screen. You can also set a timer or adjust other settings before capturing the screenshot.
Using Other Third-party Apps
To capture images on your Macbook, utilize third-party apps for enhanced photography features and editing tools. Explore various options available on the App Store to enhance your picture-taking experience on your Macbook effortlessly.
Exploring Third-party Camera Apps
If you’re looking for more advanced features or additional functionality, using third-party camera apps on your MacBook can enhance your photography experience. These apps offer a wide range of features like filters, manual controls, and other editing tools that can help you capture stunning photos. Exploring these apps opens up a whole new world of possibilities to unleash your creativity and take your photography skills to the next level.
Downloading And Installing A Camera App
To get started, you’ll need to download and install a camera app from the App Store. Here’s a step-by-step guide to help you:
- Open the App Store on your Macbook.
- Search for the camera app you’re interested in.
- Select the app that meets your requirements and click on the “Get” or “Install” button.
- Wait for the app to download and install on your Macbook.
Once the installation process is complete, you’ll find the app in your Applications folder or Launchpad. Now, you’re ready to start taking pictures with the third-party camera app of your choice.
Taking A Picture With The Third-party App
Using a third-party camera app is as easy as using the built-in camera on your Macbook. Here’s how you can capture a picture using the app:
- Launch the camera app from your Applications folder or Launchpad.
- Allow the app access to your Macbook’s camera by granting the necessary permissions.
- Adjust the camera settings according to your preferences, such as resolution, exposure, or flash.
- Compose your shot by framing the subject within the camera app interface.
- When you’re ready, click on the capture button to take the picture.
- The app may offer additional features like filters or editing tools to enhance your photo. Feel free to explore these options to customize your image further.
Once you have captured the perfect shot, you can save it to your Macbook’s Photos app or share it directly on social media platforms, emails, or messaging apps.
Using third-party camera apps on your Macbook gives you the flexibility to experiment with different settings and styles. Whether you’re an amateur photographer or a professional, these apps provide an array of options to improve your photography skills and capture moments that leave a lasting impression.
Credit: m.youtube.com
Frequently Asked Questions Of How Do I Take A Picture With My Macbook
How Do I Take A Picture Using The Built-in Camera On My Macbook?
To take a picture using the built-in camera on your Macbook, simply open the “Camera” app or any other camera application of your preference. Position yourself or the desired subject in front of the camera, and click the capture button.
Your photo will be saved automatically on your device.
Can I Use Third-party Apps For Taking Pictures With My Macbook?
Yes, you can use third-party apps for taking pictures with your Macbook. There are various camera apps available on the Mac App Store that offer additional features and options for capturing photos. Simply search for “camera apps” on the App Store and choose the one that best fits your needs.
How Can I Adjust The Camera Settings On My Macbook For Better Picture Quality?
To adjust the camera settings on your Macbook for better picture quality, you can use the built-in “Camera” app or any other camera application that provides manual controls. Within the app, you can adjust settings such as exposure, focus, white balance, and more to enhance the overall image quality.
Experiment with different settings to find what works best for you.
Conclusion
Taking a picture with your Macbook is a simple and convenient process. By using the built-in camera app and familiarizing yourself with the various features, you can capture high-quality images effortlessly. Whether it’s for professional purposes or personal use, your Macbook’s camera provides a reliable and user-friendly option for all your photo needs.
0 comments