

To build a gaming laptop, select compatible components, including CPU, GPU, RAM, storage, and cooling system. Assemble them carefully for optimal performance and gaming experience.
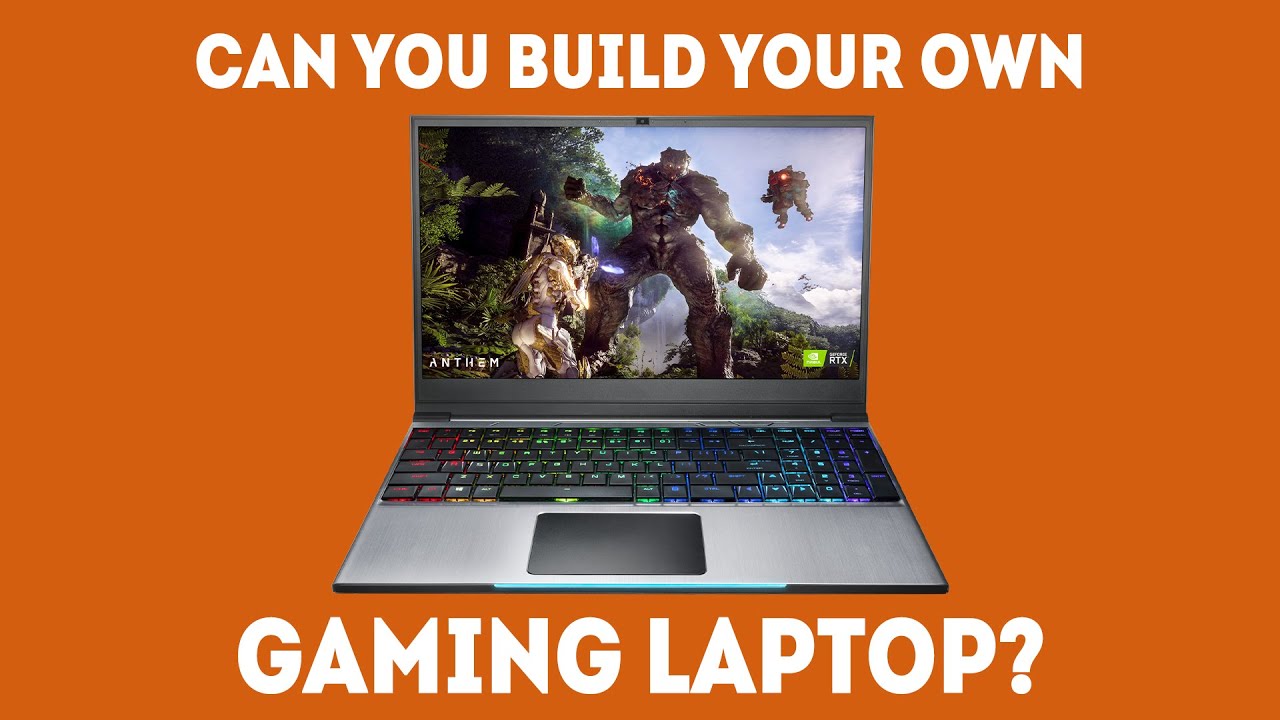
Are you a gaming enthusiast looking to build your ultimate gaming laptop from scratch? Building a gaming laptop can be a rewarding and cost-effective way to personalize your gaming experience. With the right components and careful assembly, you can create a powerful machine that meets your specific gaming needs.
In this guide, we will walk you through the steps involved in building a gaming laptop, from selecting the right components to assembling them into a functional and high-performance gaming rig. Whether you are a novice or an experienced builder, building a gaming laptop can be a fun and exciting project that allows you to tailor your gaming experience to your preferences.
Choosing The Right Components
When it comes to building a gaming laptop, choosing the right components is crucial for ensuring top-notch performance and a seamless gaming experience. From the processor to the power supply, each component plays a significant role in determining the overall capabilities of your gaming rig. Here’s a breakdown of the key components to consider when building a gaming laptop.
Processor
The processor, or CPU, is the heart of a gaming laptop. It handles all the calculations and instructions necessary for running games smoothly. When selecting a processor, consider factors such as clock speed, core count, and architecture to ensure optimal performance.
Graphics Card
The graphics card, or GPU, is responsible for rendering the visuals in games. It determines the quality of graphics and frame rates. Look for a high-performance GPU with ample VRAM to handle the latest gaming titles with ease.
Memory
Memory, also known as RAM, is essential for storing temporary data that the processor needs to access quickly. Opt for a sufficient amount of fast and reliable RAM to prevent lags and ensure smooth multitasking while gaming.
Storage
When it comes to storage, consider both speed and capacity. Solid State Drives (SSDs) offer faster load times and boot speeds, while traditional Hard Disk Drives (HDDs) provide larger storage capacities at a lower cost. Utilizing a combination of SSD and HDD can offer the best of both worlds.
Power Supply
Choosing a quality power supply unit (PSU) is paramount for ensuring stable and reliable power delivery to all components. Make sure to select a PSU with sufficient wattage, high efficiency, and reputable build quality to safeguard your gaming laptop from power-related issues.
Credit: www.youtube.com
Assembling The Chassis
When it comes to building a gaming laptop from scratch, assembling the chassis is a crucial step in creating a powerful and custom gaming rig. The chassis or case houses all the internal components of the laptop, providing structural support and ensuring proper airflow to keep the components cool during intense gaming sessions.
Preparing The Case
- Remove side panels and any unnecessary brackets from the case.
- Clean the case interior to ensure a dust-free environment for your components.
- Check for any sharp edges that may damage cables or components.
Mounting The Motherboard
- Ensure the standoffs in the case match the motherboard mounting holes.
- Gently place the motherboard on the standoffs, aligning with the I/O shield.
- Screw the motherboard into place securely, but avoid overtightening.
Installing The Power Supply
- Place the power supply unit in the designated area at the bottom of the case.
- Align the PSU with the mounting holes and secure it using screws.
- Connect the necessary power cables to the motherboard and other components.
Installing The Processor
When building a gaming laptop, installing the processor is a crucial step that requires precision and care to ensure optimal performance.
Preparing The Processor
Before installing the processor, ensure clean work surface and grounded to prevent static electricity damage.
Applying Thermal Paste
Apply a small amount of thermal paste on the center of the processor to facilitate better heat transfer.
Securing The Processor
- Align the processor with the socket and gently place it into position.
- Close the latch securely to secure the processor in place.
Adding The Graphics Card
Adding the Graphics Card is a crucial step in building a gaming laptop. The graphics card, also known as the GPU, is responsible for rendering high-quality visuals and ensuring smooth gameplay. In this section, we will discuss how to select the right graphics card for your needs, how to properly place it in the motherboard, and how to connect power to the card.
Choosing The Right Card
When choosing a graphics card for your gaming laptop, it’s important to consider factors such as budget, performance, and compatibility. Research the latest models and compare their specifications to determine the best fit for your gaming needs. Look for a card with ample VRAM, a high core clock speed, and support for the latest gaming technologies.
Placing The Card In The Motherboard
Before installing the graphics card, ensure that you have an available PCIe slot on the motherboard. Carefully align the card with the slot and gently press it down until it clicks into place. Secure the card with the retention bracket to prevent any movement or disconnection during use.
Connecting Power To The Card
Most modern graphics cards require additional power from the power supply unit (PSU). Locate the appropriate power connectors on the card and use the corresponding cables from the PSU to supply power. Ensure that the connections are secure and that the PSU can provide sufficient power for the card’s requirements.
Installing Memory
Installing Memory:
Upgrading the memory in your gaming laptop can greatly enhance its performance, allowing for smoother gameplay and faster multitasking capabilities. In this guide, we will walk you through the process of installing new RAM modules in your laptop, ensuring you choose compatible options and properly verify the installation.
Checking Compatibility
Before you begin the process of installing new memory in your gaming laptop, it’s crucial to check the compatibility of the RAM modules you wish to purchase. Not all laptops can accommodate all types or sizes of RAM, so it’s essential to ensure you choose the right one for your specific model.
To determine the compatibility, you can refer to your laptop’s user manual or visit the manufacturer’s website for detailed information on compatible RAM options. Additionally, you can use online tools or consult with knowledgeable professionals to ensure you make the right choice.
Inserting The Ram Modules
Once you have obtained the compatible RAM modules, you can proceed with the installation process. Follow these steps:
- Power off your laptop and unplug it from any power source.
- Locate the memory compartment door on the underside of your laptop. In most cases, it will be marked with a small icon representing memory.
- Using a screwdriver, carefully remove the screws securing the memory compartment door.
- Gently lift the door to expose the memory slots.
- Align the notch on the RAM module with the corresponding slot in the memory bay.
- Firmly but gently press the module into the slot until it clicks into place. Ensure that both sides of the module are securely attached.
- Repeat the process for any additional RAM modules you are installing.
Verifying Proper Installation
After you have inserted the new RAM modules, it is important to verify their proper installation and ensure your laptop recognizes the increased memory capacity. To do this, follow these steps:
- Replace the memory compartment door and secure it with the screws.
- Plug your laptop back into a power source and turn it on.
- Once your laptop has booted up, go to the system settings or “About” section to check whether the installed memory is detected.
- If the new RAM is not recognized, power off your laptop, unplug it, and double-check that the modules are securely inserted.
- If the issue persists, consult the manufacturer’s documentation or seek professional assistance.
By following these steps, you can successfully install new memory in your gaming laptop, optimizing its performance and ensuring a smoother gaming experience. Remember to always choose compatible RAM modules and verify their proper installation to harness the full potential of your gaming laptop.
Setting Up Storage
One crucial aspect of building a gaming laptop is setting up the storage system. Choosing the right drives, connecting and mounting storage devices, and formatting and partitioning them are vital steps that can significantly impact the performance and functionality of your gaming laptop. In this article, we will guide you through these essential processes, enabling you to optimize your gaming laptop’s storage capacity and improve your gaming experience.
Choosing The Right Drives
When it comes to choosing the drives for your gaming laptop, there are a few factors to consider. First, you need to determine the type of drive you want to use: solid-state drive (SSD) or hard disk drive (HDD). SSDs offer faster read and write speeds, allowing games to load quickly, while HDDs provide larger storage capacities at a lower cost. Ultimately, you may want to consider a combination of both drives, using an SSD for your operating system and frequently played games, and an HDD for storing larger files and less frequently accessed games.
| Drive Type | Advantages | Disadvantages |
|---|---|---|
| SSD | Faster read and write speeds | Smaller storage capacities |
| HDD | Larger storage capacities | Slower read and write speeds |
Connecting And Mounting Storage Devices
Once you have chosen the drives, the next step is to connect and mount them in your gaming laptop. Most laptops have dedicated drive bays or slots specifically designed to accommodate storage devices. To ensure proper installation, consult your laptop’s manual to identify the appropriate location and method of connecting the drives. Typically, you will need to use screws or custom brackets to securely mount the drives. Once mounted, be sure to connect the drives to the appropriate SATA ports on the motherboard using the supplied cables.
Formatting And Partitioning
Before you can start using your newly installed drives, you need to format and partition them. Formatting prepares the drives for use by organizing the file system, while partitioning allows you to divide the drive into separate sections for better organization and efficiency. To format and partition your drives, you can use the built-in disk management tools in your operating system. Depending on the size of your drives, you may want to create separate partitions for your operating system, games, and personal files. This segmentation can help optimize performance and make it easier to manage your data.
Congratulations! You have successfully set up the storage system for your gaming laptop. By choosing the right drives, connecting and mounting them properly, and correctly formatting and partitioning them, you have optimized the storage capacity of your laptop and ensured smooth gaming performance. Now, it’s time to install your favorite games and embark on exciting gaming adventures!
Connecting Peripherals
When it comes to building a gaming laptop, connecting peripherals is a crucial step to ensure your gaming experience is seamless and optimized. From setting up the keyboard and mouse to connecting external hardware, this guide will walk you through the process of making your gaming laptop ready for action.
Attaching Keyboard And Mouse
First, detach your gaming keyboard and mouse from their packaging. Locate the USB ports on your laptop. The USB ports are usually located on the sides or the back of the laptop. Insert the USB connector of your keyboard and mouse into the available USB ports. Once connected, your laptop should automatically recognize the input devices, allowing you to use them right away.
Setting Up Audio
To set up audio for your gaming laptop, plug in your headphones or speakers into the audio jack. Your laptop may also have additional audio ports, such as a microphone jack or separate input and output jacks. Make sure to match the corresponding audio cables to the appropriate jacks for optimal sound quality. Once connected, adjust the volume settings through the system preferences to ensure your audio is working as desired.
Connecting External Hardware
If you have external hardware such as a gaming controller, external storage, or a gaming steering wheel, connect them to your laptop using the available ports. For example, if you have a gaming controller, locate the USB port and plug in the controller. Ensure that your laptop recognizes the external hardware, and adjust the settings as needed to optimize your gaming experience with the additional peripherals.
Credit: www.youtube.com
Installing The Operating System
To install the operating system on your gaming laptop, begin by inserting the installation media and booting the system. Follow the on-screen prompts to select the language, time, and keyboard layout. Then, choose the installation type and partition the disk before proceeding with the installation process.
Installing the Operating SystemCreating Installation Media
Creating a bootable USB/DVD with the OS installer is imperative for setup. Ensure the USB/DVD is formatted and has a storage capacity big enough. Disclaimer: To create a bootable USB, tools like Rufus or Etcher work well. On a Mac, use the Disk Utility app.
Booting From Usb/dvd
Simply insert the bootable USB/DVD into the laptop’s port to get started. Attempt a reboot of your system to initiate the boot process from the USB/DVD. Adjust the boot order in the BIOS settings to prioritize USB/DVD. Proceed to restart the system to commence booting from the installation media.
Following Installation Steps
Select ‘Install Now’ and proceed to choose the OS edition you desire. Enter the product key when prompted to authenticate your OS. Agree to the license terms and conditions to move ahead. Select the installation type – usually ‘Custom’ – to configure your desired settings. Ensure hardware drivers are installed and configure basic preferences post-installation.
Optimizing Performance
Enhance your gaming laptop’s speed and efficiency by focusing on key areas like Updating Drivers and Software, Overclocking, and Running Performance Benchmarks.
Updating Drivers And Software
Keep drivers up-to-date for graphics card and chipset. Install the latest software patches for improved compatibility and performance.
Overclocking
- Boost performance by increasing CPU and GPU clock speeds cautiously.
- Take precautions to avoid overheating and potential hardware damage.
Running Performance Benchmarks
- Measure your laptop’s speed and graphics capabilities.
- Identify bottlenecks and areas for improvement.

Credit: www.hp.com
Frequently Asked Questions Of How To Build A Gaming Laptop
What Are The Essential Components Needed To Build A Gaming Laptop?
To build a gaming laptop, you will need a powerful processor, a high-performance graphics card, sufficient RAM, a fast solid-state drive (SSD), a reliable power supply, and a high-quality display. These components work together to deliver an optimal gaming experience.
Is It Cheaper To Build A Gaming Laptop Instead Of Buying One?
Yes, building your own gaming laptop can be more cost-effective compared to buying a pre-built one. By selecting and sourcing the individual components yourself, you can often get better value for your money and customize your laptop to suit your specific gaming needs.
How Difficult Is It To Build A Gaming Laptop For A Beginner?
Building a gaming laptop can be a complex task, especially for beginners who are new to computer hardware. However, with proper research, clear instructions, and patience, it is definitely achievable. There are also online resources and communities that can provide guidance and support throughout the process.
Can I Upgrade The Components Of A Gaming Laptop In The Future?
Most gaming laptops come with upgradeable components, such as RAM and storage. However, the upgrade options may vary depending on the specific model and manufacturer. It is important to check the specifications and documentation of your laptop to determine the extent of upgradability.
Conclusion
Building a gaming laptop gives you the freedom to customize your gaming experience. By following the steps outlined in this guide, you can create a powerful machine tailored to your needs and preferences. With the right components and a bit of know-how, you can piece together a high-performance gaming laptop that will elevate your gaming experience to new heights.
0 comments