
To connect an external monitor to a MacBook Air, use a compatible cable like HDMI or DisplayPort. Adjust display settings on the Macbook for dual monitor setup.
In today’s digital age, the ability to connect your MacBook Air to an external monitor is a valuable skill. Whether you need a larger display for work, gaming, or simply want to extend your screen real estate, connecting an external monitor can greatly enhance your productivity and user experience.
By following a few simple steps and selecting the right cable, you can easily set up your MacBook Air to work with an external monitor in no time. This guide will walk you through the process of connecting an external monitor to your MacBook Air seamlessly and efficiently.
Check Compatibility
Before setting up your external monitor with your MacBook Air, it is essential to check the compatibility to ensure a smooth connection and optimal performance. From system requirements to supported connections, this step is crucial in seamlessly integrating your external monitor into your workflow.
System Requirements
When connecting an external monitor to your MacBook Air, it is essential to ensure that your device meets the necessary system requirements. The MacBook Air should be equipped with the proper hardware and software to support an external monitor, including a compatible operating system and adequate processing power.
Supported Connections
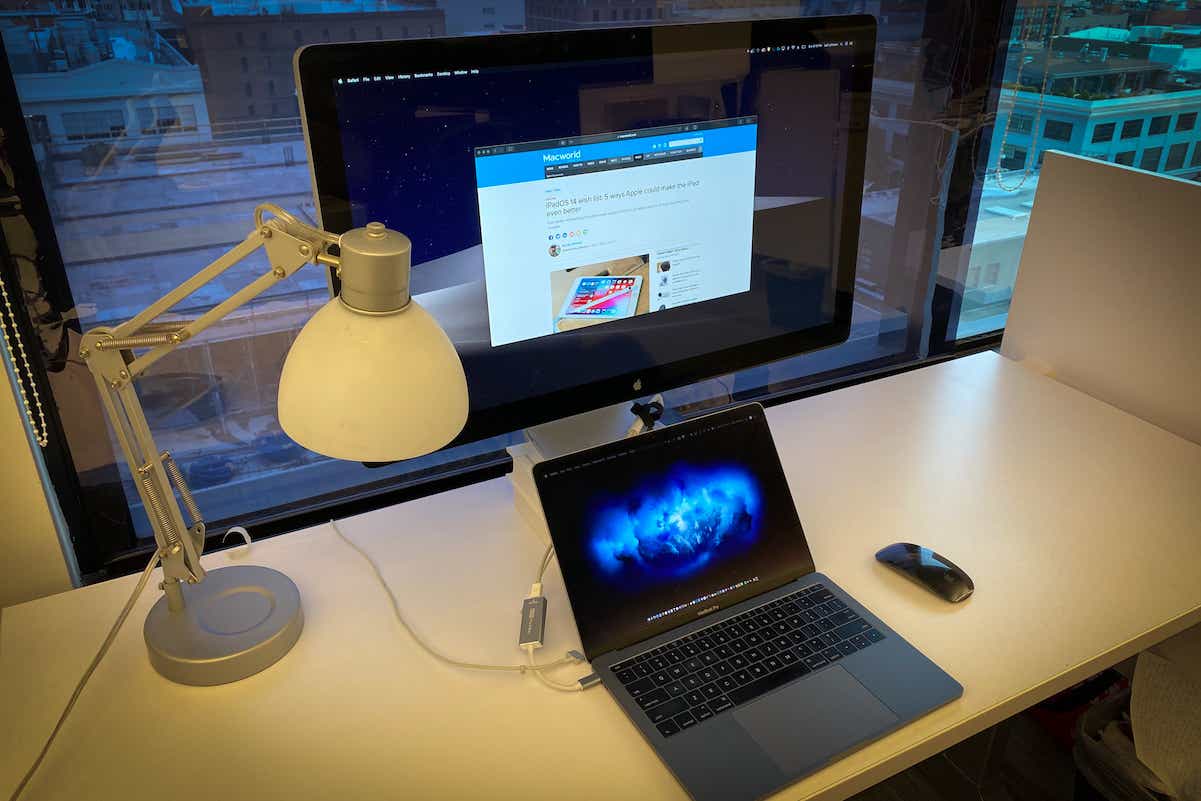
Understanding the supported connections between your MacBook Air and the external monitor is paramount. Check if your MacBook Air supports the necessary video output connections such as HDMI, Thunderbolt, or USB-C. Additionally, ensure that the external monitor is equipped with the corresponding input connections to establish a seamless connection.
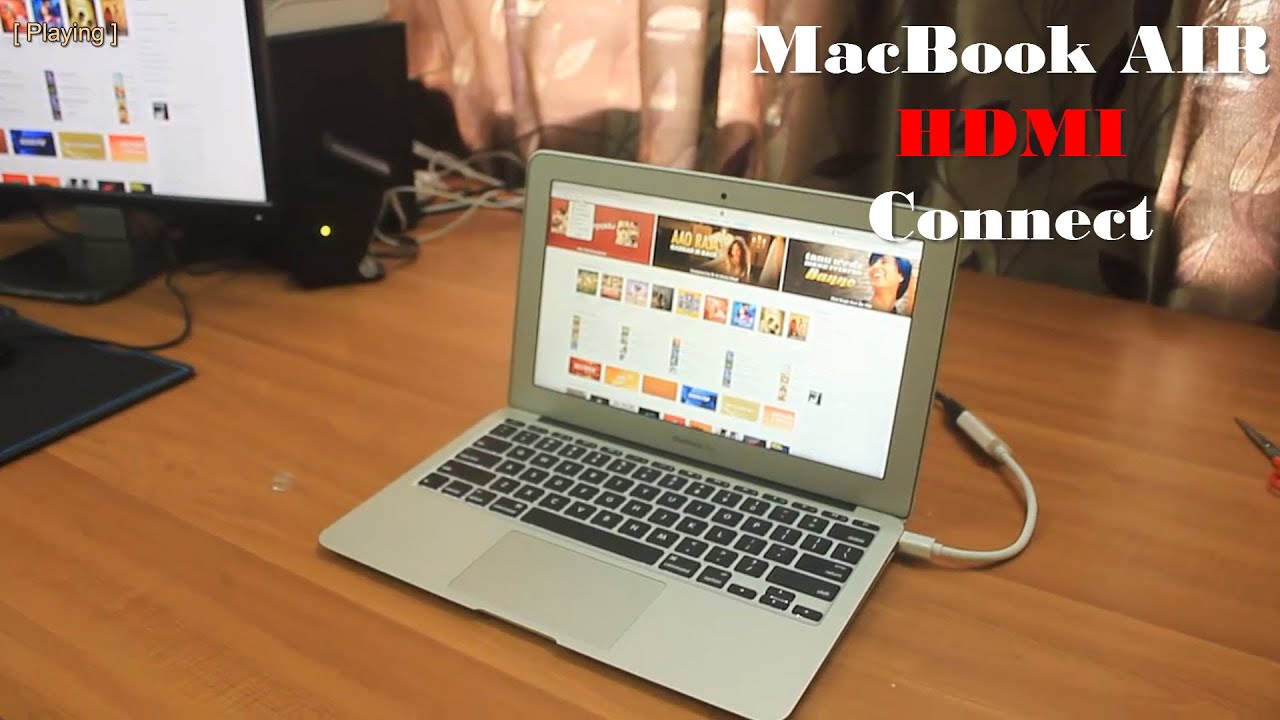
Credit: www.youtube.com
Choose The Right Monitor
Consider a monitor with suitable size and resolution for the best viewing experience.
Check if the monitor has the necessary ports and connectivity options compatible with your Macbook Air.
Set a clear budget to ensure you find the right monitor that meets your needs without overspending.
Gather Necessary Cables And Adapters
To connect an external monitor to your Macbook Air, gather the necessary cables and adapters to ensure compatibility between the devices. Check the specific ports on your Macbook Air and the monitor to determine which cables and adapters you require for a seamless connection.
Identify Required Connections
Before connecting an external monitor to your Macbook Air, it’s crucial to identify the type of connection your monitor supports.
- Verify the available ports on both your Macbook Air and the external monitor.
- Common connection types include HDMI, DisplayPort, USB-C, VGA, and DVI.
Purchase Or Borrow Cables And Adapters
To establish a successful connection, you may need to purchase or borrow additional cables and adapters.
- Check the required connections and select compatible cables and adapters.
- Ensure the cables and adapters you choose support both your Macbook Air and the external monitor.
Prepare Your Macbook Air
To properly connect an external monitor to your Macbook Air, you need to prepare your laptop for the connection process. This involves checking external display settings and ensuring a stable power supply to avoid any interruptions during the setup.
Check External Display Settings
Before connecting your Macbook Air to an external monitor, check the external display settings on your device. To do this, go to the Apple menu, click on “System Preferences,” and select “Displays” to customize the settings to your preference. Ensure the resolution and refresh rate are appropriate for the external monitor you are connecting.
Connect Power Adapter
When connecting an external monitor to your Macbook Air, it’s essential to connect the power adapter to your laptop. This helps in providing a stable power supply to both your MacBook Air and the external monitor, preventing any potential power-related issues during the connection process.
Connect External Monitor
Adding an external monitor to your Macbook Air can enhance your productivity and provide a larger screen for various tasks. Whether you want to extend your display or mirror it, the process is simple and straightforward. In this guide, we will walk you through the steps to connect an external monitor to your Macbook Air.
Identify Correct Ports
Before connecting your external monitor to your Macbook Air, it’s essential to identify the correct ports on both devices. The Macbook Air typically comes with a Thunderbolt or USB-C port, which can be used to connect to an external monitor.
To identify the correct ports on your Macbook Air, look for the Thunderbolt or USB-C symbol. These ports are usually located on the side or back of the device. If you are unsure, consult your Macbook Air user manual or visit the Apple support website for further assistance.
Plug In The Cables
Once you have identified the correct ports, it’s time to connect the external monitor to your Macbook Air. Follow these steps:
- Power off your Macbook Air and your external monitor to avoid any potential damage.
- Take the appropriate cable, depending on the ports available on your Macbook Air and external monitor. If your Macbook Air has a Thunderbolt port, you may need a Thunderbolt to HDMI or Thunderbolt to DVI cable. If your Macbook Air has a USB-C port, you may require a USB-C to HDMI or USB-C to VGA cable.
- Connect one end of the cable to the Thunderbolt or USB-C port on your Macbook Air. Ensure it is firmly plugged in.
- Connect the other end of the cable to the corresponding port on your external monitor. Again, make sure it is securely connected.
- Power on your Macbook Air and external monitor.
Adjust Display Arrangement
Once the cables are connected and both devices are powered on, you may need to adjust the display arrangement to optimize your viewing experience. Here’s how:
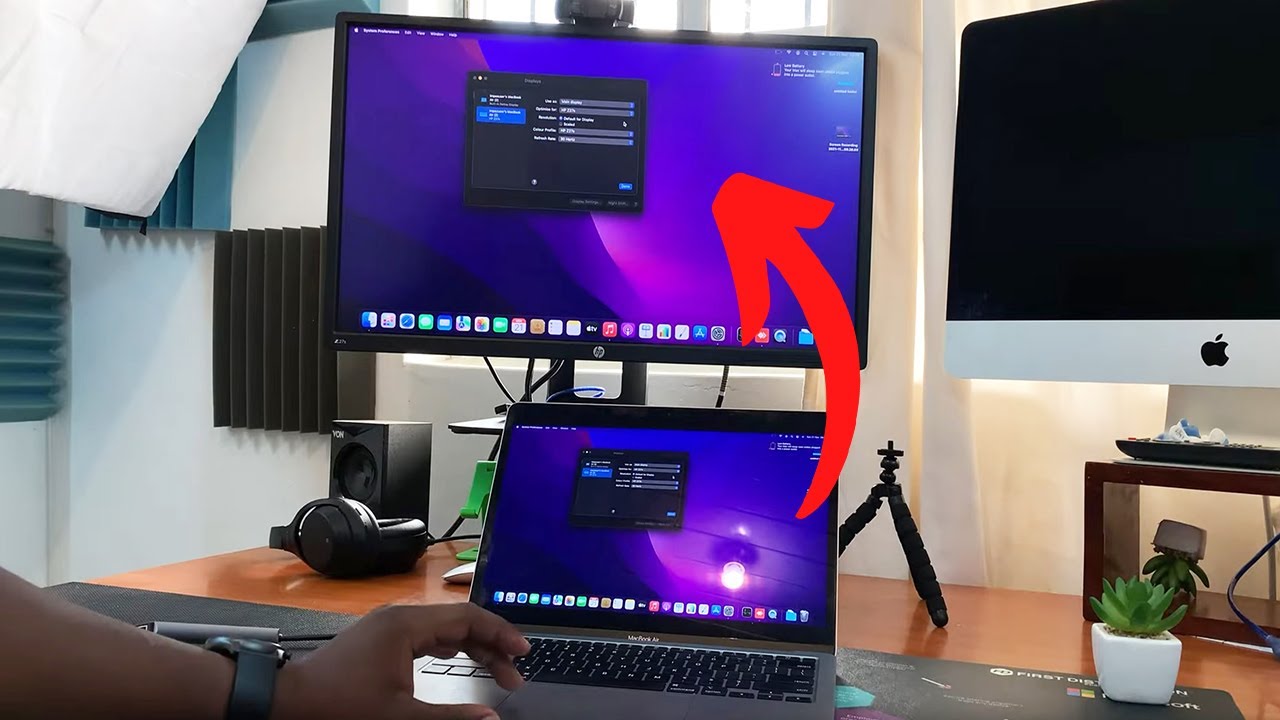
- Go to the Apple menu on your Macbook Air and select “System Preferences.”
- Click on “Displays.”
- Under the “Arrangement” tab, you will see a representation of your Macbook Air screen and the external monitor. Drag and arrange the displays to match their physical setup.
- If you have selected the “Mirror Displays” option, the same content will be displayed on both your Macbook Air screen and the external monitor. If you want to extend your display, uncheck the “Mirror Displays” option.
- Adjust the resolution and other display preferences according to your preferences.
By following these steps, you can easily connect an external monitor to your Macbook Air and enjoy a larger, more versatile workspace. Whether you are looking to multitask, engage in graphic design work, or simply want a larger viewing area, an external monitor can greatly enhance your computing experience.
Credit: m.youtube.com
Configure Display Settings
When it comes to connecting an external monitor to your MacBook Air, configuring the display settings is an essential step to ensure optimal viewing experience and productivity. By adjusting the display resolution, scaling, and arrangement of multiple displays, you can customize your workspace to enhance your workflow. In this article, we will explore how to configure display settings on your MacBook Air, with a focus on setting resolution and scaling as well as arranging multiple displays.
Set Resolution And Scaling
Setting the resolution and scaling of your external monitor is crucial in order to achieve clear and legible text and images. To adjust the resolution, follow these simple steps:
- Connect your external monitor to your MacBook Air using the appropriate cable.
- Once connected, go to the Apple menu and select “System Preferences.”
- In the System Preferences window, click on “Displays.”
- In the Displays window, you will see a list of available displays. Select the external monitor you want to configure.
- Under the “Display” tab, you can modify the resolution by dragging the slider. Choose the resolution that suits your needs.
- Additionally, you can adjust the scaling options to ensure that the content on your external monitor is displayed at the desired size. To do this, click on the “Scaled” option and choose the appropriate scaling level.
- Once you have set the desired resolution and scaling, close the Displays window. Your external monitor should now display content at the selected settings.
Arranging Multiple Displays
If you plan to connect multiple displays to your MacBook Air, arranging them correctly can significantly improve your workflow. Follow these steps:
- Start by connecting your external monitors to your MacBook Air.
- Go to the Apple menu and select “System Preferences.”
- In the System Preferences window, click on “Displays.”
- In the Displays window, you will see a list of available displays. Select the external monitors you want to arrange.
- Under the “Arrangement” tab, you will see a representation of your displays. Click and drag each display to the desired position.
- If you want to mirror your MacBook Air’s screen on one of the external displays, simply check the box that says “Mirror Displays.”
- Once you have arranged your displays according to your preferences, close the Displays window. Your MacBook Air should now recognize the correct arrangement of multiple displays.
By following these steps, you can easily configure the display settings on your MacBook Air when connecting an external monitor. Setting the appropriate resolution and scaling, as well as arranging multiple displays, will ensure a seamless and productive workflow. Now you can enjoy the benefits of an extended workspace for all your tasks and projects.
Test And Troubleshoot
To ensure that your MacBook Air is properly connected to an external monitor, it is essential to test and troubleshoot to guarantee a seamless experience. By following these steps, you can verify the setup and address any potential issues effectively.
Check For Video Output
Before proceeding with any troubleshooting, begin by checking for video output from your MacBook Air to the external monitor. Ensure that the cable is securely connected to both the MacBook Air and the external monitor. Additionally, make sure the external monitor is powered on and set to the correct input source. Utilize the appropriate keystrokes or navigate to the display settings on your MacBook Air to select the external monitor as the display source if needed.
Resolve Common Issues
If you encounter issues when attempting to connect your MacBook Air to an external monitor, consider the following common troubleshooting steps:
- Ensure that the cable being used is compatible with both your MacBook Air and the external monitor. Some older monitors may require adapters for compatibility.
- Restart your MacBook Air and the external monitor to reset potential display glitches.
- Check for any software updates for your MacBook Air that may address compatibility issues with external displays.
- Adjust the display settings on your MacBook Air to verify that the correct resolution and refresh rate are configured for the external monitor.
- If using a docking station or hub, ensure that it is functioning correctly and that all connections are secure.
- If the external monitor is still not displaying properly, test the setup with a different cable or on another compatible device to isolate the source of the issue.
Optimize For External Display
When setting up an external monitor with your Macbook Air, optimizing the display for maximum clarity and functionality is crucial. To ensure an ideal viewing experience, follow these steps to adjust settings tailored to your preferences.
Adjust Fonts And Text Size
To enhance readability, adjust font size and style on the external monitor. Open settings and choose “Displays” then navigate to “Scaled” to modify the text and font display according to your preference.
Customize Display Preferences
- Choose the optimal resolution for the external monitor to ensure crisp visuals
- Calibrate the colors and brightness to match your preferences and reduce eye strain
- Arrange the display layout to streamline workflow and ease of use
Extend Or Mirror Displays
To connect an external monitor to your MacBook Air, you can choose to either extend or mirror your display.
Switch Between Modes
To switch between modes, go to System Preferences, then Displays, and select either ‘Mirror’ or ‘Extend’ from the arrangement tab.
Use Multiple Applications
When in extended mode, you can use multiple applications simultaneously on the external monitor and MacBook Air for increased productivity.
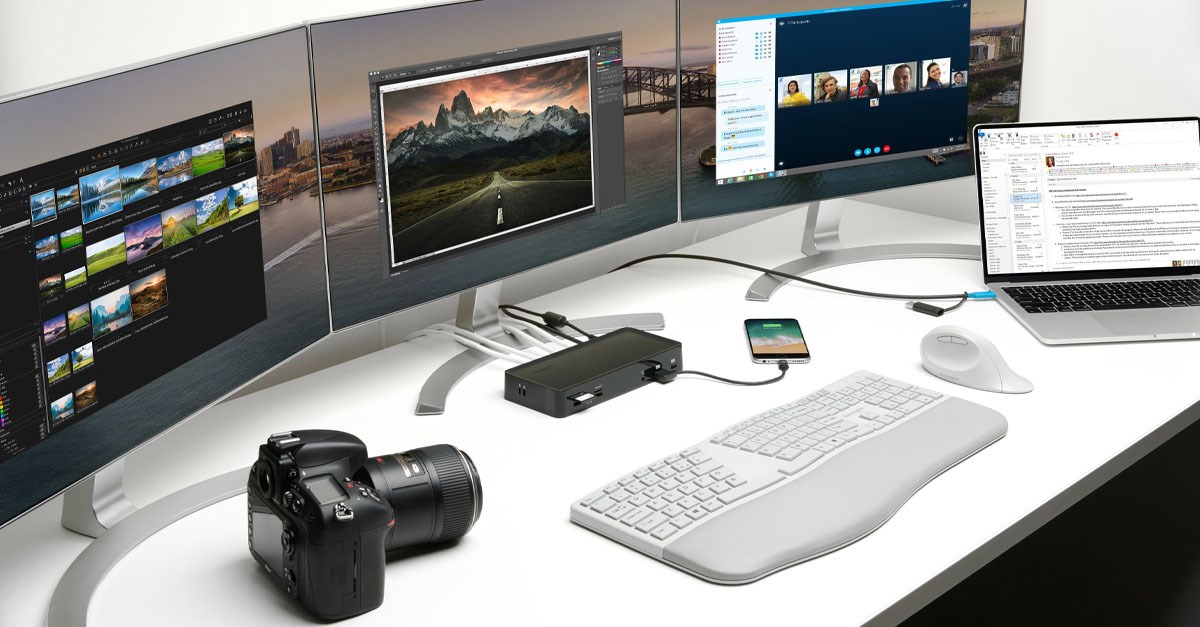
Credit: www.kensington.com
Frequently Asked Questions Of How To Connect External Monitor To Macbook Air
How Do I Connect An External Monitor To My Macbook Air?
To connect an external monitor to your MacBook Air, you need to use a compatible cable such as HDMI, DisplayPort, or Thunderbolt. Simply connect one end of the cable to your MacBook Air’s corresponding port and the other end to the monitor.
Then, configure the display settings on your MacBook Air to extend or mirror the screen.
Can I Connect Multiple External Monitors To My Macbook Air?
Yes, you can connect multiple external monitors to your MacBook Air if it has the necessary ports and supports the desired number of displays. MacBook Air models equipped with Thunderbolt ports can often support up to two external monitors. However, it’s important to check your specific model’s specifications to ensure compatibility.
What If My Macbook Air Doesn’t Have The Necessary Ports For An External Monitor?
If your MacBook Air lacks the required ports to connect an external monitor, you can use a docking station or an adapter to expand your connectivity options. There are various adapters available that allow you to connect different types of displays, including HDMI, VGA, or DisplayPort.
Be sure to choose an adapter or docking station that is compatible with your MacBook Air model.
How Do I Adjust The Display Settings For The External Monitor?
To adjust the display settings for the external monitor connected to your MacBook Air, go to the Apple menu, select “System Preferences,” and then choose “Displays. ” From there, you can arrange the displays, adjust the resolution, choose the main display, and customize other settings to suit your preferences.
Conclusion
Connecting an external monitor to your MacBook Air is a simple yet highly beneficial process. With the right adapter and a few quick steps, you can extend your screen real estate and enhance your productivity. Whether for work or leisure, the ability to seamlessly connect an external monitor provides an invaluable addition to your computing experience.
0 comments