
To connect an Xbox controller to a Macbook, you can use Bluetooth or a USB cable. Make sure your Macbook has a compatible operating system and follow the pairing instructions.
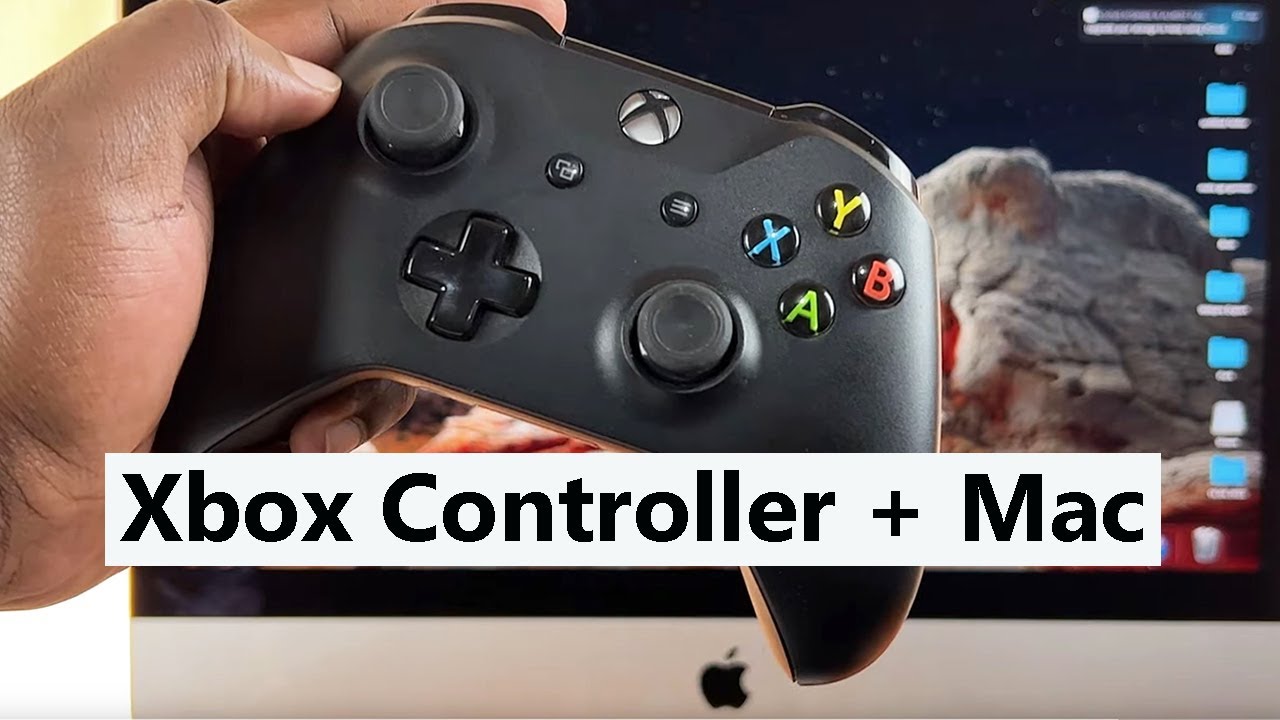
Playing games on your Macbook with an Xbox controller can enhance your gaming experience and give you more control over your gameplay. Whether you prefer wireless connectivity through Bluetooth or a traditional wired connection with a USB cable, setting up your Xbox controller with your Macbook is straightforward and can be done quickly.
Following the proper steps will ensure a seamless connection between your Xbox controller and Macbook, allowing you to enjoy gaming on a larger screen with improved precision and comfort.
Credit: macpaw.com
Check For Compatibility
If you want to use your Xbox controller with your MacBook, the first thing you need to do is check for compatibility. It’s essential to ensure that both your MacBook and Xbox controller are compatible to make the connection process smooth and hassle-free.
Macbook Compatibility
Before connecting your Xbox controller to your MacBook, make sure that your MacBook is compatible with the controller. Not all MacBooks support the use of an Xbox controller, so it’s crucial to check whether your specific model is compatible.
Xbox Controller Compatibility
Not all Xbox controllers are compatible with MacBooks, so it’s important to check whether your controller model can be connected to your MacBook. Different versions of the Xbox controller may have different compatibility with macOS, so ensuring compatibility is essential for a successful connection.
Get The Necessary Equipment
Xbox Controller
To begin, make sure you have an Xbox controller available for use.
Micro Usb Cable
Next, ensure you have a Micro USB cable to connect the controller to the Macbook.
Now let’s get ready to connect your Xbox controller to your Macbook.
- Locate your Xbox controller and make sure it is charged.
- Find a Micro USB cable that is compatible with both the controller and your Macbook.
- Ensure your Macbook is powered on and ready for the connection process.
- Insert one end of the Micro USB cable into the Xbox controller.
- Connect the other end of the cable to an available USB port on your Macbook.
- Wait for the Macbook to recognize the controller and install any necessary drivers.
- Once the connection is established, you can start using the Xbox controller to navigate your Macbook.
Charge The Xbox Controller
To charge the Xbox controller, follow these steps to ensure that it’s ready for use:
Connect The Micro Usb Cable
Begin by connecting the micro USB cable to the Xbox controller and the USB port on your MacBook.
Charge The Controller
- Plug the other end of the micro USB cable into a power source, such as a USB adapter.
- Make sure the controller is securely connected to maintain a stable charging connection.
- Allow the controller to charge until the light on the Xbox button stops flashing and remains solid.
Enable Bluetooth On Your Macbook
One of the great things about connecting your Xbox controller to your MacBook is that it enables you to enjoy your favorite games on a larger screen with the comfort of a controller. To do this, you will need to enable Bluetooth on your MacBook.
Open System Preferences
Firstly, open System Preferences on your MacBook. You can do this by clicking on the Apple logo in the top-left corner of your screen and selecting ‘System Preferences’ from the drop-down menu.
Go To Bluetooth Settings
Once in System Preferences, locate and click on the ‘Bluetooth’ icon. This will take you to the Bluetooth settings where you can manage and configure Bluetooth devices connected to your MacBook.
Put The Xbox Controller In Pairing Mode
To connect your Xbox controller to a MacBook, first put the controller in pairing mode. Press and hold the pairing button until the Xbox logo starts flashing. Open Bluetooth settings on your MacBook, select the controller, and complete the pairing process.
Now, your Xbox controller is connected and ready to use with your MacBook.
Press The Xbox Button
To connect your Xbox controller to your Macbook, you first need to put the controller in pairing mode. Start by pressing the Xbox button, which is located on the front of the controller. This button is the large circular button with the Xbox logo in the center.Hold The Pairing Button
After pressing the Xbox button, locate the small pairing button on the top of the controller. This button is slightly recessed and is smaller than the Xbox button. Press and hold this button to put the controller in pairing mode. By holding the pairing button, you will allow your Macbook to detect the controller and establish a wireless connection between the two devices. It’s important to note that the location of the pairing button may vary depending on the model of your Xbox controller. Some controllers have the pairing button on the back, while others may have it on the side. Refer to the user manual of your specific controller to find the exact location of the pairing button. Ensure that you hold the pairing button until the Xbox logo on the controller starts flashing rapidly. This rapid flashing indicates that the controller is in pairing mode and ready to connect to your Macbook. Once the Xbox controller is in pairing mode and the Xbox logo is flashing rapidly, you can proceed to the next steps of connecting it to your Macbook.
Credit: www.reddit.com
Connect The Xbox Controller To Your Macbook
Playing games on your Macbook has never been as exciting as with an Xbox controller. With its ergonomic design and precise controls, the Xbox controller delivers a seamless gaming experience. In this guide, we will show you how to connect the Xbox controller to your Macbook using the Bluetooth feature.
Under Bluetooth Settings
To connect your Xbox controller to your Macbook, you will need to access the Bluetooth settings. Follow the steps below:
- Click on the Apple menu located in the top left corner of your screen.
- Select “System Preferences” from the dropdown menu.
- In the System Preferences window, click on “Bluetooth.”
Make sure that Bluetooth is turned on, and your Macbook is discoverable.
Click On Connect
Once you have accessed the Bluetooth settings, you are ready to pair your Xbox controller with your Macbook. Here’s what you need to do:
- Pick up your Xbox controller and hold down the “Sync” button located on the top of the controller.
- Release the “Sync” button after a few seconds when the Xbox logo begins to flash.
- In the Bluetooth settings on your Macbook, you will see the Xbox controller appear on the list of available devices.
- Click on the “Connect” button next to the Xbox controller name.
Once connected, the Xbox controller’s LED light will stop flashing and remain lit, indicating a successful pairing.
Now, you can enjoy gaming on your Macbook using the Xbox controller’s comfortable grip and responsive buttons. Whether you are playing a fast-paced action game or exploring a virtual world, the Xbox controller will enhance your gaming experience to new heights.
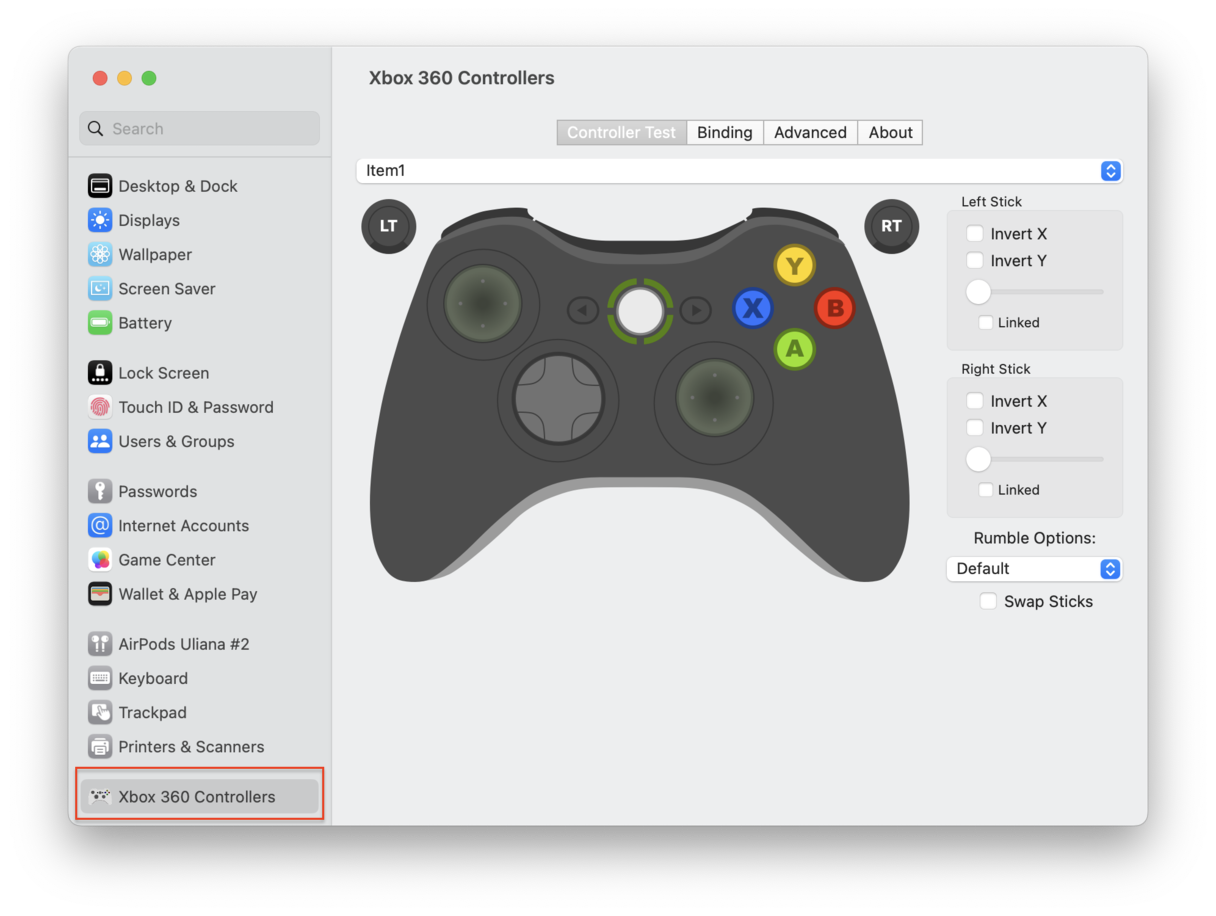
Test The Connection
Once you’ve successfully connected your Xbox controller to your Macbook, it’s time to test the connection to ensure everything is working as it should. Follow these simple steps to test the responsiveness of your controller.
Open A Game Or App
Open a compatible game or application on your Macbook where you can utilize the Xbox controller. This could be a game from the Mac App Store or a supported game from another source.
Check Controller Responsiveness
Ensure the controller is responding as it should. Check that each button and joystick on the controller is functioning as expected. Verify that the inputs from the controller are registered by the game or app you opened. Ensure that there are no delays or unresponsive buttons which could indicate a faulty connection.
Credit: www.businessinsider.com
Troubleshoot Any Issues
If you encounter any problems while connecting your Xbox controller to your Macbook, follow these steps to troubleshoot and resolve any issues.
Update Controller Firmware
To ensure your Xbox controller is compatible with your Macbook, update the firmware using the Xbox Accessories app.
Restart Macbook
Restart your Macbook to refresh the system and establish a stable connection with the Xbox controller.
Enjoy Gaming With Your Xbox Controller On Macbook
Connecting your Xbox controller to your Macbook can enhance your gaming experience significantly. With the right setup, you can seamlessly use your familiar controller to play your favorite games on your Macbook.
Explore Compatibility Options
To connect your Xbox controller to your Macbook, you need to ensure compatibility between the two devices. There are various ways to achieve this, depending on the controller model and Macbook specifications.
Maximize Gaming Experience
Once you have established compatibility, you can maximize your gaming experience by customizing controller settings and mapping buttons to optimize gameplay on your Macbook.
Frequently Asked Questions On How To Connect Xbox Controller To Macbook
Can You Connect An Xbox Controller To A Macbook?
Yes, you can connect an Xbox controller to a MacBook using Bluetooth. Simply turn on the controller, go to the Bluetooth settings on your MacBook, and select the controller from the list of available devices. Once connected, you can use the controller to play games on your MacBook.
How Do I Enable Bluetooth On My Macbook?
To enable Bluetooth on your MacBook, go to the Apple menu in the top-left corner of your screen and select System Preferences. Then, click on Bluetooth and make sure the “On” checkbox is selected. Your MacBook will start searching for nearby devices, including your Xbox controller.
How Do I Connect An Xbox Controller To My Macbook Without Bluetooth?
If your MacBook doesn’t have built-in Bluetooth, you can still connect an Xbox controller using a USB cable. Simply plug the USB end of the cable into your MacBook and the other end into the controller. Your MacBook should automatically recognize the controller and allow you to use it for gaming.
Conclusion
Now you have a clear understanding of how to connect your Xbox controller to your MacBook. With the step-by-step process and the right software, you can easily enhance your gaming experience. Enjoy gaming on your MacBook with the familiar comfort and control of your Xbox controller.
Take the plunge and level up your gaming experience today!
0 comments