
To fit an SSD, open the computer case, locate the slot, connect and secure the SSD. Installing a solid-state drive (SSD) can significantly boost your computer’s speed and performance.
By following a few simple steps, you can upgrade your storage quickly and effectively. Upgrading to SSD technology can decrease load times, improve overall system responsiveness, and enhance your computing experience. Whether you are a gamer, creative professional, or everyday user, the benefits of fitting an SSD are clear.
This guide will walk you through the process, ensuring a seamless installation and optimal performance for your device.
Credit: www.rockpapershotgun.com
Choosing The Right Ssd
Choosing the right SSD for your needs is crucial to ensure optimal performance and compatibility with your system. There are several factors to consider when selecting an SSD, including capacity, interface, and form factor. Let’s explore each of these aspects in detail to help you make an informed decision.
Capacity
When choosing an SSD, the capacity is one of the most important factors to consider. It determines the amount of data that can be stored on the drive. SSDs are available in various capacities, ranging from 120GB to over 4TB. Consider your storage requirements and opt for a capacity that allows for ample storage space for your operating system, applications, and files while keeping in mind future expansion needs.
Interface
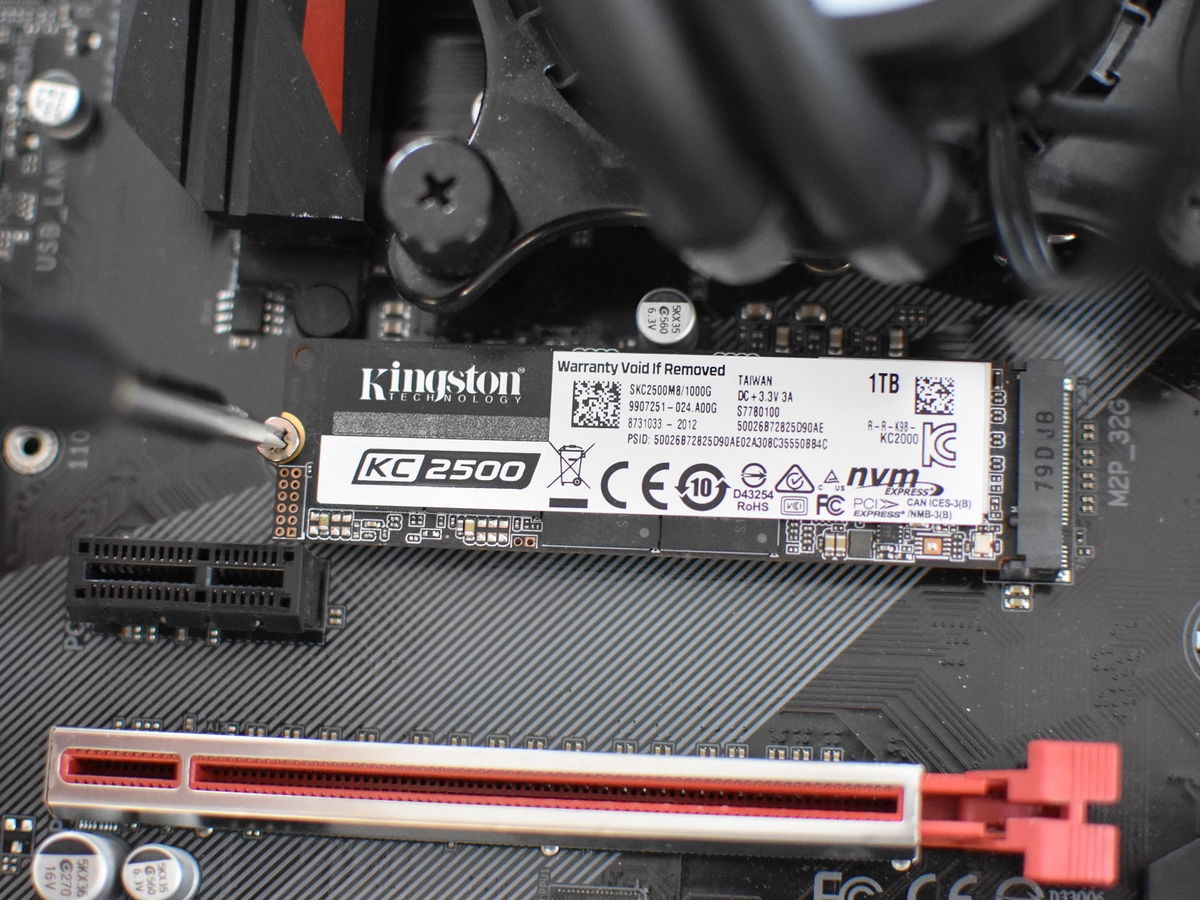
The interface of an SSD refers to how it connects to the motherboard of your computer. The most common interfaces for SSDs are SATA and NVMe. SATA SSDs are widely compatible with older systems and are suitable for general use, while NVMe SSDs offer significantly faster data transfer speeds, making them ideal for demanding tasks such as gaming, video editing, and 3D rendering.
Form Factor
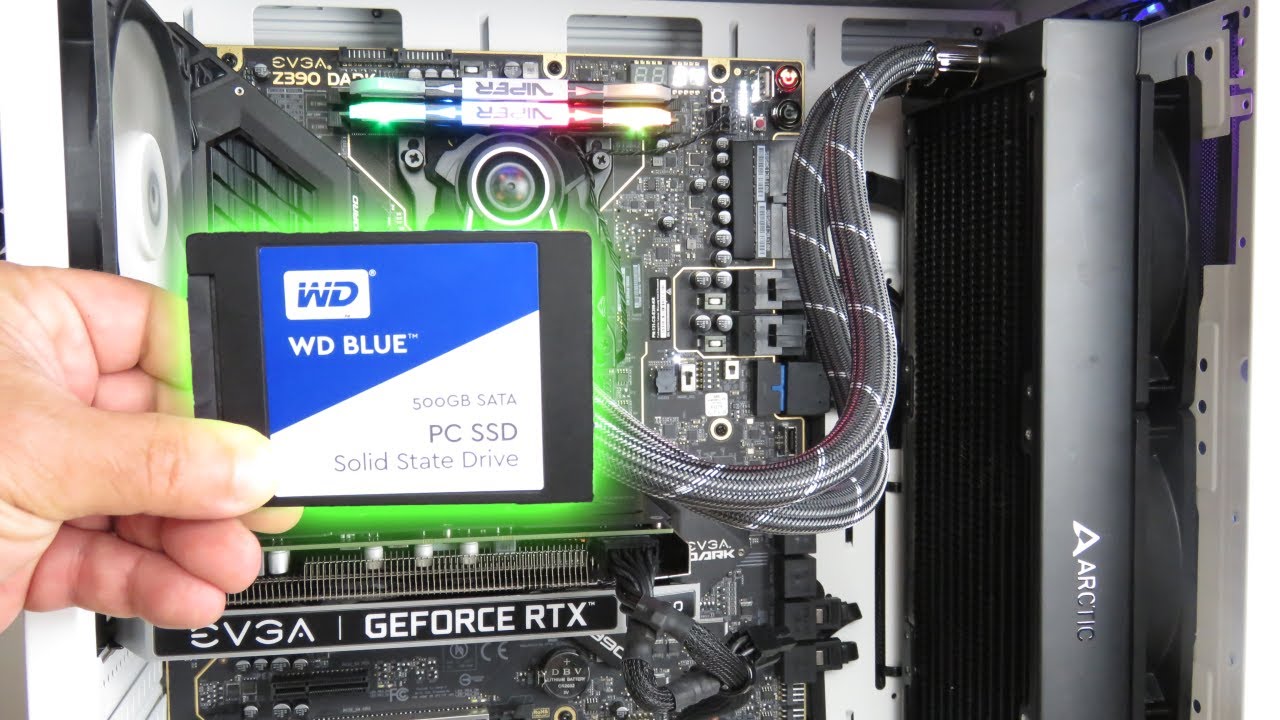
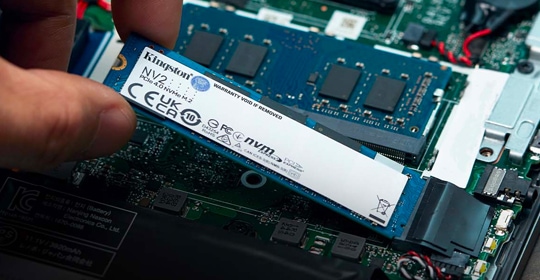
The form factor of an SSD relates to its physical size and shape. The two primary form factors for SSDs are 2.5-inch and M.2. 2.5-inch SSDs are the traditional form factor, commonly used in laptops and desktops. M.2 SSDs are smaller, slot directly into the motherboard, and are often found in ultrabooks and compact desktops. Consider the available space in your system and choose a form factor that is compatible with your motherboard.
Credit: www.cdw.com
Preparing Your Computer
Boost your computer’s performance by fitting an SSD. Enhance speed and storage capacity with this simple upgrade, resulting in smoother and faster operations. Experience improved productivity and efficiency by following these steps to prepare your computer for an SSD installation.
Check System Compatibility
Ensure your computer supports SSD by visiting manufacturer’s website.
Backup Important Data
Save crucial files on an external drive before installing SSD.
Gathering The Necessary Tools
Before beginning the process of fitting an SSD, make sure you have the essential tools ready. Here are the must-have items:
Screwdriver Set
- Includes different sizes of screwdrivers
- Used to secure the SSD in place
Cable Clamps
- Help organize cables neatly
- Prevent tangling and interference
Sata To Usb Adapter
- Facilitates easy data transfer
- Allows you to connect the SSD externally
Credit: www.pcworld.com
Opening Your Computer Case
Opening your computer case is the first step to installing an SSD. It’s important to follow the correct procedure to ensure safety and avoid causing damage to your computer. In this section, we will guide you through the steps of powering down and unplugging, as well as removing the side panel of your computer case.
Power Down And Unplug
Before opening your computer case, it’s crucial to power down the system and unplug it from the electrical outlet. Shutting down your computer properly prevents any data loss or damage. Unplugging it eliminates the risk of electrical shock while working inside the case.
Remove Side Panel
Once the computer is powered down and unplugged, you can proceed to remove the side panel of the case. Place your computer on a stable and flat surface for this step. Locate the screws or latches that secure the side panel to the case.
Use a screwdriver or the appropriate tool to unscrew the screws or release the latches. Carefully slide or lift the side panel away from the case. Ensure you put it in a safe place to prevent any damage.
Installing The Ssd
Install an SSD effortlessly with these step-by-step instructions. Upgrade your storage capacity and enjoy faster performance on your device by fitting an SSD.
Installing an SSD in your computer is a great way to improve its overall performance and speed. Upgrading your hard drive to a solid-state drive can significantly reduce boot times, allow for faster file transfers, and enhance the overall responsiveness of your system. In this section, we will guide you through the process of installing an SSD into your computer, step by step.Identify Suitable Drive Bay
Before you begin the installation process, it’s crucial to identify a suitable drive bay for your SSD. Most desktop computers have multiple drive bays, each designed to accommodate either a 3.5-inch or a 2.5-inch drive. While traditional hard drives typically use the larger 3.5-inch bays, SSDs often fit into the smaller 2.5-inch bays. If your computer only has 3.5-inch drive bays, you may need to purchase a mounting bracket or adapter to securely install the SSD.Mount The Ssd
Once you’ve identified the suitable drive bay, it’s time to mount the SSD. In most cases, mounting an SSD is a simple process that involves securing the drive to the bay using screws or a bracket. To get started, remove the side panel of your computer case to access the internal components. Locate the empty drive bay, align the screw holes on the SSD with those on the bay, and secure the drive in place with screws. Make sure the drive is firmly attached to prevent any vibrations or movement.Connect Sata Cable And Power Cable
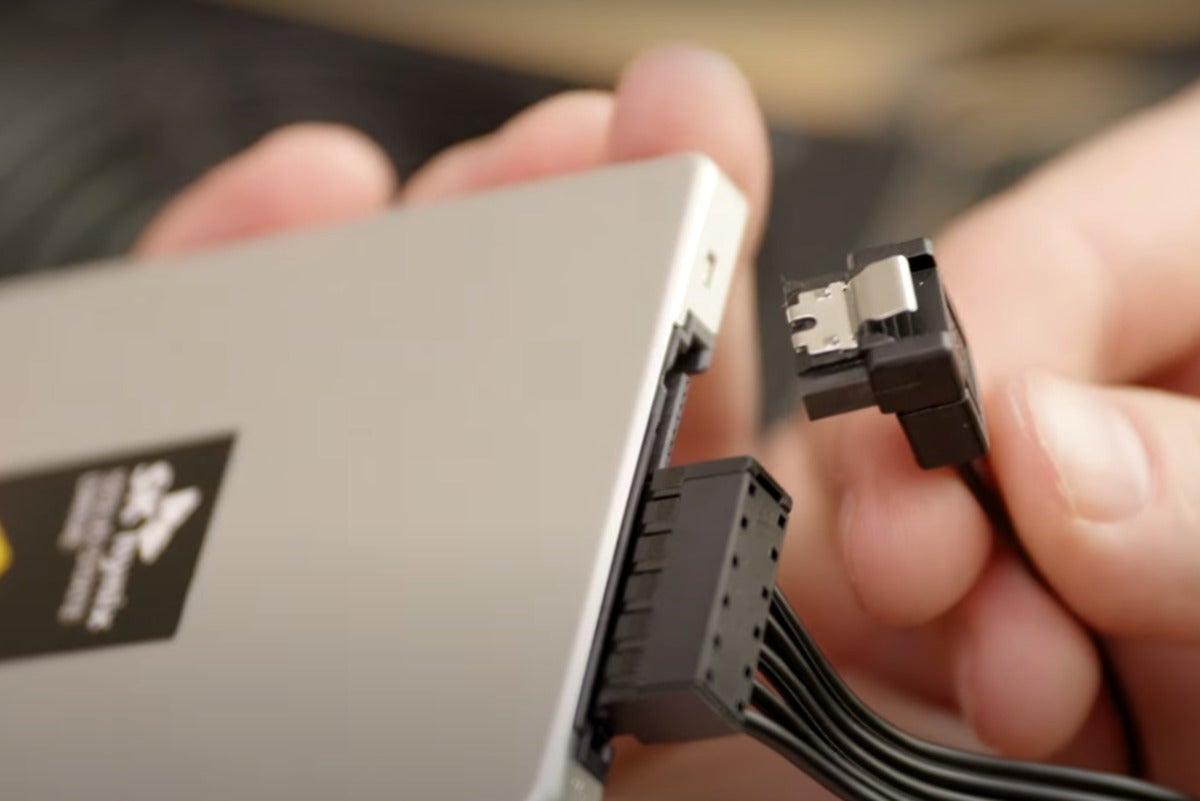
After mounting the SSD, you need to connect the necessary cables. Firstly, find an available SATA data cable. One end of the cable should be connected to the SSD, while the other end connects to an available SATA port on the motherboard. Ensure that the cable is securely plugged into both the SSD and the motherboard to establish a proper data connection. Next, locate an available power cable from your power supply unit. SSDs typically require a SATA power connector, which is a small L-shaped connector. Plug one end of the power cable into the SSD’s power connector and the other end into any available power connector from the power supply unit. By following these steps, you have successfully installed your SSD. Don’t forget to place the side panel back on your computer case and secure it with screws. Once you power on your computer, it should recognize the newly installed SSD, allowing you to take full advantage of its improved performance and faster speed.Cloning Your Existing Hard Drive
Learn how to clone your existing hard drive and fit an SSD with ease. This step-by-step guide will walk you through the process, ensuring a smooth transition and improved performance for your computer.
Cloning your existing hard drive is a convenient way to transfer all your data and settings to a new SSD (Solid State Drive) without the hassle of reinstalling everything. By creating an exact copy of your current hard drive, you can ensure a seamless transition to the faster and more efficient SSD. In this section, we will guide you through the process of cloning your existing hard drive to an SSD.
Download And Install Cloning Software
The first step in cloning your hard drive is to download and install cloning software. Several reputable software options are available, such as EaseUS Todo Backup, Acronis True Image, and AOMEI Backupper. These applications provide an easy-to-use interface and powerful features to make the cloning process straightforward.
Connect Ssd Using Sata To Usb Adapter
Before you can start the cloning process, you need to physically connect the SSD to your computer. Since most SSDs come in a 2.5-inch form factor, you will likely need a SATA to USB adapter. This adapter allows you to connect the SSD externally via a USB port. Simply plug one end of the adapter into your SSD and the other end into a USB port on your computer.
Start The Cloning Process
Once you have the cloning software installed and the SSD connected, it’s time to start the cloning process. Open the cloning software and select the option to clone your hard drive. Choose your current hard drive as the source and the SSD as the destination. Review the cloning settings and make any necessary adjustments, such as selecting the option to copy all partitions or resizing partitions to fit the SSD.
Double-check that you have selected the correct source and destination drives, as the cloning process will overwrite all data on the destination drive. Once you are confident with your selections, initiate the cloning process and wait for it to complete. The time it takes to clone your hard drive will depend on the size of the data being transferred, so be patient.
Once the cloning process is finished, shut down your computer and disconnect the old hard drive. Install the SSD in your computer using the appropriate mounting hardware, and then boot up your system. Your computer should now be running from your new SSD, with all your files and settings intact.
Updating Bios Settings
To ensure your SSD is properly recognized and functions optimally, it’s crucial to update the BIOS settings. By following the steps below, you can quickly configure your BIOS to work seamlessly with the new SSD.
Access Bios Menu
1. Turn on your computer and press the designated key to enter the BIOS setup. Consult your motherboard’s manual or look for on-screen prompts to find the specific key.
2. Navigate to the “Boot” or “Advanced” tab using the arrow keys on your keyboard.
Enable Ahci Mode
1. Locate the “SATA Configuration” or “Storage Configuration” option within the BIOS menu.
2. Select the option and change the setting to “AHCI” mode.
Save And Exit Bios
1. Once the changes have been made, navigate to the “Exit” tab in the BIOS menu.
2. Choose the option to “Save Changes and Exit”.
3. Restart your computer to apply the updated BIOS settings.
Booting From The Ssd
Booting from the SSD is crucial for maximizing the speed and performance of your system. Once you have installed your SSD and transferred your operating system, follow these simple steps to set the SSD as the boot drive:
Restart Your Computer
Restarting your computer is the first step to initiate the process of booting from the SSD.
Enter Boot Menu
Access the boot menu by pressing the designated key (e.g. F12 or DEL) during the startup process.
Select The Ssd As Boot Drive
Once in the boot menu, locate the option to select the boot drive and choose the SSD from the list.
Verifying The Ssd Installation
After successfully fitting the SSD into your computer, it is crucial to verify the installation to ensure everything is functioning correctly.
Check System Information
Access the system information on your computer to confirm that the SSD is recognized and visible in the storage configuration.
Run Ssd Diagnostic Software
Utilize SSD diagnostic software to test the drive’s performance and health, ensuring optimal functionality and longevity.
Frequently Asked Questions Of How To Fit An Ssd
How Do I Fit An Ssd Into My Computer?
To fit an SSD into your computer, first, open the computer case. Locate an available drive bay and connect the SATA data cable to the SSD and the power cable to the power supply. Slide the SSD into the drive bay and secure it with screws.
Finally, close the computer case and you’re done!
What Tools Do I Need To Fit An Ssd?
To fit an SSD into your computer, you will need a Phillips screwdriver to open the computer case and secure the SSD with screws. Additionally, you may need an SATA data cable and an SATA power cable if they are not already provided with your SSD.
Make sure you have these tools handy before you begin.
Can I Fit An Ssd Into A Laptop?
Yes, you can fit an SSD into a laptop. The process is similar to fitting an SSD into a desktop computer. However, the exact steps may vary depending on the make and model of your laptop. Consult your laptop’s user manual or the manufacturer’s website for specific instructions on how to install an SSD in your laptop.
Conclusion
Installing an SSD can greatly improve your computer’s performance and speed. By following the steps outlined in this guide, you can easily fit an SSD into your system. Remember to back up your data before making any hardware changes, and enjoy the benefits of faster load times and increased storage capacity.
0 comments