
To replace an SSD, power off the computer and remove the old SSD from its slot. Install the new SSD and secure it in place.
In the world of computer upgrades, replacing an SSD is a common and straightforward process that can enhance your system’s performance. Whether you’re looking to boost storage capacity or improve speed, swapping out the old SSD for a new one can make a significant impact on your computer’s overall efficiency.
In this guide, we’ll walk you through the step-by-step process of replacing an SSD so you can smoothly upgrade your computer and enjoy improved performance. Let’s dive in and learn how to seamlessly replace your SSD to elevate your computing experience.
1. Gather Necessary Tools
Before starting the process of replacing an SSD, it is essential to gather the necessary tools. These tools will help ensure a smooth and successful replacement of the SSD.
1.1 Screwdriver
A small screwdriver is crucial for removing the screws that secure the SSD in place. Make sure to use a screwdriver that fits the specific screw heads to avoid causing damage.
1.2 Anti-static Wristband
An anti-static wristband is vital to prevent any static electricity from damaging the new SSD or other internal components of the computer. By grounding yourself with an anti-static wristband, you can protect the sensitive electronics from potential harm.
Credit: www.techlicious.com
2. Back Up Data
When replacing an SSD, it is crucial to back up your data to prevent any loss or corruption. Here are two common methods to ensure your data is safe:
2.1 External Hard Drive
An external hard drive is a physical device that allows you to store a backup copy of your data. Connect it to your computer and use built-in backup software to transfer your files securely.
2.2 Cloud Storage
Cloud storage offers a convenient way to back up your data online. Sign up for a cloud storage service, upload your files to the cloud, and access them from any device with an internet connection.
4. Open The Computer Case
To replace the SSD in your computer, you need to open the computer case carefully. This step is crucial to access the internal components safely.
4.1 Locate Case Screws
Before opening the computer case, you need to locate the screws that secure the case panels. These screws are typically found at the back or side of the case.
4.2 Remove Case Screws
Using a screwdriver, carefully remove the screws that hold the case panels in place. Make sure to keep track of the screws to avoid losing them.
4.3 Slide Off The Case Panel
Once the screws are removed, gently slide off the case panel to reveal the internal components of the computer. Ensure you slide it off in a smooth, controlled manner to prevent any damage.
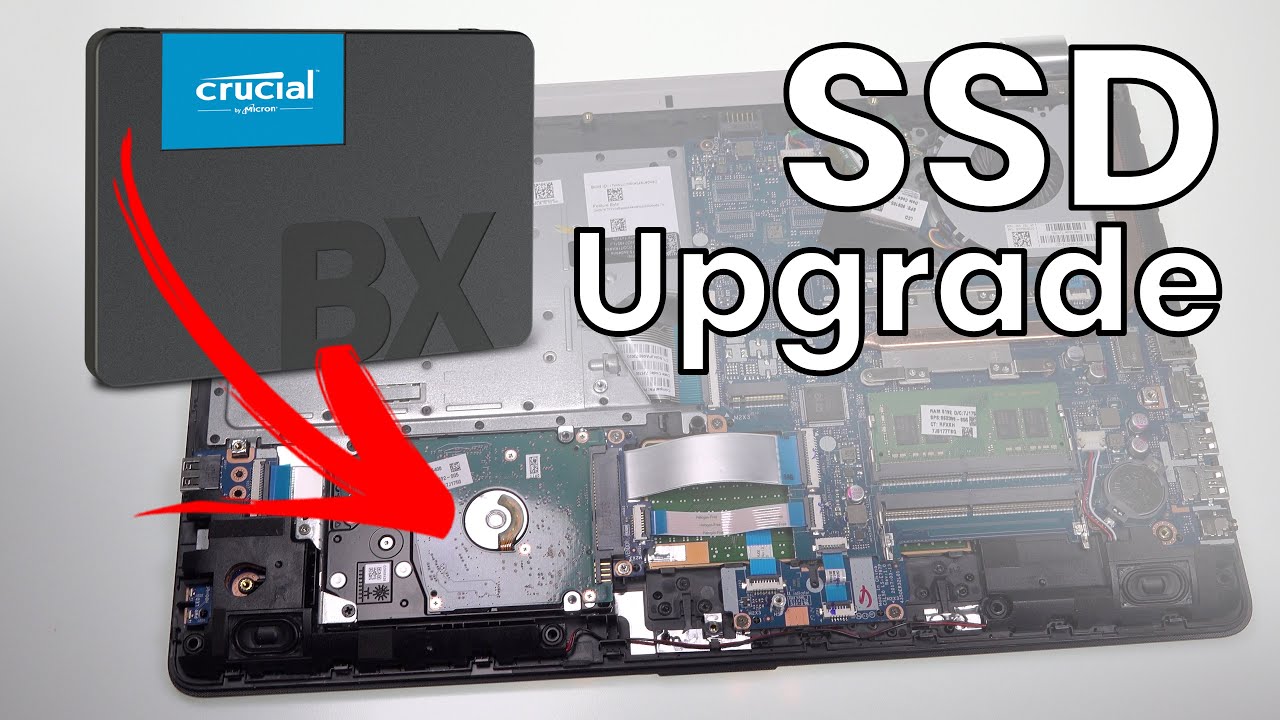
5. Locate The Ssd
Reaching this stage, you’re now ready to physically locate the SSD and proceed with the replacement process.
5.1 Identify The Ssd Drive
Before starting the replacement, ensure that you correctly identify the SSD drive in your system. The following steps will help you in doing so:
- Shut down your computer and disconnect all power sources.
- Open the computer casing by removing the screws and panels necessary to access the internal components.
- Once inside, visually inspect the internal components for the existing SSD. It often resembles a small, rectangular circuit board with connectors on one side.
- Check your computer’s documentation or the manufacturer’s website for detailed information about locating the SSD drive in your specific model.
6. Disconnect The Ssd
Now that you’ve gathered the necessary tools and backed up your data, it’s time to disconnect the SSD from your device. This step is crucial in order to safely replace the SSD without causing any damage.
6.1 Disconnect Power And Data Cables
Before removing the SSD, make sure to disconnect the power and data cables. This will avoid any potential short circuits and keep your device safe. Follow these simple steps:
- Turn off your device and unplug it from the power source.
- Locate the SSD inside your device. It is usually connected to the motherboard.
- Identify the power cable connected to the SSD. Gently pull it out from the connector to disconnect it. Be careful not to exert too much force or pull at an angle.
- Next, find the data cable attached to the SSD. This cable allows communication between the SSD and the motherboard. Carefully unplug it from both ends.
Remember, each device may have a slightly different setup, so consult the user manual or manufacturer’s website for specific instructions if needed.
Once you have disconnected both the power and data cables, your SSD is ready to be removed. Proceed to the next step to safely install your new SSD.

Credit: wetech.co.za
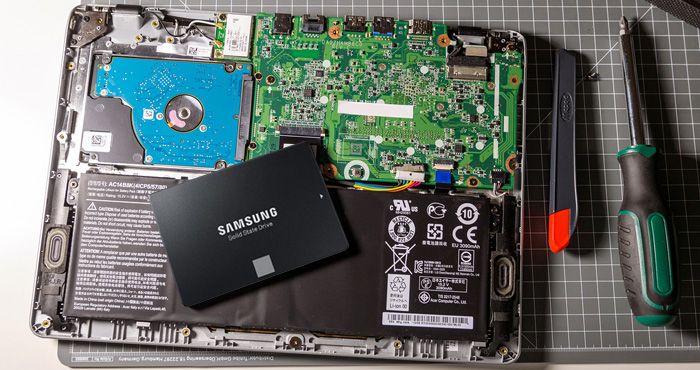
7. Install The New Ssd
To replace an SSD, start by installing the new SSD into the designated slot in your device. Make sure to securely fasten it in place before proceeding with the rest of the installation process. This step ensures smooth functionality and optimal performance of the new SSD.
Congratulations! You’ve reached the final step of replacing your SSD. Now it’s time to install the new SSD and get your system up and running again. Just follow these simple steps:7.1 Align And Connect The New Ssd
First, make sure you have disconnected all the cables from your computer and have a clean workspace. Open up your computer case and locate the slot for the new SSD. It is usually positioned near the existing storage devices. Carefully align the new SSD with the slot, ensuring that the connectors on the SSD are facing the right way. Take a moment to double-check the alignment, as improper insertion may damage the SSD or the slot. Once you’re confident about the alignment, gently insert the SSD into the slot. Apply even pressure, using your fingers, to ensure a snug fit. Avoid using excessive force, as it can cause damage. Next, locate the SATA cable that was connected to your old SSD or hard drive. Connect one end of the SATA cable to the SSD and the other end to the SATA port on your motherboard. The ports are usually labeled, so it should be easy to find the correct one.7.2 Secure The Ssd In Place
It’s essential to secure the newly installed SSD in place to prevent any movement or damage. Look for screws or brackets that came with your computer or the SSD. If needed, refer to the manufacturer’s instructions for information on securing SSDs. Use the screws or brackets to tightly secure the SSD to the mounting points available within the computer case. This will ensure that the SSD stays in place and does not get jostled during use. After securing the SSD, take a moment to ensure that all cables are properly connected and that there are no loose connections. Now that you have successfully installed the new SSD, you can close the computer case and reattach any disconnected cables. That’s it! You’ve completed the process of replacing your SSD. Power up your computer and enjoy the improved speed and storage capacity provided by your new SSD.8. Close The Computer Case
After successfully installing the new SSD, the next step is to close the computer case to ensure the components are properly secured. Follow the steps below to complete this process.
8.1 Slide The Case Panel On
To start, line up the case panel with the screw holes, and slide it onto the frame until it’s properly aligned. Make sure to push it gently but firmly to avoid causing any damage to the panel or the computer case.
8.2 Secure Case Screws
Once the case panel is in place, it’s time to secure it with the screws. Use a screwdriver to fasten the screws back into their respective positions, ensuring a snug fit for each one. This will help keep the case panel firmly in place, preventing any potential issues with loose fittings.
9. Power On And Verify
9. Power On and Verify
9.1 Plug In And Power On
Once the SSD has been securely installed, plug in all necessary cables and power on your system.
9.2 Verify Ssd Installation
- Access your BIOS or UEFI setup.
- Select the boot device with your new SSD.
- Run a system check to verify the SSD is correctly detected.
Credit: m.youtube.com
Frequently Asked Questions On How To Replace Ssd
Can I Replace Ssd In My Laptop By Myself?
Yes, you can replace the SSD in your laptop yourself. Just make sure to choose a compatible SSD, back up your data, and follow the manufacturer’s instructions carefully. If you’re unsure, consult a professional or refer to online tutorials for guidance.
How Do I Know Which Ssd Is Compatible With My Laptop?
To find out which SSD is compatible with your laptop, check its specifications or consult the manufacturer’s website. Look for the interface type (e. g. , SATA, M. 2) and the form factor (e. g. , 2. 5-inch, M. 2).
You can also use compatibility tools provided by SSD manufacturers or seek guidance from a professional.
What Are The Benefits Of Replacing A Laptop Ssd?
Replacing a laptop SSD can offer several benefits. It can significantly improve boot times, application loading speed, and overall system performance. SSDs are also more reliable than traditional hard drives, consume less power, and are quieter during operation. Upgrading to a larger SSD can provide more storage space for your files and applications.
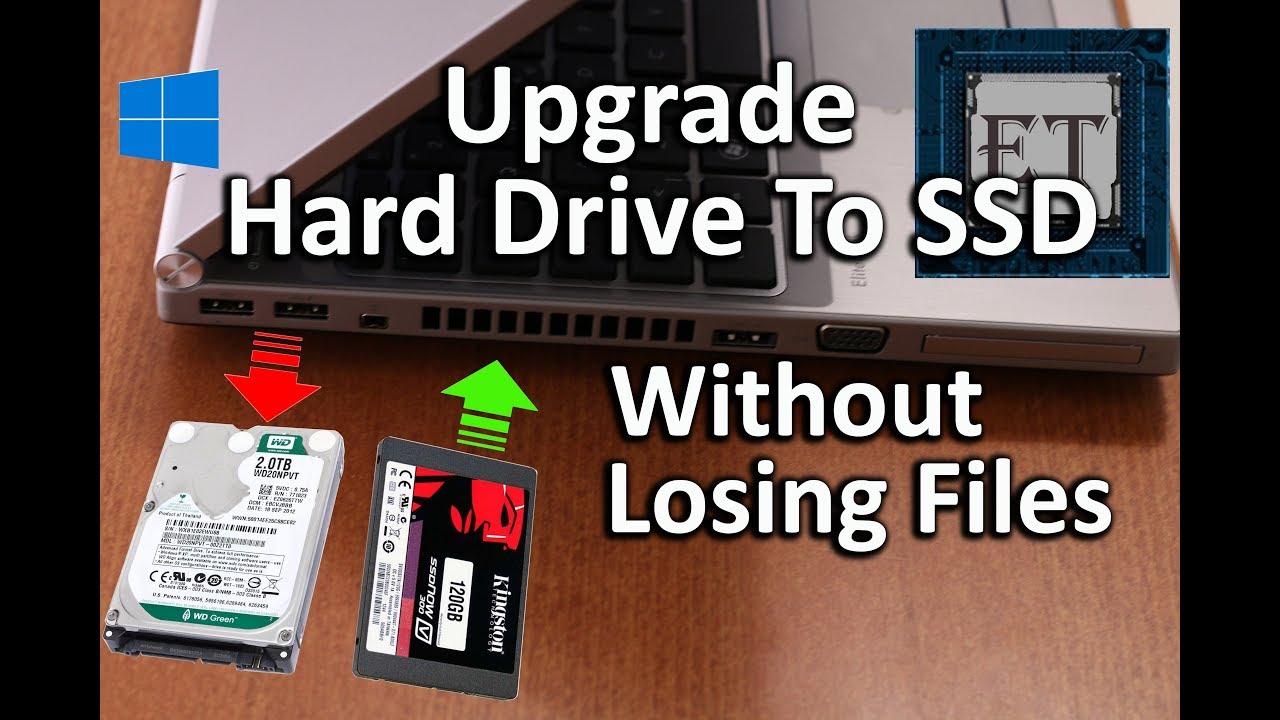
Is It Necessary To Reinstall The Operating System After Replacing The Ssd?
In most cases, reinstalling the operating system is not necessary after replacing the SSD. You can clone your existing drive onto the new SSD using software like Acronis True Image or Macrium Reflect. However, a clean installation of the operating system on the new SSD is recommended for optimal performance and to start with a fresh system.
Conclusion
Replacing an SSD is a simple yet effective way to enhance your computer’s performance. With the right tools and steps, you can easily upgrade your device. Remember to back up your data and follow the manufacturer’s guidelines for a successful SSD replacement.
Enjoy the enhanced speed and storage!
0 comments