
To shut down a Lenovo laptop, click the Start menu, then select “Power” and “Shut down.” This will initiate the shutdown process.
In today’s fast-paced digital world, knowing how to properly shut down your Lenovo laptop is essential for maintaining its performance and prolonging its lifespan. Whether you’re a student, professional, or casual user, understanding the correct steps to power off your device can prevent issues such as data corruption or hardware damage.
By following a few simple clicks, you can ensure that your Lenovo laptop safely powers down, ready for the next use. Let’s delve into the necessary steps to smoothly shut down your laptop and protect your valuable information.
Why Shutting Down Properly Is Important
Shutting down your Lenovo laptop properly is crucial for preventing data loss and preserving the health of your system. When done incorrectly, it can lead to a range of issues that may compromise the integrity of your data and the overall functionality of your device.
Preventing Data Loss
Improper shutdown can result in data corruption and loss, especially if files are open or being saved. This could lead to hours of work disappearing in an instant and causing major setbacks. Properly shutting down your laptop helps prevent these potential data disasters.
Preserving System Health
Abruptly cutting off power to your laptop can cause damage to the file system and lead to a range of errors and other hardware issues. By shutting down your laptop correctly, you help preserve the overall health of the system, extending its lifespan and ensuring that it continues to run smoothly.
Shutting Down A Lenovo Laptop
To shut down a Lenovo laptop, simply click on the Start button, then select the Power icon and choose Shut down from the options. Another way is by pressing and holding the power button until the laptop turns off. This ensures a proper shutdown of the device and helps in preventing any data loss.
Using The Start Menu
To shut down your Lenovo laptop using the Start Menu:
- Click on the “Start” icon in the taskbar.
- Select “Power” and then click on “Shut down.”
Using The Power Button
To shut down your Lenovo laptop using the Power Button:
- Press and hold the power button until the laptop turns off.
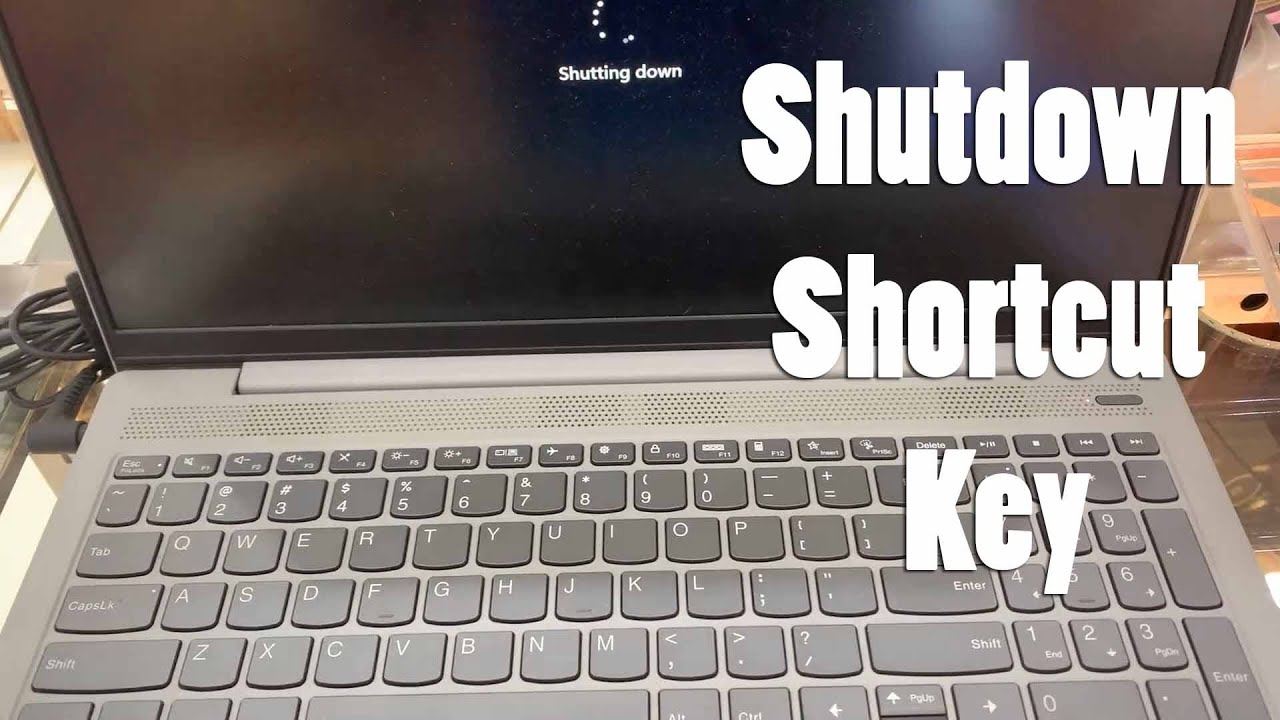
Using Keyboard Shortcuts
To shut down your Lenovo laptop using Keyboard Shortcuts:
- Press “Alt + F4” keys simultaneously.
- Select “Shut down” from the dropdown menu and click “OK.”
Step 1: Closing All Applications
Saving And Exiting Programs
Before shutting down your Lenovo laptop, save any unsaved work in your programs.
Exit out of each program by clicking on the File menu and selecting Close or Exit.
Checking For Background Tasks
Ensure there are no background tasks running by opening the Task Manager.
Look for any applications or processes consuming excessive resources and end them.

Credit: m.youtube.com
Step 2: Saving Any Unsaved Work
When shutting down your Lenovo laptop, it’s essential to save any unsaved work to prevent data loss. This step is crucial to ensure that your important documents are not lost during the shutdown process. Below are the key ways to save any unsaved work on your Lenovo laptop.
Using Autosave Features
AutoSave features are a convenient way to ensure that your work is regularly saved without manual intervention. Many applications, such as Microsoft Office Suite and Google Docs, come equipped with AutoSave functionality. This feature automatically saves your work at regular intervals, preventing the loss of unsaved data in the event of a sudden shutdown.
Manually Saving Your Documents
If your application doesn’t have AutoSave functionality or if you prefer to have more control over when your work is saved, you can manually save your documents. To manually save your work, utilize the “Save” or “Save As” options in your application’s menu. It’s important to develop the habit of saving your work frequently to minimize the risk of losing unsaved data.
Step 3: Disconnecting Any External Devices
Disconnect any external devices from your Lenovo laptop to safely shut it down. This step is crucial in maintaining the performance and security of your device.
When it’s time to shut down your Lenovo laptop, it’s essential to disconnect any external devices properly. This step ensures the safety of your data and prevents any possible damage to both the laptop and the connected devices. Here are two crucial sub-steps to follow:Unplugging Usb Devices
To start, unplug any USB devices that are connected to your Lenovo laptop. These include external keyboards, mice, webcams, or any other peripherals you may be using. Simply pull out the USB connectors from your laptop’s USB ports.Removing External Storage
Next, safely remove any external storage devices such as USB flash drives or external hard drives. Removing these devices properly ensures that no data is lost or corrupted. Follow these steps to remove external storage safely:- Locate the external storage device connected to your Lenovo laptop.
- Click on the “Safely Remove Hardware and Eject Media” icon located in the System Tray of your Windows taskbar.
- A list of connected devices will appear. Select the external storage device you want to remove.
- Wait for the prompt that confirms it is safe to remove the device.
- Gently remove the external storage device from the USB port.
Step 4: Selecting The Shutdown Option
When shutting down your Lenovo laptop, follow these steps to select the shutdown option. This process ensures a smooth and proper shutdown for your device.
To properly shut down your Lenovo laptop, you need to navigate through a few simple steps. In this step-by-step guide, we’ll focus on the fourth and crucial step, which is selecting the shutdown option. By following these instructions, you’ll ensure a smooth and safe shutdown every time.Accessing The Start Menu
To begin the shutdown process, you first need to access the Start Menu. This menu contains a variety of options and features that allow you to control your laptop efficiently. To open the Start Menu, follow these steps: 1. Locate the Windows logo icon at the bottom left corner of your screen. 2. Click on the Windows logo icon to open the Start Menu. Once you’ve opened the Start Menu, you’re ready to move on to the next step.Using The Power Options Menu
Within the Start Menu, you’ll find the Power Options menu. This menu provides several options for managing your laptop’s power settings. To select the desired shutdown option, follow these simple steps: 1. Within the Start Menu, locate the Power Options icon. It usually features a battery icon or a power button. 2. Click on the Power Options icon to open the menu. Once the Power Options menu opens, you’ll be presented with different choices for configuring your laptop’s power settings. Here’s how you can proceed: 1. Scan through the options until you find the “Shutdown” option. 2. Click on the “Shutdown” option to initiate the shutdown process. By selecting the “Shutdown” option, you’re instructing your Lenovo laptop to power off completely. In conclusion, shutting down your Lenovo laptop requires you to access the Start Menu and navigate through the Power Options menu. By following these simple steps, you can easily select the shutdown option and ensure a proper shutdown every time you turn off your laptop. Remember to save any unsaved work before initiating the shutdown process to avoid data loss.Step 5: Allowing The Laptop To Shutdown
The final step in properly shutting down your Lenovo laptop is allowing the device to complete the shutdown process. This is a crucial step to ensure that the laptop is safely powered off and that all running programs are safely closed.
Waiting For The Process To Complete
Once you have initiated the shutdown process by clicking the “Shut down” option, it’s important to be patient and allow the laptop to complete the shutdown sequence. This may take a few moments, especially if there are updates or tasks that the system needs to finalize before powering off. Avoid interrupting this process by navigating away or closing the laptop before the shutdown is complete. Patience in this step helps to ensure that the shut down is smooth and that all files and programs are safely closed.
Checking For Power Led Indicators
As the shutdown process is underway, keep an eye on the power LED indicators on your laptop. These indicators usually show when the laptop is actively running or is in sleep mode. During the shutdown process, these LEDs might flicker or turn off completely. This is a sign that the laptop is successfully powering down. It’s important to ensure that these indicators show that the laptop is no longer powered on before closing the lid or turning off the external power source.
Step 6: Verifying A Successful Shutdown
To ensure a successful shutdown on your Lenovo laptop, follow these steps. Click the Windows logo then select “Shut down” from the menu. Once the laptop is completely shut down, the process is verified.
After shutting down your Lenovo laptop, it’s essential to ensure that the process was successful. Here are a few ways to verify a successful shutdown:
Listening For Device Fan Sounds
Listen for any humming sounds from the device fan after shutdown.
Checking For Light Indicators
Look for any active or blinking light indicators on your laptop.
Step 7: Restarting Or Turning On The Laptop
Under Step 7, after shutting down your Lenovo laptop, the next step is to Restart or Turn On the device to resume using it.
Using The Power Button
Locate the power button usually found either on the top or side of your Lenovo laptop. Press and hold the button for about 5 seconds to turn the laptop on.
Selecting The Restart Option
To select the ‘Restart’ option, first, click on the ‘Start’ menu located at the bottom left corner of the screen. Next, click on the ‘Power’ button and then choose the ‘Restart’ option from the menu.
:max_bytes(150000):strip_icc()/lenovo-laptop-power-button-1-7e67852f96d34ef0b1b9b8460f226338.jpg)
Credit: www.lifewire.com
:max_bytes(150000):strip_icc()/003_reboot-lenovo-laptop-5210155-beedb95a2906439c9c9be7f3b31f5cbe.jpg)
Credit: www.lifewire.com
Frequently Asked Questions On How To Shut Down Lenovo Laptop
How Do I Shut Down My Lenovo Laptop Safely?
To shut down your Lenovo laptop safely, click on the Start Menu, select the Power option, and then click Shut Down. Wait for the laptop to turn off completely before closing the lid or unplugging any cables.
Can I Directly Press The Power Button To Shut Down My Lenovo Laptop?
Yes, you can press and hold the power button for about 5 seconds to force shut down your Lenovo laptop. However, this method is not recommended as it may lead to data loss or damage to the system. It’s best to use the proper shut down procedure.
What Should I Do If My Lenovo Laptop Doesn’t Shut Down?
If your Lenovo laptop doesn’t shut down, try pressing Ctrl+Alt+Delete and select the Task Manager option. In the Task Manager window, locate any unresponsive programs and end their tasks. If this doesn’t work, you can perform a hard shut down by pressing and holding the power button for about 5 seconds.
How Long Does It Take For A Lenovo Laptop To Shut Down?
The time it takes for a Lenovo laptop to shut down depends on various factors such as the number of background processes, system specifications, and installed software. On average, it should take about 10-20 seconds for a Lenovo laptop to shut down completely.
Conclusion
To wrap up, learning how to shut down your Lenovo laptop is a simple yet crucial skill. By following the steps outlined in this guide, you can ensure the smooth and efficient operation of your device. Embracing these practices will not only enhance your user experience, but also prolong the lifespan of your laptop.
0 comments