
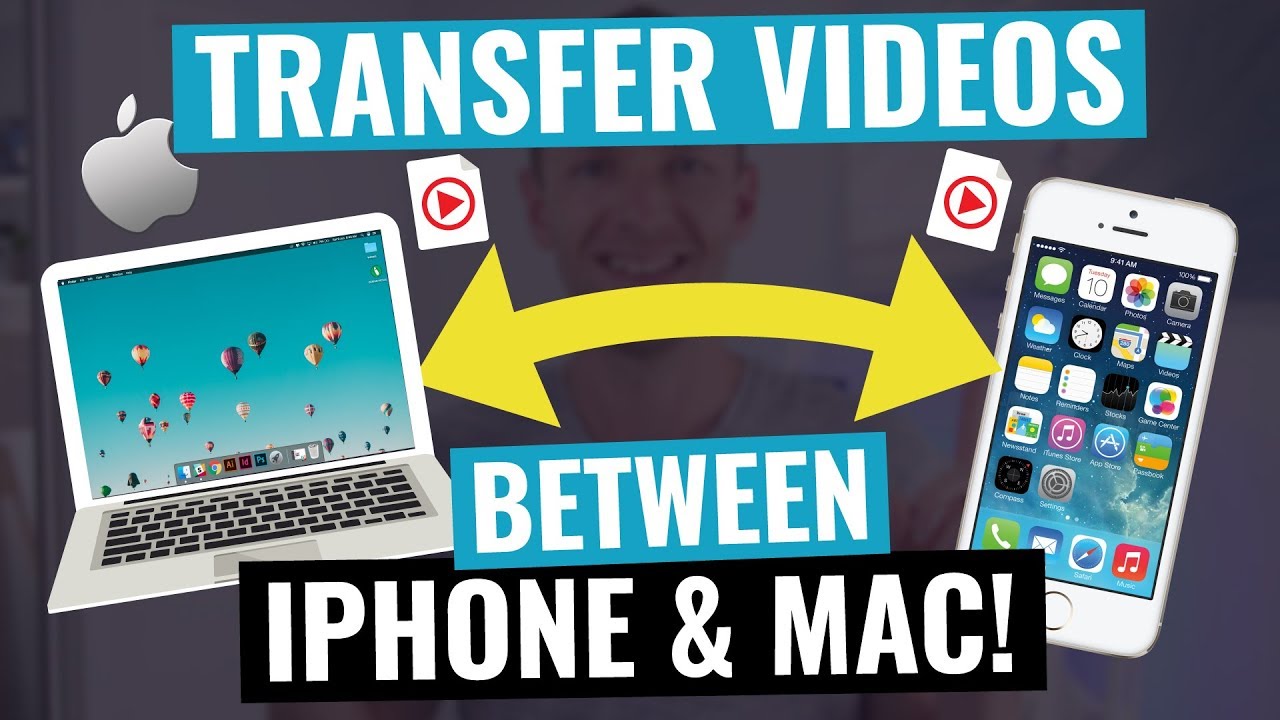
To transfer pictures & videos from iPhone to MacBook, connect devices using a USB cable. Open “Photos” app on MacBook, select the media to import, and click “Import” button.
Are you looking for a quick and easy way to transfer your precious photos and videos from your iPhone to your MacBook? In this guide, we will show you the most efficient method to seamlessly transfer your media files between your Apple devices without any hassle.
With just a few simple steps, you can ensure that your memories are safely backed up and easily accessible on your MacBook. Let’s dive into the process of transferring pictures and videos from your iPhone to your MacBook in a few easy steps.
Setting Up Your Devices
Setting up your devices to transfer pictures and videos from your iPhone to your MacBook is a simple process that ensures seamless connectivity and smooth data transfer. By following these steps, you can quickly establish a reliable connection between your iPhone and MacBook, allowing you to transfer your photos and videos effortlessly.
Connecting Your Iphone To Your Macbook
Begin by connecting your iPhone to your MacBook using a compatible USB cable. Ensure that both your devices are powered on and unlocked to initiate the connection. Once the devices are physically connected, your MacBook should detect the iPhone and prompt you to proceed with the transfer process.
Enabling Trust Between Your Iphone And Macbook
Upon connecting your iPhone to your MacBook for the first time, a prompt will appear on your iPhone’s screen, asking whether you trust the connected device. To enable trust, simply tap “Trust” on your iPhone, allowing your MacBook to access your device’s photos and videos for seamless transfer.
Choosing The Transfer Method
When transferring pictures and videos from your iPhone to MacBook, choosing the right transfer method is key. Each method has its advantages, so let’s explore your options:
Using Airdrop
Make sure both devices are near each other
Open the file on your iPhone and tap the Share icon
Select the MacBook you want to send the file to
Using The Photos App
Connect your iPhone to MacBook using a USB cable
Open the Photos app on your MacBook and select “Import”
Choose the photos and videos you want to transfer
Using Icloud Photos
Enable iCloud Photos on your iPhone and MacBook
Your photos and videos will sync automatically
Access them on both devices through the Photos app
Using A Third-party App
Download a trusted third-party app like Google Photos or Dropbox
Follow the app’s instructions to transfer your media files
Transferring Pictures & Videos Using Airdrop
Enabling Airdrop On Your Iphone And Macbook
To begin transferring pictures and videos using AirDrop, first ensure that AirDrop is enabled on both your iPhone and MacBook.
Selecting And Sending Files Through Airdrop
Once AirDrop is enabled, simply select the photos or videos you wish to transfer on your iPhone. Then, tap on the “Share” icon and choose the AirDrop option to send them to your MacBook.
Receiving Files On Your Macbook Via Airdrop
On your MacBook, keep AirDrop turned on and set it to receive files from either Contacts Only or Everyone. When a notification pops up, click “Accept” to save the transferred files.
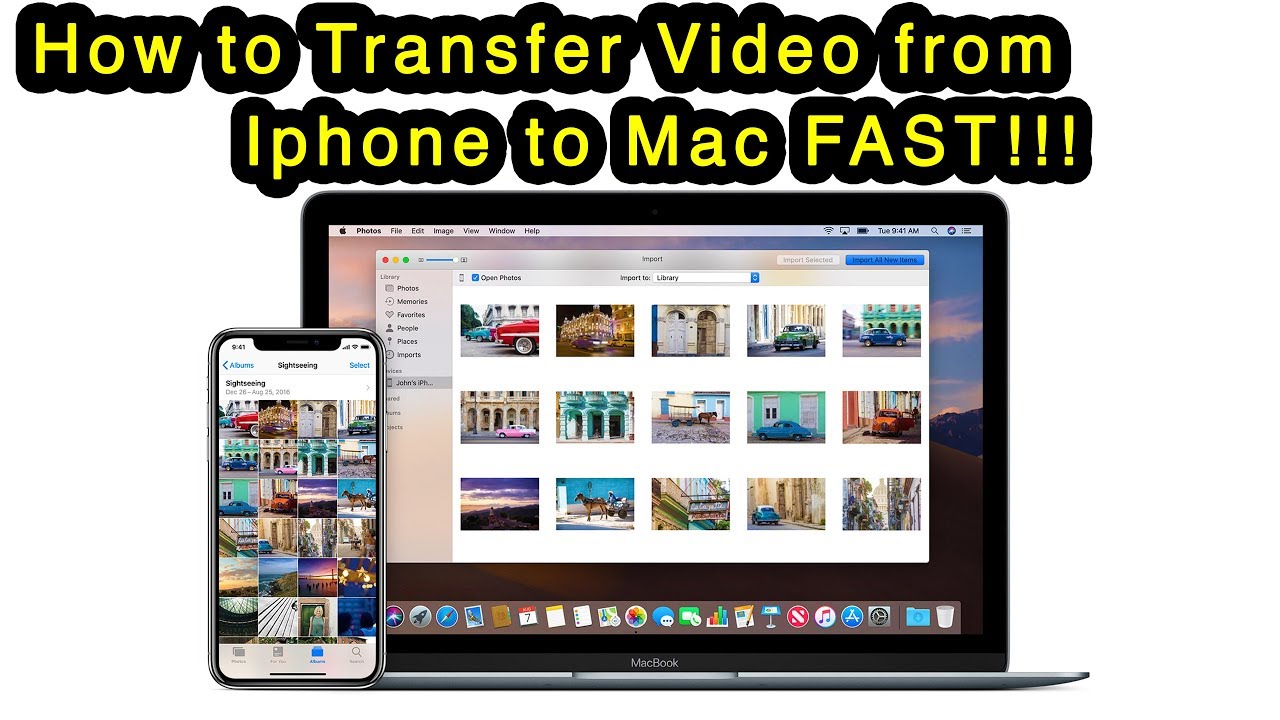
Transferring Pictures & Videos Using The Photos App
When it comes to transferring pictures and videos from your iPhone to your MacBook, the Photos app is a convenient tool that simplifies the process. The app allows you to import, organize, and manage your media seamlessly. In this guide, we’ll explore how to utilize the Photos app to transfer your iPhone’s pictures and videos to your MacBook with ease.
Importing Photos & Videos From Your Iphone To The Photos App
To import your photos and videos from your iPhone to your MacBook using the Photos app, follow these simple steps:
- Connect your iPhone to your MacBook using a USB cable.
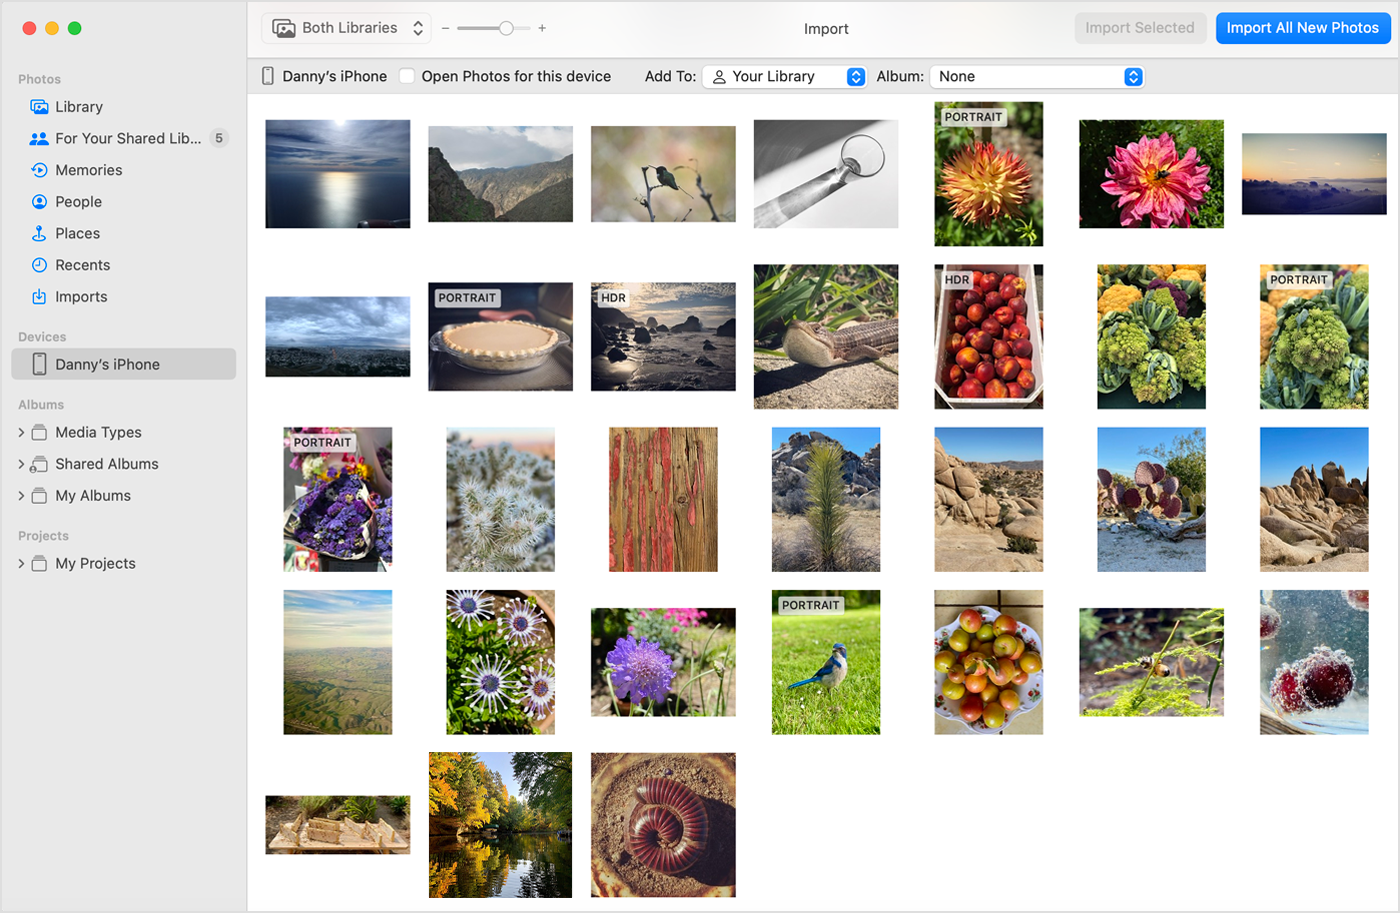
- Open the Photos app on your MacBook.
- Click on the “Import” tab located at the top of the app window.
- Select the photos and videos you want to import. You can choose to import all or select specific items.
- Click on the “Import Selected” or “Import All New Photos” button to initiate the transfer.
Organizing And Managing Imported Media
Once your photos and videos are successfully imported to the Photos app, you can organize and manage them efficiently. Here’s how you can do it:
- Create albums: Sort your media into albums for easy access.
- Add tags and keywords: Use keywords and tags to categorize and search for specific images and videos.
- Edit and enhance: The Photos app allows you to edit and enhance your media directly within the app.
- Share and export: Easily share your media or export them to other applications or devices.
Transferring Pictures & Videos Using Icloud Photos
Easily transfer your pictures and videos from iPhone to MacBook using iCloud Photos. Seamlessly sync your media files across devices for convenient access and storage. Effortlessly manage your digital assets without the hassle of manual transfers.
Enabling Icloud Photos On Your Iphone
To begin transferring your precious iPhone pictures and videos to your MacBook using iCloud Photos, you’ll need to ensure that iCloud Photos is enabled on your iPhone. This feature automatically syncs your media files across all your Apple devices, making it incredibly convenient to access them whenever you need. Here’s how you can enable iCloud Photos on your iPhone:- Go to the “Settings” app on your iPhone’s home screen.
- Scroll down and tap on “iCloud.”
- Next, tap on “Photos.”
- Toggle the “iCloud Photos” switch to the right to enable it.
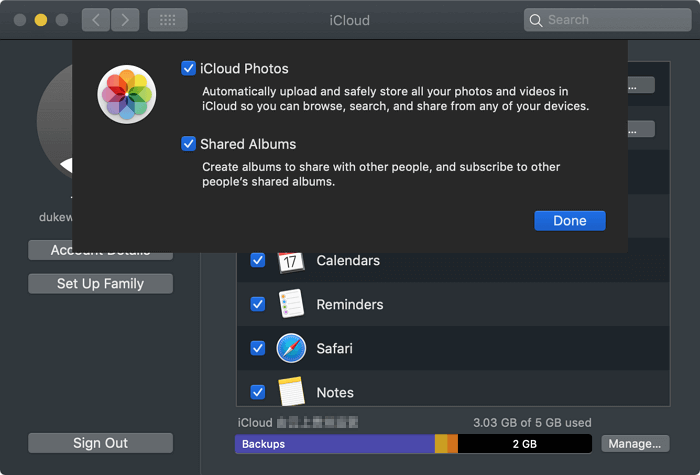
Enabling Icloud Photos On Your Macbook
Now that you’ve enabled iCloud Photos on your iPhone, let’s ensure it’s also set up on your MacBook. Enabling iCloud Photos on your MacBook will allow you to sync and access all your media files seamlessly. Follow the steps below to enable iCloud Photos on your MacBook:- Open the “Photos” app on your MacBook.
- In the top menu bar, click on “Photos,” and then select “Preferences.”
- Select the “iCloud tab.”
- Check the box next to “iCloud Photos.”
- Finally, click on “Done” to save your changes.
Syncing And Accessing Media Files
Once iCloud Photos is enabled on both your iPhone and MacBook, your pictures and videos will be seamlessly synced between the two devices. You can access them on your MacBook using the following steps:- Open the “Photos” app on your MacBook.
- You’ll find all your iCloud-synced media files in the “All Photos” album. Simply click on this album to view all your pictures and videos.
- To save a copy of any media file from iCloud to your MacBook, select the desired picture or video, and then click on “File” in the top menu bar. From the drop-down menu, click on “Export” and choose the desired location to save the file on your MacBook.
Credit: www.youtube.com
Transferring Pictures & Videos Using A Third-party App
Easily transfer your iPhone photos and videos to your MacBook using a third-party app. With a seamless and quick process, you can easily manage and backup your media files. Simply select the desired items and transfer them effortlessly using this efficient solution.
Choosing And Installing A Third-party App
Transferring pictures and videos from your iPhone to your MacBook can be a breeze by using a third-party app. While there are various options available, choosing the right app is crucial. Look for an app that is compatible with both your iPhone and MacBook, offers seamless integration, and has user-friendly features that suit your needs.
Here are the steps to choose and install a third-party app for transferring media files:
- Head to the App Store on your iPhone and search for third-party transfer apps. Some popular options include AirDrop, Google Photos, Dropbox, and Syncios.
- Read the reviews and ratings to get an idea of the app’s performance and reliability.
- Once you’ve chosen the app, simply tap on the “Get” or “Download” button to begin the installation process.
- Follow the on-screen instructions to complete the installation. Make sure to grant the necessary permissions for the app to access your media files.
Transferring Media Files Via The Third-party App
Once you have installed the third-party app on your iPhone, you’re ready to transfer your pictures and videos to your MacBook. Here’s an easy step-by-step guide:
- Launch the third-party app on your iPhone and ensure that it is connected to the same Wi-Fi network as your MacBook.
- Open the app on your MacBook. If required, sign in with your account details.
- On your iPhone, select the pictures and videos you want to transfer. You can usually do this by tapping on the files or selecting them from your albums.
- Look for the “Share” or “Export” option within the app and tap on it.
- A list of available devices for transferring will appear. Choose your MacBook from the list.
- Confirm the transfer on your MacBook, if prompted.
- The app will then initiate the transfer process, and you can monitor the progress on both your iPhone and MacBook.
- Once the transfer is complete, the pictures and videos will be saved on your MacBook for easy access and storage.
With a reliable third-party app and these simple steps, you can seamlessly transfer your pictures and videos from your iPhone to your MacBook, ensuring you never lose any precious memories. Now you can conveniently organize and edit your media files on your MacBook without any hassle.
Troubleshooting Common Issues
When transferring pictures and videos from your iPhone to your MacBook, you may encounter some common issues. It’s essential to troubleshoot these issues in order to ensure a smooth transfer process. Below are some of the most common problems users face when transferring media from their iPhone to their MacBook, along with troubleshooting tips to help you resolve them.
Issues With Connectivity
Sometimes, connectivity issues can interrupt the transfer of media files from iPhone to MacBook. This can occur due to a faulty cable or a problem with the USB port. Ensure the cable is not damaged and use a different port on your MacBook to check for connectivity.
Insufficient Storage Space
If your MacBook’s storage is full, you may encounter issues when transferring media from your iPhone. It’s essential to check the available storage on your MacBook and clear up space if necessary. Consider moving existing files to an external drive or deleting them to free up space for new media files.
Compatibility Issues
Incompatible software versions can lead to issues with photo and video transfer. Ensure that both your iPhone and MacBook are running the latest software versions to avoid compatibility problems. Updating your devices can often resolve these issues.
Photo And Video Quality
During the transfer process, the quality of photos and videos may be compromised. It’s important to check the settings on your iPhone to ensure that media files are being transferred in their original quality. Additionally, verify the import settings in the Photos app on your MacBook to ensure optimal quality.
File Corruption
File corruption can occur during the transfer of media from iPhone to MacBook, leading to inaccessible or damaged files. Consider using third-party transfer tools or apps to transfer media files if you encounter frequent file corruption issues.
Credit: mobi.easeus.com
Best Practices For Efficient Transfers
When transferring pictures and videos from your iPhone to your MacBook, following best practices can streamline the process and ensure that your media files are organized efficiently.
Cleaning Up Your Iphone Storage
To start the transfer process, delete unnecessary photos and videos from your iPhone to free up space. Focus on keeping only the files that you truly want to transfer to your MacBook.
Using Compressed File Formats
When transferring media files, consider using compressed file formats like HEIC for images and HEVC for videos. These formats save space on your devices without compromising quality.
Syncing Regularly With Icloud
Enable iCloud Photo Library on both your iPhone and MacBook to automatically sync your photos and videos. This simplifies the transfer process and ensures that your media files are easily accessible on all your devices.
Organizing And Labeling Your Media Files
Before transferring, take the time to organize your media files into folders based on themes, events, or dates. This will help you locate specific photos and videos quickly on your MacBook.
Credit: support.apple.com
Frequently Asked Questions On How Do I Transfer Pictures & Videos From Iphone To Macbook
How Can I Transfer Pictures And Videos From Iphone To Macbook?
To transfer pictures and videos from your iPhone to your MacBook, you can use the AirDrop feature, connect your iPhone to your MacBook with a USB cable and import them using the Photos app, or use iCloud Photos to sync your media across devices.
Can I Transfer Photos And Videos Wirelessly From Iphone To Macbook?
Yes, you can transfer photos and videos wirelessly from your iPhone to your MacBook using the AirDrop feature. Simply enable AirDrop on both devices, select the media you want to transfer on your iPhone, and choose your MacBook as the destination.
The files will be sent wirelessly and appear on your MacBook.
How Do I Transfer Pictures And Videos From Iphone To Macbook Using A Usb Cable?
To transfer pictures and videos from your iPhone to your MacBook using a USB cable, connect your iPhone to your MacBook using the cable provided. Unlock your iPhone and tap ‘Trust’ on the prompt that appears. Then, open the Photos app on your MacBook and import the media from your iPhone.
Can I Automatically Sync My Iphone Photos And Videos With My Macbook?
Yes, you can sync your iPhone photos and videos with your MacBook using iCloud Photos. Enable iCloud Photos on both your iPhone and MacBook, and your media will automatically sync across devices. This allows you to access and manage your photos and videos seamlessly on both devices.
Conclusion
Transferring photos and videos from your iPhone to your MacBook is a simple process that can be accomplished using various methods. Whether you prefer using iCloud, AirDrop, or a USB cable, each option offers its own benefits. By following the steps outlined in this post, you can easily and quickly transfer your media files with ease.
0 comments