
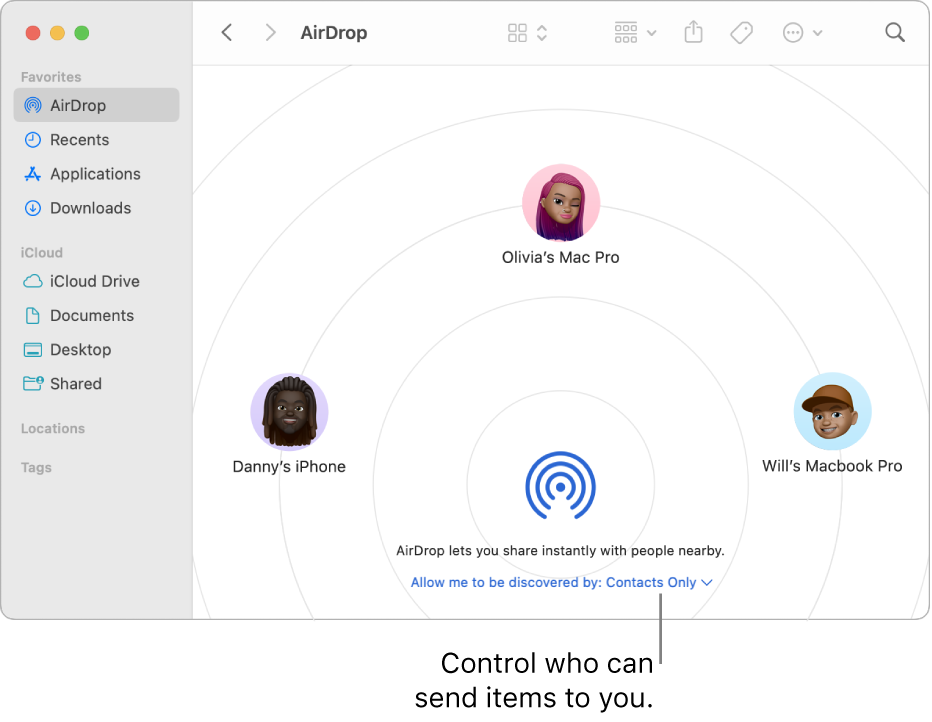
To turn on Airdrop on a Macbook, go to Finder and select Airdrop from the sidebar. Then, click on “Allow me to be discovered by” and choose either Contacts only or Everyone.
Airdrop is a handy feature that allows you to wirelessly share files between Apple devices such as Macbooks, iPhones, and iPads. It’s a convenient way to transfer photos, documents, and other files quickly and easily. By enabling Airdrop on your Macbook, you can seamlessly share content with friends, family, or colleagues without the need for cables or external drives.
In this guide, we’ll walk you through the simple steps to turn on Airdrop on your Macbook so you can start sharing files effortlessly.
Credit: support.apple.com
Enabling Airdrop On A Macbook
To turn on Airdrop on a Macbook, simply open the Finder window and select “Airdrop” from the sidebar. Then, adjust your Airdrop settings as per your preferences. This will enable Airdrop on your Macbook, allowing seamless file sharing with other Apple devices.
Enabling Airdrop on a Macbook Accessing the Control Center To enable Airdrop on your Macbook, you will need to access the Control Center. This feature allows for seamless file sharing among Apple devices. Turning on Airdrop Turning on Airdrop is a simple process that ensures you can quickly share files with nearby Apple devices. By following the steps below, you can easily activate Airdrop on your Macbook. Navigating to the Control Center First, located at the top-right corner of your Macbook, click on the Control Center icon. This will open a dropdown menu with various quick-access settings, including Airdrop. Select Airdrop From the Control Center, click on the Airdrop icon. This will bring up a new window with options for enabling Airdrop and setting your device’s visibility settings. Choosing Your Visibility In the Airdrop window, you can select who can see your Macbook for Airdrop purposes. Choose from the options “Off,” “Contacts Only,” or “Everyone” to determine who can send files to your device. Enabling Airdrop To enable Airdrop, simply click on the “Allow me to be discovered by…” option that best suits your preference. Your Airdrop is now turned on and ready for use. By following these simple steps, you can quickly and easily enable Airdrop on your Macbook, making it effortless to share files with other Apple devices.
Credit: support.apple.com
Customizing Airdrop Settings
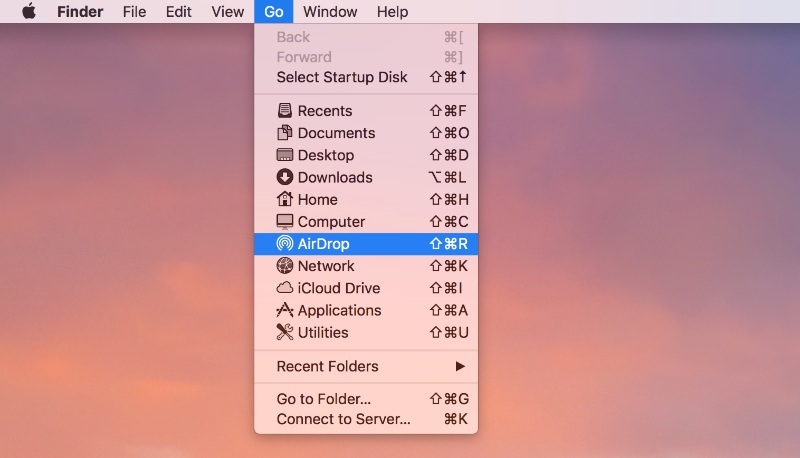
To customize Airdrop settings on a Macbook, simply go to the Finder menu, click on “Go,” and select “AirDrop. ” From there, you can adjust your Airdrop settings to suit your preferences.
Adjusting Airdrop Discoverability
To modify Airdrop visibility, go to the Finder on your MacBook. Click on “Go” and then choose “Airdrop.” Next, adjust settings to either “Contacts Only” or “Everyone.”
Choosing Who Can Send You Files
Selecting who can send you files is simple: navigate to the Airdrop window and click on the “Allow me to be discovered by” section. Here, select from: “Contacts Only” or “Everyone.”
Allowing Airdrop Between Older Macs
For compatibility with older Macs, you may need to adjust settings. To allow Airdrop with older Macs, open the Finder, go to Airdrop, and then select “Allow me to be discovered by” to ensure successful transfers.
Troubleshooting Airdrop Issues
To turn on Airdrop on a MacBook, users can follow a simple process. By accessing the Finder menu, selecting Airdrop, and adjusting the settings, individuals can troubleshoot any Airdrop issues they may encounter.
Ensuring Wi-fi And Bluetooth Are Enabled
Wi-Fi and Bluetooth must be active for Airdrop to work properly.
Checking Airdrop Visibility
Confirm that Airdrop is set to receive files from “Everyone” or “Contacts Only”.
Restarting The Mac And Ios Device
Power off both devices, then turn them back on to refresh connections.
Credit: www.cleverfiles.com
Frequently Asked Questions On How Do You Turn On Airdrop On A Macbook
How Do You Turn On Airdrop On A Macbook?
To turn on Airdrop on your Macbook, go to Finder and click on “Go” in the menu bar. Then select “Airdrop” from the drop-down menu. In the Airdrop window, make sure it is set to “Everyone” or “Contacts Only. ” This will enable Airdrop on your Macbook, allowing you to share files wirelessly with other Apple devices.
How Can I Share Files Using Airdrop On My Macbook?
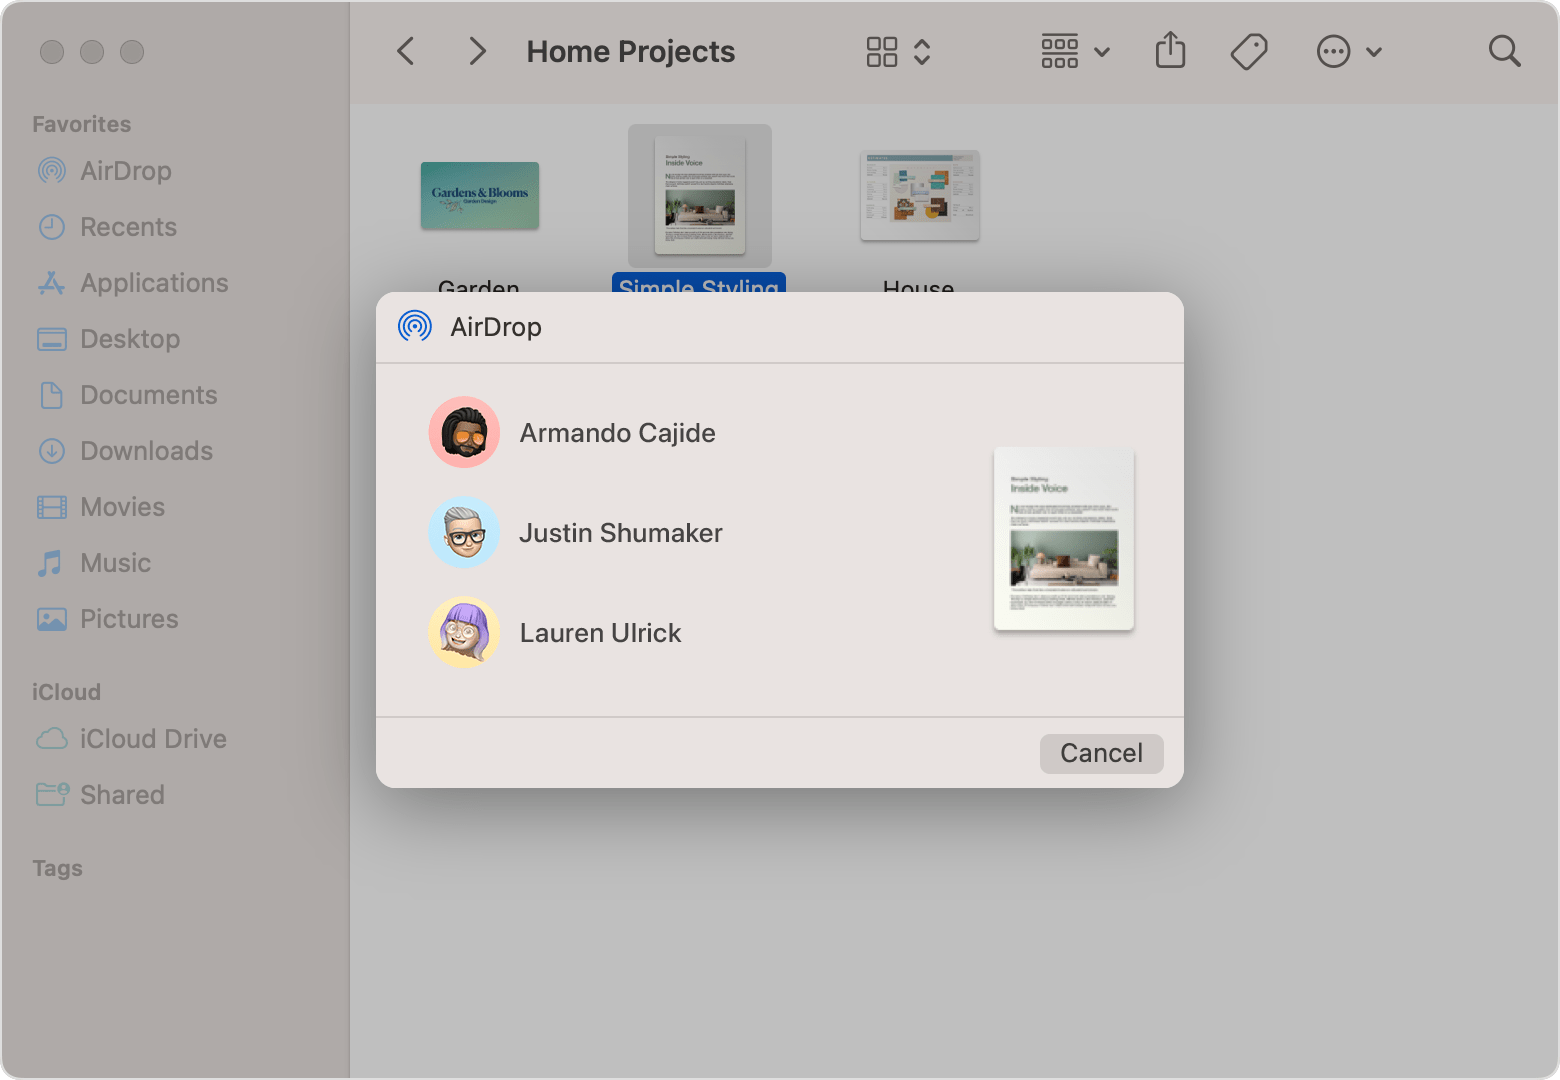
To share files using Airdrop on your Macbook, simply open the file or folder that you want to share. Then right-click on it and select “Share” from the drop-down menu. In the sharing options, choose “Airdrop” and select the recipient’s device from the list.
Click “Share” to send the file via Airdrop.
Can I Airdrop Files From My Macbook To An Iphone?
Yes, you can Airdrop files from your Macbook to an iPhone. Make sure both devices have Airdrop turned on and are connected to the same Wi-Fi network. Then, on your Macbook, open the file or folder you want to share, right-click, and select “Share.
” Choose the recipient’s iPhone from the Airdrop options and click “Share. “
How Do I Receive Files Using Airdrop On My Macbook?
To receive files using Airdrop on your Macbook, ensure Airdrop is turned on and set to receive from “Everyone” or “Contacts Only. ” When someone tries to send you a file via Airdrop, you will receive a notification on your Macbook.
Click “Accept” to receive the file, and it will be saved in your Downloads folder.
Conclusion
To sum up, using Airdrop on your Macbook can greatly enhance your file-sharing experience. Whether you’re transferring photos, documents, or any other file types, Airdrop provides a convenient and efficient solution. By following the simple steps outlined in this guide, you can easily turn on Airdrop and start sharing files seamlessly with other Apple devices.
Embrace the convenience and speed that Airdrop offers for your file sharing needs.
0 comments