
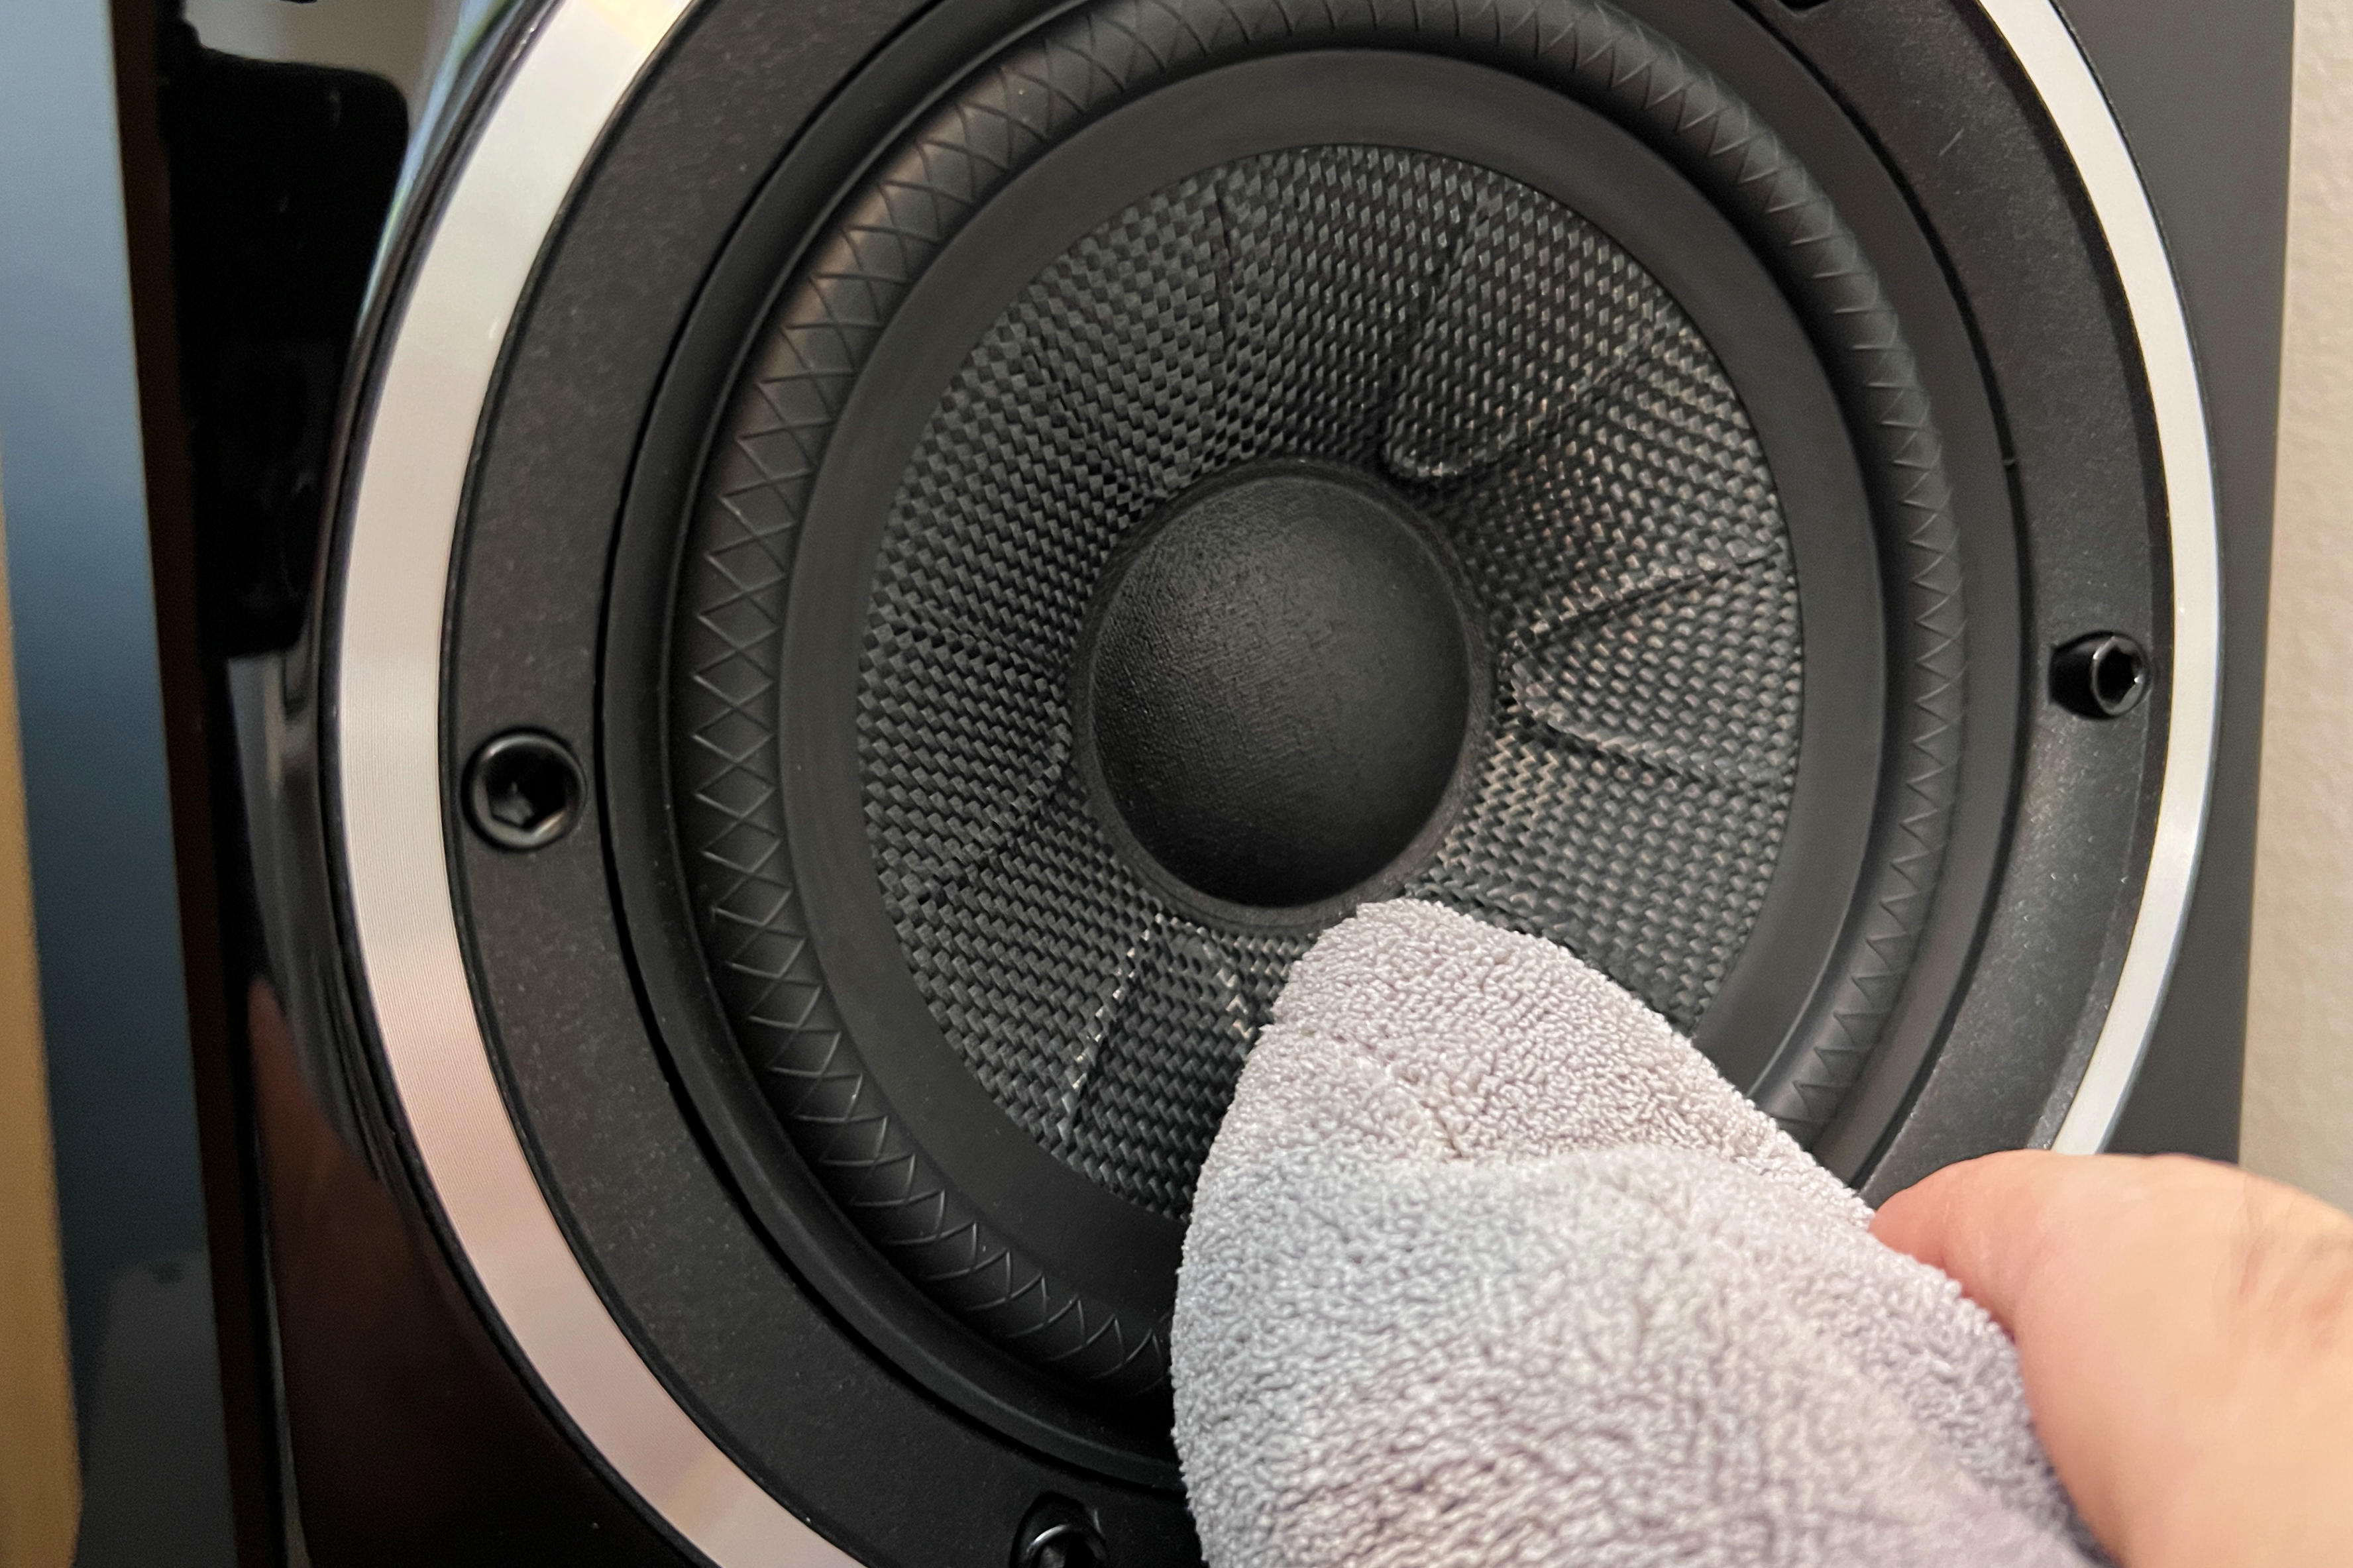
To clean speakers, use a microfiber cloth to wipe the exterior. Gently remove dust and debris.
Speakers are essential for delivering high-quality sound in various devices, from laptops to home entertainment systems. Over time, dust and dirt can accumulate on the speakers, affecting their performance. Regular cleaning not only maintains the appearance of the speakers but also ensures optimal sound quality.
By following simple cleaning techniques, you can prolong the lifespan of your speakers and enjoy crystal-clear sound output. We will discuss effective methods for cleaning speakers to keep them in top condition. Let’s explore how to easily clean speakers and enhance your audio experience.
Credit: www.digitaltrends.com
Why Clean Your Speakers?
Why Clean Your Speakers?
Cleaning your speakers is crucial to maintaining their performance and longevity. Over time, dust, dirt, and grime can build up on the speaker cones, dampening the sound quality and impacting the overall audio experience. Regular cleaning not only enhances the sound quality but also extends the lifespan of your speakers, preventing damage and ensuring they continue to deliver excellent audio performance.
Enhance Sound Quality
Regularly cleaning your speakers prevents dirt and dust from accumulating on the speaker cones, which can negatively impact the sound quality. By keeping the drivers and cones clean, you ensure that the audio produced is clear, detailed, and free from distortions, thus enhancing the overall sound quality of your speakers.
Extend Speaker Lifespan
Clean speakers are less prone to damage and wear and tear, thus extending their lifespan. By removing dust and debris, you protect the delicate components of the speakers, such as the drivers and crossovers, allowing them to function optimally for a longer period. This maintenance contributes to prolonging the overall lifespan of your speakers.
Prevent Damage
Cleaning your speakers prevents debris from causing damage to the sensitive components, such as the speaker cones and voice coils. Dust and dirt can accumulate and cause overheating, leading to malfunctions and failures. By regularly cleaning your speakers, you can prevent potential damage and ensure that they continue performing at their best.
Precautions Before Cleaning
Before cleaning your speakers, always disconnect them from power sources. Use a soft, dry cloth to remove dust gently. Avoid any liquids to prevent damage. Check manufacturer’s guidelines for specific cleaning instructions. Use caution not to push dirt into speaker openings.
Be mindful of fragile components while cleaning.
Unplug Your Speakers
Make sure to unplug your speakers from the power source before cleaning.
Remove Speaker Grills
Take off the speaker grills carefully to access the interior of the speaker.
Removing Dust And Debris
To maintain the quality and performance of your speakers, it is essential to regularly clean them. Dust and debris can accumulate over time, affecting the sound output. In this blog post, we will discuss effective methods for removing dust and debris from your speakers.
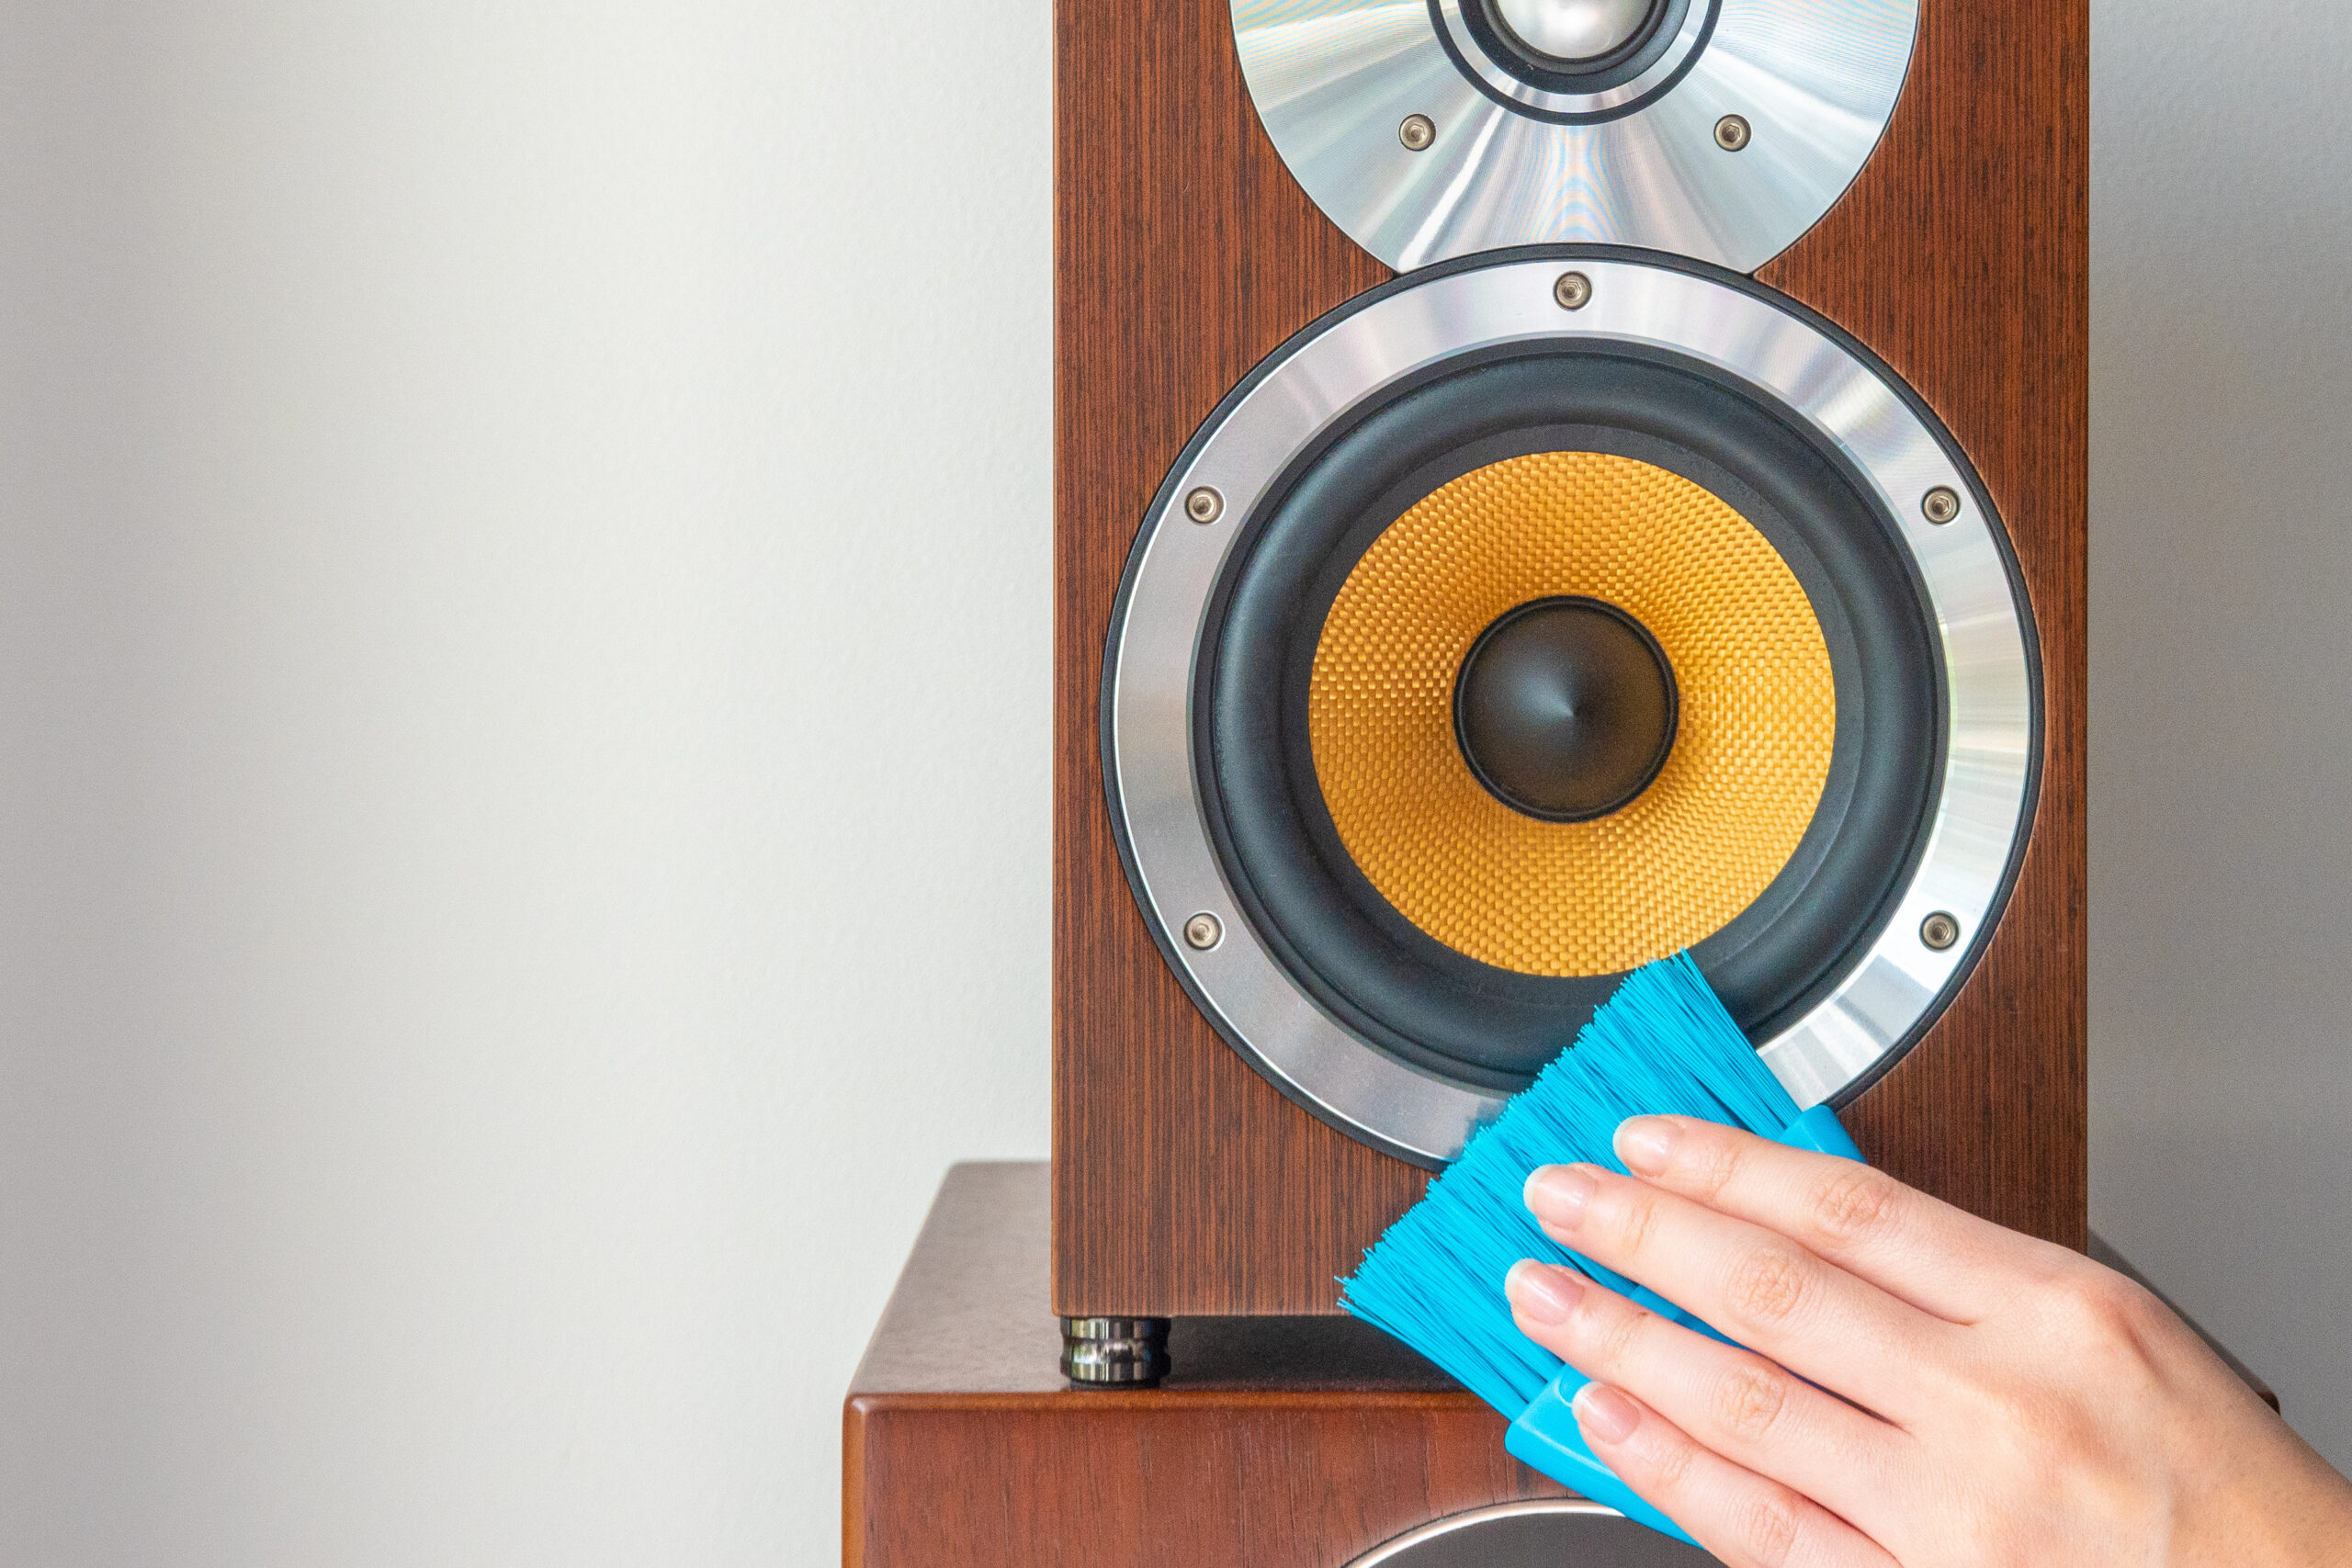
Using A Soft Brush
A soft-bristled brush is a gentle yet efficient tool for removing dust and debris from speaker grilles and crevices. Gently brush the surface to dislodge dirt without causing damage.
Using Compressed Air
Compressed air is an effective way to blow away dust particles from hard-to-reach areas. Ensure to hold the can upright and maintain a distance to prevent damage.
Cleaning Speaker Grills
Cleaning your speaker grills is an essential part of speaker maintenance to ensure that they produce the best sound quality. Over time, dirt, dust, and grime can accumulate on the grills, impacting the performance of your speakers. In this section, we will discuss how to effectively clean your speaker grills to maintain their appearance and functionality.
Removing The Grills
Before cleaning the speaker grills, it is necessary to remove them from the speakers. Carefully inspect the grills for any screws or clips holding them in place. Use a screwdriver or any appropriate tool to loosen the screws and carefully detach the grills from the speakers. Be mindful of any wires that may be attached to the grills, and ensure that they are disconnected properly before proceeding.
Washing The Grills
Once the grills are removed, it’s time to wash them to eliminate the built-up dirt and grime. Prepare a solution of warm water and mild dish soap in a bowl. Carefully immerse the grills in the soapy water and use a soft-bristled brush or a microfiber cloth to gently scrub away the dirt. Rinse the grills thoroughly with clean water and pat them dry with a clean cloth. Ensure that the grills are completely dry before reattaching them to the speakers to prevent any damage.
Cleaning Speaker Cabinets
When it comes to cleaning speakers, it’s important to pay attention to the speaker cabinets as well. Over time, these cabinets can accumulate dust, dirt, and grime, affecting the overall sound quality of your speakers. In this section, we will explore the different types of speaker cabinets and provide step-by-step instructions on how to clean both wooden and plastic cabinets.
Types Of Speaker Cabinets
Before you begin cleaning your speaker cabinets, it’s crucial to identify the material they are made of. This will help you choose the most suitable cleaning method to avoid any potential damage. In general, speaker cabinets are commonly made of either wood or plastic.
Cleaning Wooden Cabinets
If your speaker cabinets are made of wood, they require special care as improper cleaning methods can lead to discoloration or surface damage. Follow these steps to effectively clean wooden speaker cabinets:
- Start by dusting off the surface of the cabinets using a soft, dry cloth. This will remove any loose debris or particles.
- Prepare a mild cleaning solution by mixing a small amount of gentle dish soap with warm water.
- Dampen a clean cloth with the soapy solution and wring out any excess moisture. It’s important to avoid soaking the wood with water.
- Gently wipe the cabinet surface in a circular motion, paying special attention to any stubborn stains or grime. Be cautious not to apply excessive pressure as this may damage the wood.
- Once you have cleaned the cabinets, use a separate damp cloth to remove any soap residue.
- Dry the cabinets thoroughly with a soft, lint-free cloth to prevent moisture from seeping into the wood.
- To enhance the natural shine of the wood, you can apply a small amount of furniture polish specifically designed for wood surfaces. Follow the instructions on the polish bottle for best results.
Cleaning Plastic Cabinets
If your speaker cabinets are made of plastic, they are generally easier to clean compared to wooden cabinets. Follow these steps to effectively clean plastic speaker cabinets:
- Start by removing any loose debris or dust from the cabinet surface using a soft, dry cloth.
- Prepare a solution of warm water and mild dish soap.
- Dampen a clean cloth with the soapy solution and gently wipe the cabinet surface to remove any stains or grime. Avoid using abrasive or harsh cleaners as they can damage the plastic.
- Rinse the cabinets with clean water to remove any soap residue.
- Dry the cabinets thoroughly with a soft cloth to prevent water spots.
- If there are any stubborn stains on the plastic cabinets, you can use a mixture of baking soda and water to create a paste. Apply the paste to the stains and gently rub in a circular motion. Rinse off the paste and dry the cabinets.
By following these cleaning methods, you can ensure that your speaker cabinets stay clean, allowing you to enjoy optimal sound quality. Remember to always refer to the manufacturer’s guidelines for specific cleaning instructions, especially if your speakers have unique materials or finishes.
Cleaning Speaker Connections
To clean speaker connections, gently disconnect the speaker wires and use a soft brush or compressed air to remove any dust or debris. Then, reattach the wires securely to ensure a clear and uninterrupted sound quality. Regular cleaning of speaker connections helps maintain optimal performance.
Inspecting The Connections
Start by inspecting the connections on your speakers to ensure they are clean and free from any debris or dust. Dirty connections can negatively impact the sound quality and overall performance of your speakers. Follow these steps to inspect the connections:
- Turn off the power and unplug the speakers from any power source.
- Carefully examine the speaker connections for any signs of dirt, corrosion, or loose connections.
- Check if the cables are firmly connected to the speakers and the audio source.
Cleaning The Connections
Once you have inspected the connections, it’s time to clean them to ensure optimal performance. Follow these steps to clean the connections on your speakers:
Using a Soft Brush to Remove Debris
Take a soft brush, such as a clean paintbrush or a toothbrush, and gently brush away any visible dirt or debris from the connections. Be careful not to apply too much pressure, as you could damage the connections.
Using Compressed Air to Remove Dust
If there is dust trapped in the connections, you can use compressed air to remove it. Hold the can of compressed air upright and use short bursts to blow away the dust. Make sure to keep a distance of a few inches between the can and the connections to avoid any damage.
Using Isopropyl Alcohol for Stubborn Stains or Corrosion
If you notice stubborn stains or corrosion on the connections, dampen a cotton swab with isopropyl alcohol and gently rub the affected areas. The alcohol will help dissolve the stains or corrosion, leaving the connections clean.
Reconnecting the Cables
After cleaning the connections, make sure to reconnect the cables securely. Ensure that they are inserted fully and tightened properly to ensure a proper connection.
Remember, keeping your speaker connections clean is important for maintaining the best sound quality. Regularly inspecting and cleaning the connections will help prolong the life of your speakers and ensure they perform at their best. So take some time to clean those connections and enjoy crisp and clear audio.Avoiding Liquid Damage
When it comes to keeping your speakers clean, knowing how to avoid liquid damage is essential. Water and other liquids can cause irreversible harm to your speakers, affecting their sound quality and overall performance. In this guide, we’ll walk you through some dry cleaning methods and practical tips to prevent water damage and help you maintain your speakers in top condition.
Using Dry Cleaning Methods
Dry cleaning methods are the safest way to keep your speakers clean without risking liquid damage. You can start by using a soft-bristled brush or a microfiber cloth to gently remove any dust or dirt on the speaker’s surface. Avoid using liquid-based cleaning products, as they can seep into the speaker components and cause damage. If necessary, you can use a can of compressed air to blow away any stubborn debris from the crevices of the speakers.
Preventing Water Damage
Preventing water damage is crucial to the longevity of your speakers. Keep your speakers away from areas where they are likely to come into contact with liquids, such as kitchens, bathrooms, or outdoor spaces during rainy weather. When cleaning the area around your speakers, use caution and avoid using any water-based cleaning products that could potentially spill onto the speakers. In case of accidental spills or water exposure, immediately power off the speakers and allow them to thoroughly dry before using them again.

Credit: www.wikihow.com
Regular Maintenance Tips
Regular maintenance is essential to keep your speakers in top shape. To clean them, use a soft cloth to remove dust and grime. Gently wipe the speaker cones and grills, being careful not to apply too much pressure. Avoid using harsh cleaning agents that can damage the speakers.
Regular Maintenance Tips Dust Prevention Cleaning Frequency How often you should clean your speakers will depend on usage and environment. Generally, aim to clean them once a month to prevent dust buildup and maintain optimal performance. Unplug the speakers before cleaning to avoid any electrical hazards or damage. Dust Prevention – Keep speakers covered when not in use to prevent dust accumulation. – Regularly dust the speaker grill with a soft brush or microfiber cloth to avoid debris entering the speaker components. Cleaning Frequency – Clean speakers monthly to prevent dust buildup. – Deep clean the speakers every 3-6 months for a thorough maintenance routine. Remember to read the manufacturer’s instructions for specific cleaning recommendations tailored to your speaker model.Credit: www.businessinsider.com
Frequently Asked Questions For How To Clean Speakers
How Often Should You Clean Your Speakers?
It’s recommended to clean your speakers every few months to prevent dust and dirt buildup. Regular cleaning helps maintain sound quality and prolongs the life of your speakers.
What Is The Best Way To Clean Speakers?
To clean your speakers, start by using a soft, dry cloth to remove any loose dust or dirt. Then, lightly dampen a cloth with water or a mild cleaning solution and gently wipe the speaker surface. Avoid using abrasive cleaners or submerging the speakers in water.
Can I Use A Vacuum Cleaner To Clean My Speakers?
It’s not recommended to use a vacuum cleaner on speakers as the strong suction can damage delicate speaker components. Stick to using a soft cloth and gentle cleaning methods to prevent any potential harm to your speakers.
Conclusion
Keeping your speakers clean is essential for optimal performance and longevity. By following the simple steps outlined in this guide, you can ensure that your speakers produce high-quality sound for years to come. Regular maintenance and gentle cleaning will not only enhance the appearance of the speakers but also maintain their functionality.
Follow these tips to keep your speakers in top condition.
0 comments