
To connect a Logitech mouse, plug the USB receiver into your computer’s USB port. Turn on the mouse using the power switch located on its underside.
In today’s digital world, a reliable and efficient mouse can greatly enhance your computing experience. Logitech, a trusted brand known for its quality peripherals, offers a range of mice to suit different needs and preferences. Whether you’re a gamer, designer, or casual user, a Logitech mouse provides precision and comfort for seamless navigation and control.
Connecting your Logitech mouse is a simple process that can be done quickly to start enjoying its benefits right away. Follow these steps to set up your Logitech mouse effortlessly and get ready to experience improved productivity and ease of use in your everyday tasks.

Credit: www.wikihow.com
Checking Compatibility
To check compatibility and connect a Logitech mouse, ensure that the device is compatible with your operating system. Visit Logitech’s official website to download the required software and drivers for seamless connectivity. Simply follow the step-by-step instructions provided to complete the setup and start using your Logitech mouse effortlessly.
Checking Compatibility System Requirements Before connecting your Logitech mouse, it’s essential to ensure that your system meets the necessary requirements. Compatible operating systems include Windows 7, 8, 10, macOS 10.10 or later, and any Chrome OS devices. It’s also good to have an available USB port or a Bluetooth connection for wireless mice. Mouse Compatibility Logitech offers a wide range of mice, from simple wired models to advanced wireless options. Make sure to check the compatibility of your Logitech mouse with your specific system. Some Logitech mice are designed specifically for gaming or productivity, while others are more suited for general use. When choosing a Logitech mouse, consider the size, shape, and functionality that best suits your needs. Whether you’re a graphic designer, gamer, or office worker, Logitech has a mouse that’ll provide the comfort and precision you need. By ensuring your system meets the requirements and selecting the right Logitech mouse for your needs, you can connect your mouse with ease and enjoy seamless functionality.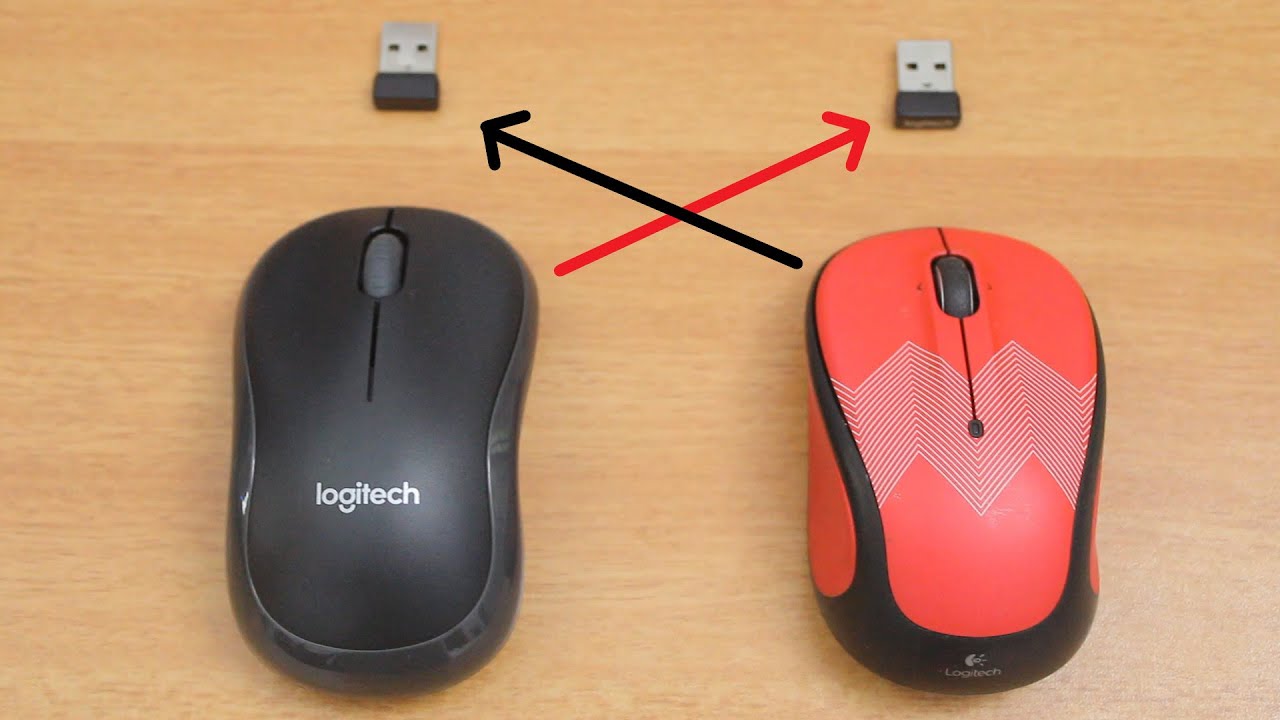
Credit: m.youtube.com
Preparing Your Computer
Before connecting your Logitech mouse, it’s important to prepare your computer to ensure a smooth setup process. This involves shutting down the computer and removing any existing mouse drivers to avoid conflicts.
Shutting Down The Computer
1. Click on the Start menu in the bottom-left corner of the screen.
2. Select the Power button and choose Shut Down to turn off your computer completely.
Removing Existing Mouse Drivers
1. Go to the Control Panel by searching for it in the Start menu.
2. Click on Hardware and Sound, then select Device Manager.
3. Locate the current mouse driver under Mice and other pointing devices.
4. Right-click on the driver and select Uninstall to remove it from your computer.
Connecting The Mouse
To successfully connect your Logitech mouse, follow these simple steps:
Inserting Batteries
1. Twist the bottom cover off the mouse.
2. Insert the required batteries as indicated inside.
3. Securely put back the bottom cover.
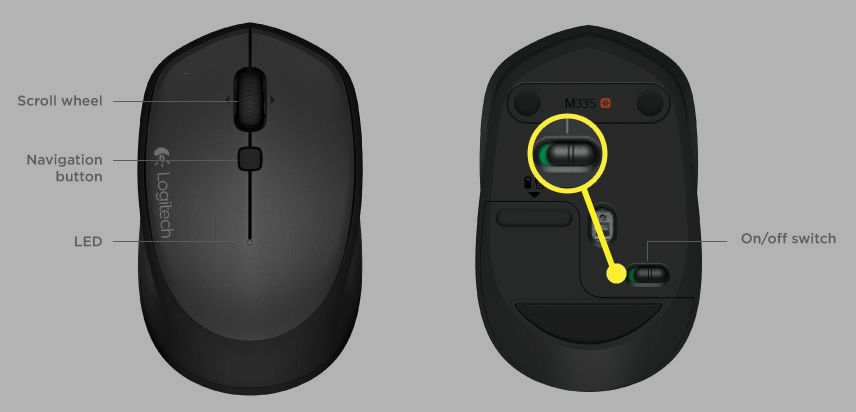
Turning On The Mouse
1. Find the power switch on the underside of the mouse.
2. Slide the switch to the ‘ON’ position.
Locating Usb Receiver
1. Check if your Logitech mouse has a USB receiver.
2. If Yes, it is usually found in the battery compartment.
Syncing The Mouse
Learn how to connect and sync a Logitech mouse effortlessly with this easy-to-follow guide. Get your mouse set up and ready to use in no time.
` Connecting a Logitech mouse is a straightforward process that ensures seamless operation with your computer. Syncing the mouse involves activating the connection between the mouse and the computer, which can be achieved by following a few simple steps. Below, we outline the process of syncing a Logitech mouse, from pressing the connect buttons to waiting for the connection to be established. `Pressing Connect Buttons
` To initiate the syncing process, locate the connect button on both the Logitech mouse and the computer. Press and hold the connect button on the mouse for a few seconds until the LED light starts flashing. Simultaneously, locate the connect button on your computer, which may be situated on the receiver or the computer itself. Press and hold the connect button on the computer to activate the syncing mode. `Waiting For Connection
` Once the connect buttons have been pressed, allow a few moments for the devices to establish the connection. Wait for the LED light on the Logitech mouse to stop flashing, indicating that the syncing process is complete. During this time, ensure that the mouse is placed within a reasonable range of the computer to facilitate a successful connection. By following these simple steps, you can effectively sync your Logitech mouse with your computer, ensuring optimal functionality and performance.Installing Software
To connect a Logitech Mouse, first, ensure that the device is powered on. Then, insert the USB receiver into the computer’s USB port. Once connected, the computer should recognize the mouse and automatically install the necessary software.
Downloading Logitech Options
To start the installation process for your Logitech mouse, the first step is to download the Logitech Options software. This software allows you to customize and enhance your mouse’s functionality, ensuring a tailored experience to suit your specific needs.Installing Logitech Options
Once you have downloaded the Logitech Options software, the next step is to install it on your computer. Follow these simple steps to complete the installation process:- Locate the downloaded Logitech Options software file on your computer.
- Double-click on the file to initiate the installation wizard.
- Follow the on-screen instructions to proceed with the installation.
- Read and accept the end-user license agreement.
- Select the destination folder where you want to install the software.
- Choose any additional components or features you want to include in the installation.
- Click on the “Install” button to begin the installation process.
- Wait for the software to be installed on your computer. This may take a few minutes.
- Once the installation is complete, click on the “Finish” button to exit the installation wizard.
Credit: www.youtube.com
Customizing Mouse Settings
When it comes to using a Logitech mouse, customizing the settings can greatly enhance your user experience. From adjusting cursor speed to assigning button functions, these settings allow you to personalize your mouse to suit your needs and preferences. In this article, we will guide you through the process of customizing your Logitech mouse settings, ensuring that you can navigate seamlessly and efficiently.
Adjusting Cursor Speed
If you find that the cursor on your Logitech mouse is moving too slow or too fast, adjusting the cursor speed can help you achieve the perfect balance. To adjust the cursor speed, follow these simple steps:
- First, open the Logitech Options software on your computer.
- Select your Logitech mouse from the list of devices.
- Click on the “Point & Scroll” tab.
- Locate the “Cursor Speed” option and adjust the slider to your desired speed.
- Test the cursor speed by moving your mouse and make further adjustments if needed.
By fine-tuning the cursor speed, you can achieve precise control over your Logitech mouse, making it easier to navigate through documents, websites, and applications.
Assigning Button Functions
One of the advantages of using a Logitech mouse is the ability to assign specific functions to each of the buttons. This allows you to customize your mouse to perform tasks with just a click of a button. To assign button functions, follow these steps:
- Open the Logitech Options software on your computer.
- Select your Logitech mouse from the device list.
- Click on the “Button Customization” tab.
- Choose the button you want to customize from the list.
- Select the desired function from the dropdown menu.
- Click “Apply” to save the changes.
Whether you want to assign a button to open a specific program, perform a keyboard shortcut, or execute a macro, the ability to customize button functions provides you with a shortcut to increased productivity.
Troubleshooting
When connecting your Logitech mouse, you might encounter some issues. Below are common problems with their solutions to help you troubleshoot your Logitech mouse connection swiftly.
Mouse Not Detected
If your Logitech mouse is not being detected, check the USB connection. Ensure the USB cable is firmly inserted into the port. Try using a different USB port to see if the mouse is recognized. If not, the issue might be with the mouse or the computer’s USB ports. Contact customer support for further assistance.
Cursor Not Moving
If your Logitech mouse is connected but the cursor is not moving, check the mouse’s batteries if it’s a wireless mouse. If the batteries are low, replace them with new ones. For a wired mouse, make sure the mouse is clean and the surface it’s used on is not reflective, which can disrupt the mouse’s sensor. If the issue persists, check for any driver updates on the Logitech website to ensure compatibility with your operating system.
Cleaning And Maintenance
Learn how to connect a Logitech mouse with these easy cleaning and maintenance steps. Simply use a soft cloth and isopropyl alcohol to clean the sensor and exterior of the mouse. To keep your device in top condition, make sure to remove any particles and dust from the mouse’s buttons and scroll wheel.
Cleaning and Maintenance Keeping your Logitech mouse clean and well-maintained is crucial for its longevity and optimal performance. Regular cleaning and battery replacement are simple tasks that can make a big difference in the functionality of your mouse.Cleaning The Mouse
To clean your Logitech mouse, follow these simple steps: 1. Unplug the mouse from your device. 2. Use a clean, dry cloth to wipe the surface of the mouse. 3. For stubborn dirt or grime, lightly dampen the cloth with water or a mild cleaning solution. 4. Be gentle when cleaning around the buttons and scroll wheel to avoid damage. 5. Allow the mouse to dry completely before plugging it back in.Replacing Batteries
When it’s time to replace the batteries in your Logitech mouse, here’s what you need to do: 1. Check the battery compartment to see what type of batteries are required. 2. Open the compartment and remove the old batteries. 3. Insert the new batteries, making sure to match the positive and negative symbols. 4. Close the compartment securely to ensure proper connection. 5. Test the mouse to ensure it’s working correctly with the new batteries. By regularly cleaning your Logitech mouse and replacing batteries when needed, you can ensure smooth operation and extend the lifespan of your device.Additional Tips
Discover additional tips for seamlessly connecting your Logitech mouse. Ensure a stable connection by switching to a different USB port or updating your device’s drivers to optimize performance. Experiment with various troubleshooting methods to resolve any connectivity issues swiftly.
Updating Mouse Firmware Ensure you have the latest firmware for your Logitech mouse by checking the manufacturer’s website for updates. Using Mouse on Multiple Computers Avoid compatibility issues when using your Logitech mouse across various devices by unpairing it from one before connecting to another.Frequently Asked Questions Of How To Connect A Logitech Mouse
How Do I Connect A Logitech Mouse To My Computer?
To connect a Logitech mouse to your computer, simply plug in the USB receiver into an available USB port. The mouse should start working automatically. If it doesn’t, check if the batteries are inserted correctly and make sure the mouse is turned on.
What Should I Do If My Logitech Mouse Is Not Working?
If your Logitech mouse is not working, try the following troubleshooting steps:
1. Replace the mouse batteries. 2. Ensure the mouse is turned on. 3. Check if the USB receiver is properly connected to the computer. 4. Try connecting the mouse to a different USB port. 5. Install the latest drivers from the Logitech website.
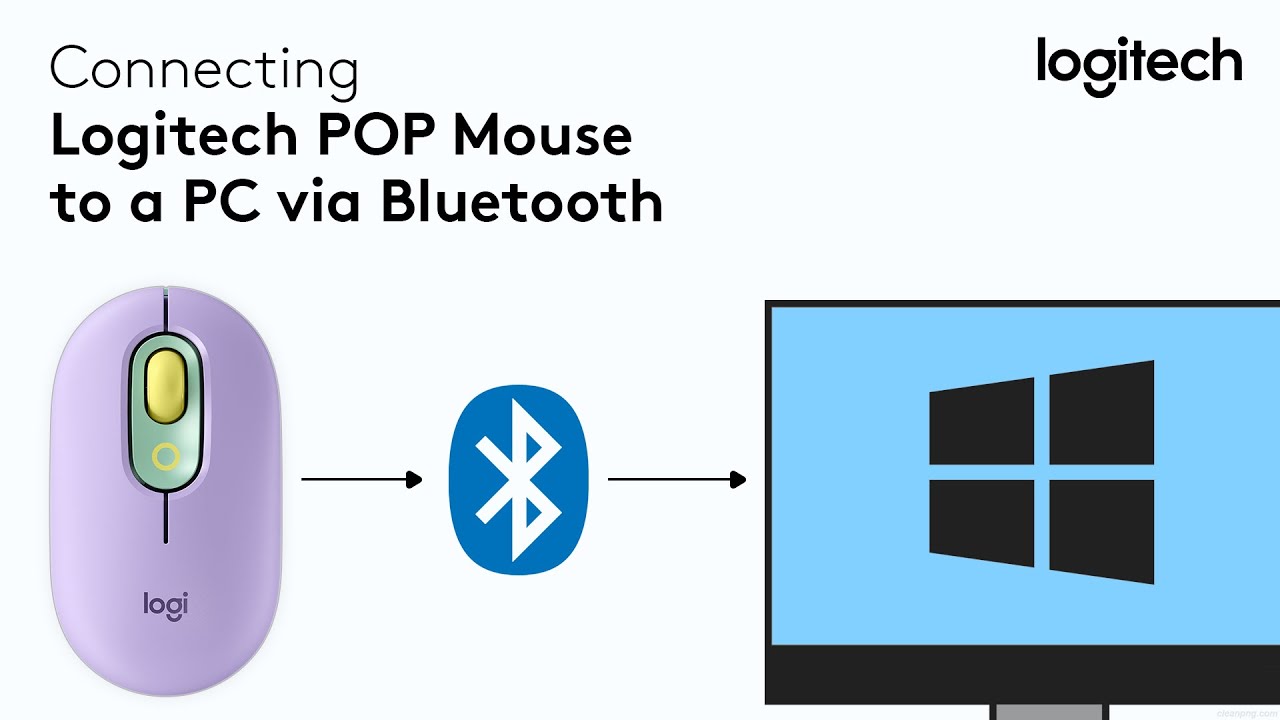
How Do I Pair My Logitech Mouse With A Bluetooth Device?
To pair your Logitech mouse with a Bluetooth device, make sure the mouse is in pairing mode. Consult the mouse’s user manual for instructions on how to enter pairing mode. Then, on your Bluetooth device, go to the settings and select the mouse from the list of available devices.
Follow the prompts to complete the pairing process.
How Long Do Logitech Mouse Batteries Last?
The battery life of a Logitech mouse depends on factors such as usage, battery type, and settings. On average, Logitech mouse batteries can last for several months to a year. To extend battery life, it’s recommended to turn off the mouse when not in use or use rechargeable batteries.
Conclusion
Connecting your Logitech mouse is a simple process that anyone can do. With the right steps, you can easily pair your mouse with your device and enjoy its seamless functionality. Whether you’re using a laptop, desktop, or any other compatible device, following these instructions will ensure a hassle-free connection.
0 comments