

To connect Ethernet to a MacBook, simply plug in an Ethernet cable into the MacBook’s Ethernet port. Ethernet provides a faster, more stable internet connection compared to Wi-Fi.
In today’s fast-paced digital world, having a reliable internet connection is essential for productivity and efficiency. By using an Ethernet connection, you can ensure a secure and high-speed network connection for your MacBook. Whether you’re working from home, engaging in online gaming, or streaming content, Ethernet offers a more robust and consistent connection.
Setting up Ethernet on your MacBook is a straightforward process that can help optimize your online experience. Let’s explore the benefits and steps to conveniently connect your MacBook to Ethernet.
Step 1: Check Your Macbook’s Ports
When it comes to connecting an Ethernet cable to your MacBook, the first step is to check your MacBook’s ports. Your MacBook may have various types of ports, so identifying the right one is essential for a successful connection.
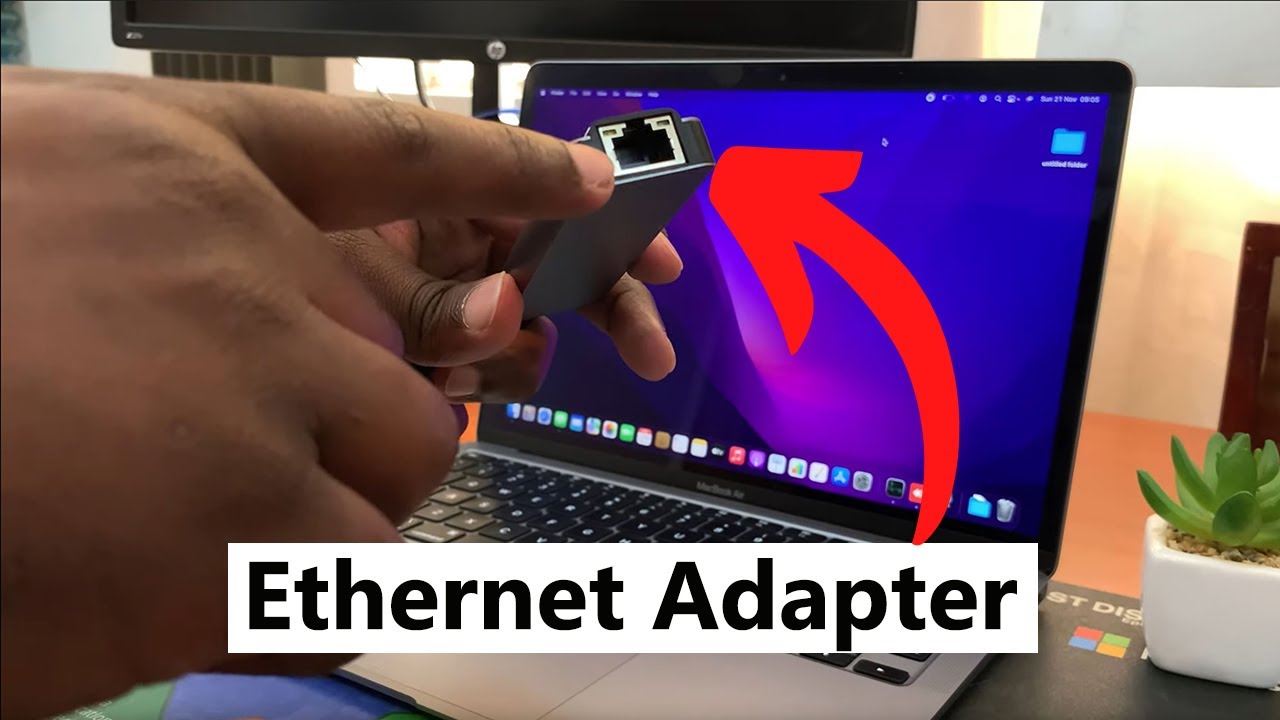
Thunderbolt/usb-c Ports
If you have a newer MacBook model, it likely features Thunderbolt or USB-C ports. These ports are sleek and versatile, offering high-speed data transfer and power delivery. They can also be used to connect an Ethernet adapter to your MacBook.
Usb-a Ports
For older MacBook models, the USB-A port is the primary choice for connecting an Ethernet adapter. This traditional USB port allows you to connect a wide range of devices, including Ethernet adapters for a wired internet connection.

Credit: www.apple.com
Step 2: Get The Right Ethernet Adapter
Thunderbolt/usb-c To Ethernet Adapter
For modern Macbook models with Thunderbolt or USB-C ports, an adapter is needed to connect to Ethernet.
- Enables a wired internet connection for faster speeds
- Provides a reliable network connection for tasks
- Compatible with Thunderbolt and USB-C ports
Usb-a To Ethernet Adapter
If your Macbook has a USB-A port, opt for a USB-A to Ethernet adapter for a stable network connection.
- Easy to connect and compatible with most older Macbook models
- Ensures fast and reliable internet connectivity
- Offers seamless integration with USB-A ports
Step 3: Connect The Ethernet Cable
In Step 3: Connect the Ethernet cable, you will now physically connect the Ethernet cable to your MacBook for a stable and reliable internet connection.
Connect The Ethernet Cable To The Adapter
Connecting the Ethernet cable to the adapter is a simple process.
- First, locate the Ethernet port on your MacBook.
- Insert the Ethernet cable connector into the port until it clicks into place.
- Ensure a secure connection to avoid any disruptions in your internet connection.
Connect The Other End Of The Ethernet Cable To The Router Or Modem
Attaching the other end of the Ethernet cable is crucial to establish a network connection.
- Locate the router or modem to which you want to connect your MacBook.
- Insert the Ethernet cable connector into one of the available LAN ports on the router or modem.
- Verify that the connection is secure to ensure a smooth internet experience.
Step 4: Configure The Network Settings
Now that you have physically connected your Ethernet cable to your MacBook, it’s time to configure the network settings. Follow these simple steps to set up the Ethernet connection on your device.
Go To System Preferences
First, open System Preferences by clicking on the Apple logo in the top-left corner of your screen and selecting System Preferences from the dropdown menu.
Select Network
Within System Preferences, look for the Network icon and click on it to access the network settings for your MacBook.
Click On The ‘+’ Button And Choose ‘ethernet’
When the Network settings window opens, click on the ‘+’ button at the bottom left corner to add a new network connection. From the interface dropdown menu, select ‘Ethernet’.
Configure The Basic Network Settings
Now, it’s time to configure the basic network settings for your Ethernet connection. Here’s how:
- Ensure that ‘Configure IPv4’ is set to ‘Using DHCP’ for most home and business networks.
- If your network requires manual configuration, choose ‘Manually’ and enter the IP address, subnet mask, router, and DNS server information provided by your network administrator or ISP.
- Once you have entered the necessary network settings, click ‘Apply’ to save your changes.
Step 5: Test The Ethernet Connection
Test the Ethernet connection on your Macbook by following step 5 of the process. Ensure a reliable and stable connection for your device.
Once you have successfully connected the Ethernet cable to your MacBook, it’s time to test the connection and make sure everything is working properly. Follow the steps below to ensure that your Ethernet connection is functioning as expected.
Open A Web Browser
To begin testing your Ethernet connection, open a web browser. You can use popular browsers like Safari, Chrome, or Firefox. Simply click on the browser icon in your dock or navigate to the Applications folder and select the browser of your choice.
Try Accessing A Website
With the web browser open, enter the URL of a website you want to visit in the address bar. It could be a popular website like www.google.com or any other site you prefer. Press the Enter key on your keyboard or click the Go button next to the address bar to begin loading the webpage.
Check If The Ethernet Connection Is Working Properly
Once the webpage starts loading, pay attention to how quickly it loads and if there are any interruptions or delays in the process. If the page loads smoothly and quickly, it indicates that your Ethernet connection is working properly.
If you face any issues while loading the webpage or experience slow and inconsistent internet speeds, there might be a problem with your Ethernet connection. Here are a few troubleshooting steps you can try:
- Check all the cable connections to ensure they are secure.
- Restart your MacBook and try accessing the website again.
- If possible, try using a different Ethernet cable to see if the issue lies with the cable itself.
- Contact your internet service provider (ISP) if the problem persists or if you require further assistance.
By following these steps, you can easily test your Ethernet connection on a MacBook and ensure that it is working properly. A reliable Ethernet connection enables faster and more stable internet access, which can be especially beneficial when performing bandwidth-intensive tasks or online gaming. Take a moment to test your Ethernet connection to enjoy a smoother online experience.
:max_bytes(150000):strip_icc()/how-to-connect-ethernet-to-a-mac-52108981-0a48976da953450285fc0805837292f4.jpg)
Credit: www.lifewire.com
Credit: m.youtube.com
Frequently Asked Questions Of How To Connect Ethernet To Macbook
Can I Connect Ethernet To My Macbook?
Yes, you can easily connect Ethernet to your Macbook by using an adapter. Simply plug the Ethernet cable into the adapter, then connect it to your Macbook’s USB-C or Thunderbolt 3 port. This allows for a reliable and fast internet connection, especially in situations where Wi-Fi is weak or not available.
What Is The Benefit Of Connecting Ethernet To My Macbook?
Connecting Ethernet to your Macbook offers several benefits. Firstly, it provides a faster and more stable internet connection compared to Wi-Fi. This is particularly advantageous for tasks that require high bandwidth, such as downloading large files or online gaming. Additionally, Ethernet eliminates the risk of interference from other devices, ensuring a consistent and reliable network connection.
Which Adapter Do I Need To Connect Ethernet To My Macbook?
To connect Ethernet to your Macbook, you will need a USB-C to Ethernet adapter or a Thunderbolt 3 to Ethernet adapter. These adapters are readily available and can be found online or at electronics stores. Ensure that the adapter is compatible with your Macbook model and operating system for optimal performance.
How Do I Set Up Ethernet On My Macbook?
Setting up Ethernet on your Macbook is simple. Connect one end of the Ethernet cable to the adapter and the other end to your router or modem. Next, plug the adapter into your Macbook’s USB-C or Thunderbolt 3 port. Your Macbook should automatically detect the Ethernet connection and establish a network connection.
You may need to adjust network settings in System Preferences if the connection is not established automatically.
Conclusion
Connecting Ethernet to your MacBook is a straightforward process that can enhance your internet connection speed and stability. By using the right adapter and following the steps provided, you can easily establish a wired connection for a more reliable networking experience.
Enjoy the benefits of a seamless and secure internet connection for your MacBook.
0 comments