
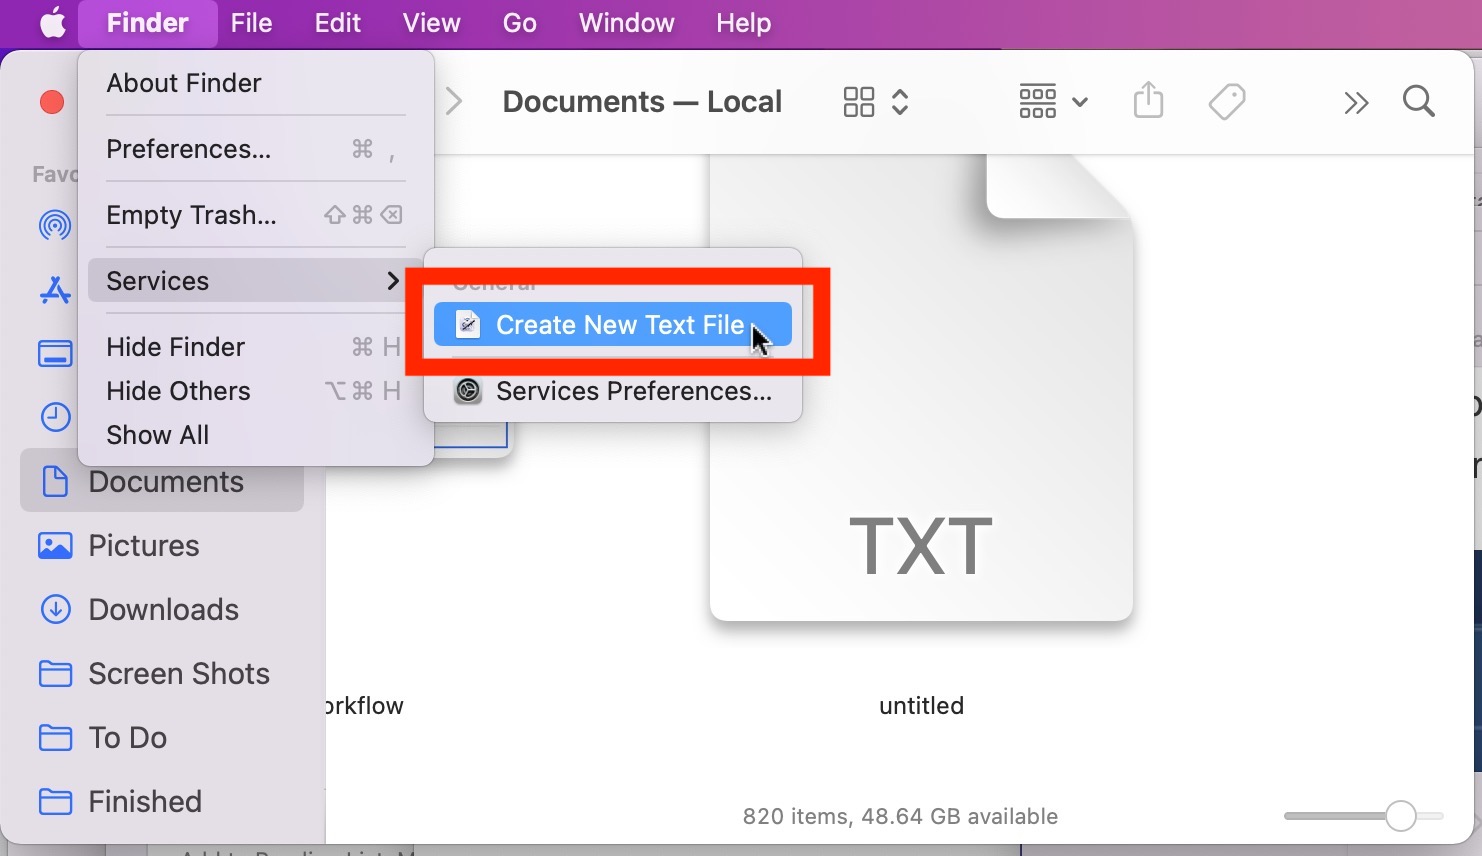
To create a text file on a MacBook, simply open the TextEdit application and click on “File” then “New Document.” Type and save your content using the desired file extension.
Creating a text file on a MacBook is a straightforward process that can be done using the built-in TextEdit application. By following a few simple steps, you can easily create and save your text document with a specific file extension.
Whether you’re a student, a professional, or a casual user, knowing how to create a text file on your MacBook can come in handy for various purposes. In this guide, we will explore the steps to create a text file on your MacBook efficiently and effectively. Let’s dive in and get started with creating your text file on your MacBook.
Credit: osxdaily.com
Using Textedit
When using a Macbook, creating a text file is a common task for many users. For this process, TextEdit is a versatile built-in application that allows you to create and edit text documents with ease. Below, we will outline the simple steps to create a text file in Macbook using TextEdit.
Open Textedit
To begin, locate the TextEdit application on your Macbook. You can find it by navigating to your Applications folder or using the Spotlight search by pressing Command + Space and typing “TextEdit”. Once you have located the app, simply click to open it.
Create A New Document
After opening TextEdit, you can create a new document by clicking on “File” in the top menu and selecting “New”. Alternatively, you can utilize the keyboard shortcut Command + N to open a new blank document within the TextEdit interface.
Save The Document As A Text File
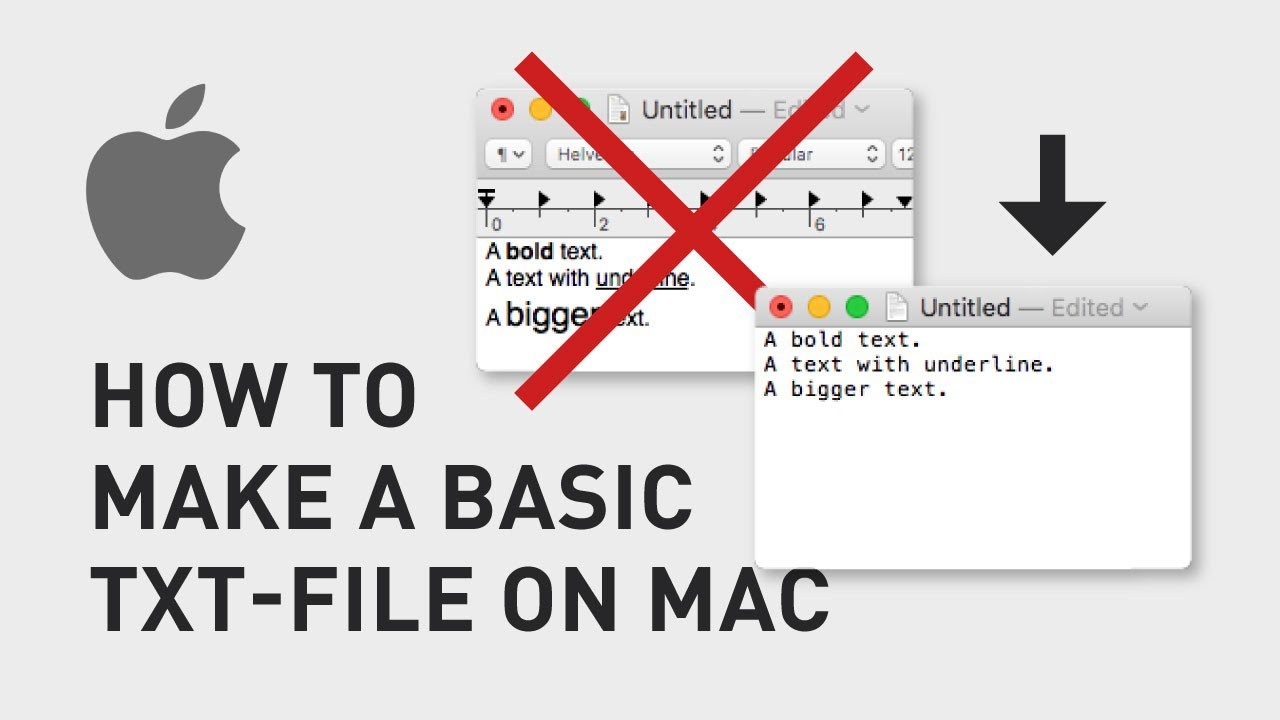
Once you have created and edited your text document, it’s time to save it as a text file. To do this, click on “File” in the menu bar, then select “Save”. In the dialogue box, choose a location to save the file, give it a name, and select the format as “Plain Text” from the dropdown menu. Finally, click the “Save” button to save your document as a text file on your Macbook.

Credit: www.wikihow.com
Using Terminal
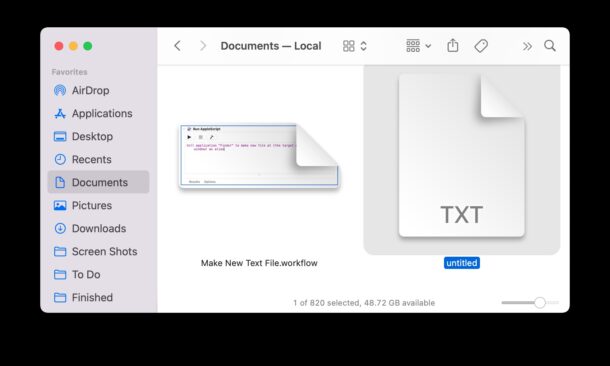
Using Terminal: Terminal is a powerful tool on your Macbook that allows you to perform various tasks, including creating and editing text files. By following these simple steps, you can easily create a text file using Terminal.
Open Terminal:
To begin, open Terminal on your Macbook by searching for it in the Applications folder or using Spotlight search. Terminal is where you will enter commands to create your text file.
Navigate To The Desired Directory:
To navigate to the directory where you want to create the text file, use the ‘cd’ command followed by the path of the directory. This ensures that the text file will be created in the right location.
Create A New Text File:
Next, use the ‘touch’ command followed by the desired filename with the ‘.txt’ extension to create a new text file. This command creates an empty text file in the specified directory.
Edit The Text File:
To edit the text file, you can use a text editor like Nano or Vim within Terminal. Simply type ‘nano’ or ‘vim’ followed by the filename to open the text file for editing. Make any changes needed to the content of the text file.
Save And Exit The Text File:
After editing the text file, save your changes by pressing ‘Ctrl + O’ in Nano or ‘:wq’ in Vim. This saves the changes made to the text file. To exit the text editor, press ‘Ctrl + X’ in Nano or ‘:q!’ in Vim.
Using Third-party Apps
If you need more advanced features, you can use third-party apps.
Search And Install A Text Editor
Look for text editors in the App Store.
Open The Text Editor
After installation, open the text editor app.
Create A New Document
- Click on File.
- Choose New Document.
Save The Document As A Text File
To save your document as a text file, click File and select Save As.
Credit: www.youtube.com
Frequently Asked Questions For How To Create A Text File In Macbook
How Do I Create A Text File On Macbook?
To create a text file on your Macbook, simply open the TextEdit application and click on “File” in the menu bar. Then, select “New” and choose “Plain Text” as the format. Now you can start typing and save it as a text file.
How Can I Save A Text File In Macbook?
To save a text file on your Macbook, open the TextEdit application and click on “File” in the menu bar. Then, select “Save” or “Save As” option. Choose a location to save the file, give it a name with a.
txt extension, and click “Save” to store the text file on your Mac.
Can I Edit A Text File On Macbook?
Yes, you can edit a text file on your Macbook. Open the TextEdit application and click on “File” in the menu bar. Then, select “Open” and choose the text file you want to edit. Make the necessary changes, and then click on “File” and select “Save” to save the updated text file.
Conclusion
Creating a text file on a MacBook is a simple process that can be done using a variety of methods. Whether it’s through text editors like TextEdit, Terminal, or other tools, understanding the different options available allows for flexibility in choosing the best method for your specific needs.
With these insights, users can confidently navigate their way through the process and effectively utilize text files on their MacBook.
0 comments