
To do split screen on a Dell laptop, press the Windows key + left or right arrow keys. This will snap the active window to the desired side of the screen.
Split screen functionality on a Dell laptop can be incredibly useful for multitasking and boosting productivity. By utilizing this feature, you can work on multiple applications simultaneously without the hassle of constantly switching between windows. In this guide, we will explore how to easily set up and use split screen on your Dell laptop, allowing you to efficiently manage your workflow and enhance your overall computing experience.
Whether you are a student, professional, or casual user, mastering the split screen feature can greatly improve your efficiency and help you accomplish tasks with ease. Let’s delve into the steps to utilize split screen on your Dell laptop effectively.
Check Compatibility
When attempting to set up a split screen on your Dell laptop, the first critical step is to check compatibility. This ensures that your operating system and graphics card are capable of handling the task.
Operating System
Before proceeding with a split-screen setup on your Dell laptop, it’s essential to ensure that your operating system is compatible. The system must support the ability to split the screen across different applications or windows simultaneously. Here are some common operating systems and compatible versions:
- Windows 10
- Windows 8.1
- Windows 7
- Ubuntu
Graphics Card
Your graphics card also plays a crucial role in split-screen functionality. It’s responsible for rendering the graphical elements on your screen, and without the proper graphics card, split-screen may not work as intended. Look for a dedicated graphics card capable of supporting multiple displays or applications simultaneously, such as:
- NVIDIA GeForce GTX series
- Intel HD Graphics series
- AMD Radeon series
Choose The Right Window Arrangement
Side-by-side
Divide the screen into two equal sections for side-by-side viewing.
Top And Bottom
Split the screen vertically to display one window on top and another below.
Quarter Screen
Arrange windows in each corner of the screen for a quarter-screen setup.
“` Hope you find this information useful. Enjoy experimenting with split screen on your Dell laptop!Using Windows Key + Arrow Keys
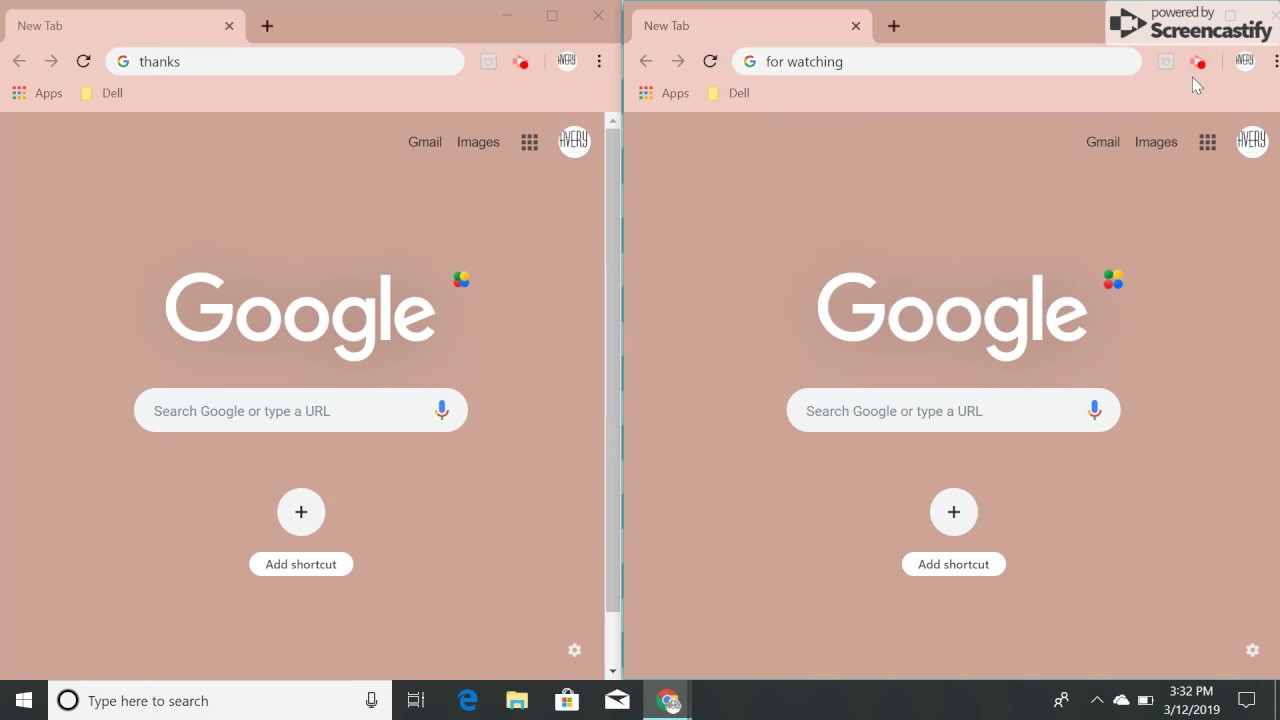
To do split screen on a Dell laptop, simply press the Windows key along with the arrow keys to snap windows to either side of the screen. This allows you to multitask and view different apps simultaneously for increased productivity.
Using Windows Key + Arrow keys allows you to split-screen on your Dell laptop effortlessly.Open The First Window
Press the Windows key + left arrow key to open the first window on the left side of the screen.Open The Second Window
Press the Windows key + right arrow key to open the second window on the right side of the screen.Activate Split Screen
Step 1: Open the first window and drag it to your desired position. Step 2: Open the second window and drag it to the opposite side. Step 3: Windows will automatically activate Split Screen view.- Effortlessly split-screen on your Dell laptop.
- Windows key + Arrow keys for quick adjustment.
| Windows Key Shortcut | Action |
|---|---|
| Windows key + Left Arrow | Opens the first window on the left side. |
| Windows key + Right Arrow | Opens the second window on the right side. |
With Windows key + Arrow keys, split-screen multitasking on your Dell laptop becomes a breeze.

Credit: www.wikihow.com
Using The Snap Assist Feature
Using the Snap Assist feature on your Dell laptop allows you to efficiently utilize the split-screen function for improved multitasking. By following these simple steps, you can easily open and arrange multiple windows simultaneously, enhancing your productivity and workflow.
Open The First Window
To begin, open the first application or window that you want to display on one side of the split screen. This can be achieved by simply clicking on the desired application’s icon in your taskbar or searching for it in the Start menu.
Open The Second Window
Next, open the second application or window that you want to have on the other side of the split screen. Similar to the first window, click on the application’s icon in the taskbar or search for it in the Start menu to launch the desired program.
Activate Snap Assist
After opening both windows, activate Snap Assist by clicking and holding the title bar of the first window and dragging it to the left or right side of the screen until an outline or preview of the window appears. Release the mouse button to snap the window into place. Once the first window is positioned, a list of other open windows will appear. Click on the desired window to snap it into place on the opposite side of the screen, enabling split-screen functionality.
Using The Display Settings
Using the Display Settings on your Dell laptop, you can easily set up a split screen to multitask and improve productivity. This feature allows you to have multiple windows open side by side, making it convenient to compare and work with different applications simultaneously. In this article, we will guide you through the steps to do split screen on your Dell laptop using the Display Settings.
Open The Display Settings
To begin, you need to access the Display Settings on your Dell laptop. Here’s how:
- Right-click on an empty area of your desktop.
- From the context menu that appears, select “Display Settings.”
A new window will open, displaying various display options and configurations.
Adjust Window Size And Position
Once you have opened the Display Settings, you can adjust the window size and position to enable the split screen feature. Follow these steps:
- In the Display Settings window, scroll down and locate the “Multiple Displays” section.
- Under this section, you will find the option to choose how you want to use your displays. Click on the drop-down menu and select “Extend these displays.”
- Next, look for the “Change the size of text, apps, and other items” option and click on it.
A new window will open, with a slider that allows you to adjust the size of text and apps. Move the slider to your preferred size and click “Apply.”
Now that you have enabled the extended displays and adjusted the size, you can easily move and resize your windows for split screen functionality.
To move a window, click and hold the title bar, then drag it to the desired position on your screen.
To resize a window, hover your mouse cursor over the edge or corner of the window until you see a double-headed arrow. Click and hold the mouse button, then drag the border to adjust the window size.
Repeat these steps with another window, positioning and resizing it as desired. You can also open additional windows to have more than two applications running simultaneously.
By following these simple steps, you can utilize the Display Settings on your Dell laptop to set up a split screen, making multitasking efficient and effortless.
Using Third-party Software
Split screen functionality allows you to multitask effectively on your Dell laptop by displaying two different windows side by side. While Dell laptops come with built-in features for split screen, using third-party software provides you with more options and flexibility. In this guide, we will walk you through the process of downloading and installing third-party software and following its instructions to enable split screen on your Dell laptop.
Download And Install Third-party Software:
To utilize advanced split screen features on your Dell laptop, you need to download and install third-party software. Follow the steps below:
- Visit the official website of the third-party software provider.
- Locate the download button on the website and click on it to start the download.
- Once the download is complete, locate the downloaded file in your computer’s default download folder.
- Double-click on the downloaded file to start the installation process.
- Follow the on-screen instructions provided by the installer to proceed with the installation.
- Agree to the terms and conditions, if prompted.
- Select the installation destination for the software, or leave it as the default location.
- Click on the “Install” button to begin the installation process.
- Wait for the installation to complete.
- Click on the “Finish” button to finalize the installation.
Follow Software Instructions:
Once the third-party software is successfully installed on your Dell laptop, you can begin configuring the split screen functionality by following the software’s provided instructions:
- Launch the third-party software by double-clicking on its desktop shortcut or finding it in the Start menu.
- Explore the software’s interface and locate the split screen or similar functionality.
- Click on the split screen option to activate it.
- Adjust the size and position of the split screen windows according to your preferences by clicking and dragging the window borders.
- To have different applications or programs on each side of the split screen, open the desired applications or programs separately.
- Drag each application or program window to one side of the split screen.
- Resize the windows for optimal use of both screens.
- Explore any additional features or settings that the third-party software provides to enhance your split screen experience.
By following the above steps, you can easily set up split screen functionality on your Dell laptop using third-party software. Enjoy the convenience of multitasking and boosting your productivity with this useful feature.
Troubleshooting Tips
Encountering issues while trying to set up split screen on your Dell laptop can be frustrating, but don’t worry – there are some simple troubleshooting tips that can help resolve the issues. Below are some steps you can follow to troubleshoot and fix the problem.
Check For Updates
Before attempting split screen on your Dell laptop, it’s crucial to ensure that your operating system and applications are up to date. Check for updates for both Windows and your web browsers and ensure they are on the latest versions, as outdated software can often cause compatibility issues.
Restart Your Laptop
Sometimes, a simple restart can work wonders. If you’re experiencing difficulties with split screen, save your work and restart your Dell laptop. This can clear any temporary glitches and allow the system to reinitialize, potentially fixing the issue.
Update Graphics Card Drivers
If the problem persists, it’s advisable to update graphics card drivers. Proper functioning of the split screen feature heavily relies on the graphics card, so ensuring that your graphics card drivers are up to date is essential. Head to the manufacturer’s website to download and install the latest drivers for your specific graphics card model.
By following these troubleshooting tips, you can resolve common issues and enjoy the benefits of split screen on your Dell laptop without any hassle.
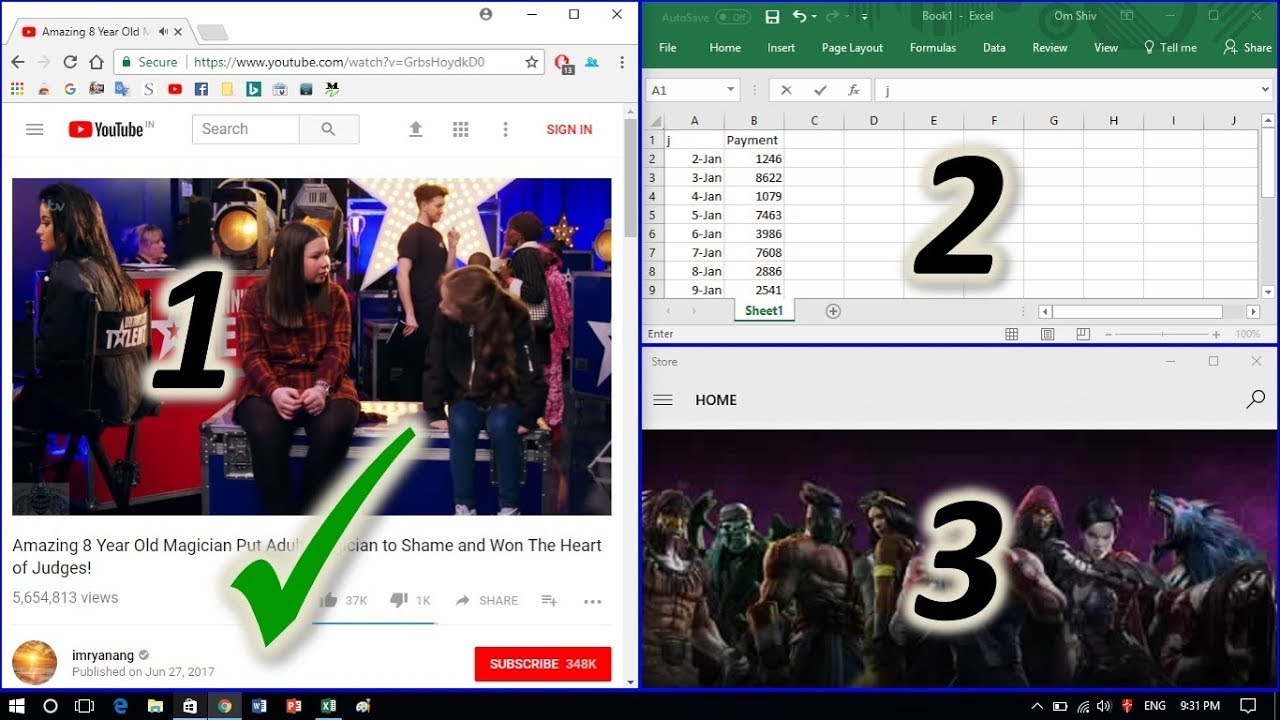
Credit: m.youtube.com
Customizing Split Screen Settings
Customizing split screen settings on your Dell laptop allows you to tailor the display to suit your workflow more efficiently. By adjusting window size and position and changing split screen shortcuts, you can enhance your multitasking experience seamlessly.
Adjusting Window Size And Position
Customize your split screen layout by adjusting window size and position using the following steps:
- Drag and drop: Click and hold the title bar of the window you want to move, then drag it to the desired location on the screen.
- Resize: Hover your cursor over the window’s edge until the resize cursor appears. Click and drag to adjust the size of the window.
- Maximize: To maximize a window, click the maximize button in the top-right corner of the window.
Changing Split Screen Shortcuts
Customize split screen shortcuts to streamline your multitasking experience. Follow these steps to modify the default shortcuts:
- Access settings: Go to the system settings menu on your Dell laptop.
- Keyboard shortcuts: Navigate to the keyboard settings and locate the split screen shortcut options.
- Modify shortcuts: Select the split screen function you want to customize and assign a new keyboard shortcut.
Benefits Of Using Split Screen
Split screen feature on Dell laptops offers numerous advantages for users. By splitting the screen into two or more sections, it allows for multitasking efficiently and increasing productivity.
Multitasking Efficiently
Split screen enables users to work on multiple tasks simultaneously without having to switch between different windows constantly.
Increasing Productivity
With split screen, users can view and work on multiple applications or documents side by side, allowing for quicker completion of tasks.

Credit: www.wikihow.com
Frequently Asked Questions For How To Do Split Screen On Dell Laptop
How Do I Enable Split Screen On My Dell Laptop?
To enable split screen on your Dell laptop, you can use the Windows Snap feature. Simply drag and drop a window to the left or right side of the screen and it will automatically resize to fit half of the screen.
Then, select another window to fill the other half.
Can I Have Multiple Windows Open At The Same Time On My Dell Laptop?
Absolutely! With split screen, you can have multiple windows open side by side on your Dell laptop. This allows you to easily multitask and work on different tasks simultaneously.
Are There Keyboard Shortcuts For Split Screen On My Dell Laptop?
Yes, Dell laptops offer keyboard shortcuts for split screen. You can use the Windows key + left arrow to snap a window to the left side and the Windows key + right arrow to snap a window to the right side.
This makes it even quicker to set up your split screen view.
How Do I Switch Between Windows In Split Screen Mode?
To switch between windows in split screen mode on your Dell laptop, simply click on the window you want to work on. The selected window will become active and you can start using it. You can also use the Alt + Tab keyboard shortcut to cycle through open windows.
Conclusion
Mastering the split screen feature on your Dell laptop can significantly enhance your productivity and multitasking abilities. By following the steps outlined in this guide, you can seamlessly multitask and optimize your workflow. Incorporating split screen functionality into your daily routine can redefine how you engage with your laptop, making your work easier and more efficient.
0 comments