
To factory reset a Nest Camera, press and hold the reset button for 10 seconds. Release the button when the light blinks.
A Nest Camera is a popular choice for home surveillance due to its advanced features and ease of use. However, there might be instances where you need to reset it to its factory settings. This can be necessary when troubleshooting issues or preparing to sell or give away the camera.
In this guide, we will walk you through the simple steps to factory reset your Nest Camera so you can start afresh with your device. By following these instructions, you can ensure your camera is back to its original state and ready for use.

Credit: www.alphr.com
Before You Begin
Before you begin the factory reset process for your Nest camera, there are a few important steps you should take to ensure a smooth and seamless reset. This will help prevent any potential data loss or complications that may arise during the reset process.
Check For Firmware Updates
First and foremost, it’s essential to check for any firmware updates for your Nest camera. Firmware updates contain important bug fixes and enhancements that can improve the performance and functionality of your camera.
To check for firmware updates, follow these steps:
- Open the Nest app on your mobile device.
- Select your Nest camera from the list of devices.
- Navigate to the settings menu for your camera.
- Scroll down and select “Software Update.”
- Tap on “Check for Updates” to see if any firmware updates are available.
If any updates are found, simply follow the on-screen prompts to install them. Once the updates are installed, you can proceed with the factory reset process.
Backup Recordings And Settings
Next, it’s crucial to back up any important recordings and settings from your Nest camera. This will ensure that you don’t lose any valuable footage or customized configurations during the factory reset.
To backup your recordings and settings, consider the following options:
- Cloud Storage: If you have subscribed to a Nest Aware plan, your camera recordings are automatically stored in the cloud. You can access and download these recordings at any time.
- Local Storage: If you have a microSD card inserted in your Nest camera, you can manually transfer the recordings to a computer or external storage device.
In addition to backing up your recordings, make note of any customized settings or preferences you’ve configured for your camera. This includes things like motion detection zones, activity notifications, and camera settings.
By completing these steps before beginning the factory reset process, you can ensure that you have a backup of your important data and settings. This will allow for a smooth transition and reduction in any potential downtime for your Nest camera.
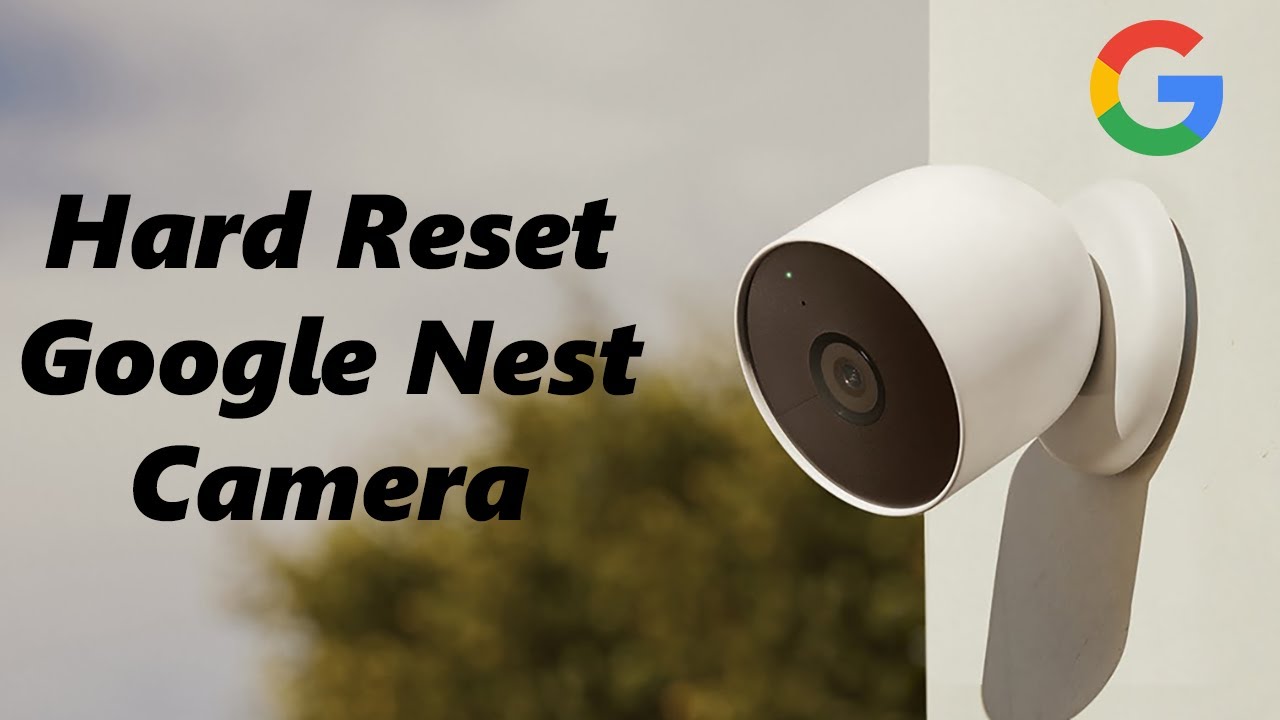
Credit: m.youtube.com
Method 1: Using The Nest App
Factory resetting your Nest camera can help resolve various issues, or it may be necessary if you’re planning to sell or give away the device. The Nest app provides a convenient way to initiate the factory reset process.
Launch The Nest App
To begin the factory reset process, open the Nest app on your mobile device. If you haven’t done so already, log in to your account using your Nest credentials.
Select The Camera
Once the app is open, you’ll see a list of your connected Nest devices. Scroll through the list and select the camera that you want to factory reset. This will open up the settings specifically for that camera.
Navigate To Settings
In the camera’s settings menu, navigate through the options and look for the “Settings” section. This is where you’ll find the option to perform a factory reset.
Tap On ‘factory Reset’
When you’ve located the “Settings” section, scroll down until you find the “Factory Reset” option. Tap on this to initiate the factory reset process. Confirm any prompts that appear to finalize the reset. This will return your Nest camera to its original factory settings.
Method 2: Using The Reset Button On The Camera
Method 2: Using the Reset Button on the Camera
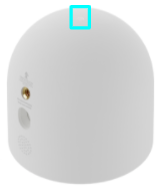
Locate The Reset Button
To initiate the factory reset, first, locate the reset button on your Nest Camera. It is generally a small, recessed button that can be found on the camera unit. Ensure the camera is powered on and functioning before proceeding.
Press And Hold The Reset Button
Gently press the reset button using a small tool like a paperclip. Hold the button for about 10-15 seconds until you see a light indicator flashing on the camera. Make sure to keep the button pressed firmly throughout.
Complete The Reset Process
After holding the reset button for the designated time, release it and wait for the camera to restart. This process will erase all existing settings and data on the camera, restoring it to its factory defaults. Set up your camera again as if it were new.
After Factory Resetting
After Factory Resetting your Nest Camera, follow these steps to complete the setup process:
Reconnecting The Nest Camera
Once the factory reset is done, reconnect the camera to your Wi-Fi network.
- Press the reset button on the camera.
- Use the Nest app to scan the QR code.
- Follow the on-screen prompts to reconnect.
Configuring Settings
After reconnecting, it’s time to configure the camera settings.
- Adjust video quality and motion detection settings.
- Set up notifications for alerts.
- Customize schedule for recording.
Tips For A Smooth Factory Reset
When it comes to performing a factory reset on your Nest Camera, ensuring a smooth process is crucial. Following the right steps and taking necessary precautions can make this task hassle-free. Here are some tips to help you ensure a smooth factory reset for your Nest Camera:
Ensure Stable Power And Internet Connection
Before initiating a factory reset on your Nest Camera, it’s essential to ensure that the device has stable power and a reliable internet connection. Unstable power supply or intermittent internet connectivity can lead to issues during the reset process, potentially causing data loss or incomplete reset. A strong and stable power source and internet connection are the foundation of a successful factory reset.
Follow The Instructions Carefully
Following the instructions provided by Nest for the factory reset process is crucial. Attention to detail and careful adherence to the prescribed steps can prevent errors and ensure a successful reset. Skipping any step or deviating from the given instructions may lead to complications or errors in the reset process, so it’s important to read and follow the instructions carefully.

Credit: www.pcmag.com
Conclusion
By following the simple steps provided, you can effectively factory reset your Nest camera. Resetting the camera can resolve various issues and help maintain its optimal functionality. Remember to back up any important data before proceeding with the reset. With these instructions, you can ensure your Nest camera continues to serve your security needs effectively.
0 comments