

To install an SSD drive, open your PC, connect the SSD to the motherboard using SATA cables. Next, secure the drive in the case, and power up your computer.
Are you looking to supercharge your computer’s performance and storage capacity? Installing an SSD drive is a simple yet impactful upgrade that can significantly enhance your system’s speed and responsiveness. In this guide, we will walk you through the process of how to install an SSD drive into your computer.
Whether you are a tech-savvy enthusiast or a first-time DIYer, this step-by-step tutorial will help you successfully upgrade your storage solution. By following these instructions, you can enjoy the benefits of faster boot times, quicker file transfers, and overall improved computing experience. Let’s get started on enhancing your system’s capabilities with an SSD installation.
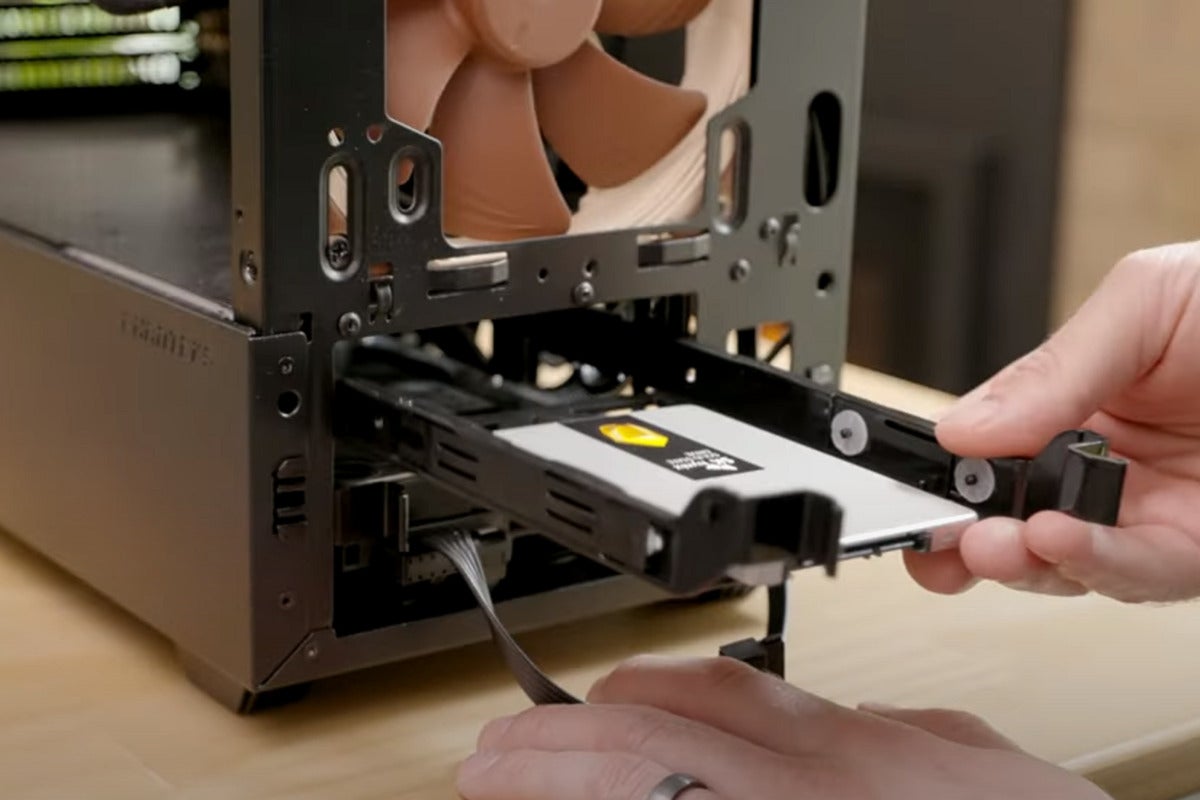
Credit: www.pcworld.com
Preparing For Installation
Before you start the installation process for your SSD drive, it’s essential to ensure that your system is compatible with the new hardware and that you have the right SSD selected for your needs. This step is crucial to avoid any compatibility issues and to optimize the performance of your new SSD. Let’s dive into the necessary steps to prepare for the installation.
Check System Compatibility
Ensure that your system is compatible with an SSD by checking the specifications of your motherboard and its support for SATA or NVMe interfaces. Older systems may require a BIOS update to fully support SSD drives. You can check your system’s compatibility by consulting the user manual or the manufacturer’s website for detailed information.
Choose The Right Ssd
It’s important to choose an SSD that meets your storage and performance requirements. Consider factors such as capacity, speed, and form factor when selecting the right SSD for your system. Look for SSDs that offer reliable performance, fast read and write speeds, and suitable capacity for your needs. Whether you’re a casual user or a power user, there’s an SSD available to suit your specific demands.
Backing Up Data
- Use a reliable backup software to create a full backup of your current hard drive.
- Ensure all your important files, documents, photos, and videos are included in the backup.
- Store the backup on an external drive or cloud storage for safekeeping.
- Identify crucial files and folders that need to be transferred to the new SSD drive.
- Manually copy and paste these important files onto the external storage device.
- Verify that all essential data has been successfully transferred before proceeding with the installation.
Gathering Tools And Supplies
To successfully install an SSD drive, you will first need to gather the necessary tools and supplies. Make sure you have everything on hand before you begin the process.
Screwdriver
One of the essential tools you will need is a screwdriver. This will be used to open the computer case and secure the SSD inside.
Ssd Mounting Bracket
An SSD mounting bracket is necessary to securely attach the SSD inside the computer case. This ensures that the SSD is held in place safely.
Opening The Computer Case
Opening the computer case is the first step to install an SSD drive into your computer. This process ensures that you have access to the internal components of your system to easily and safely add the new drive. Here are the steps to open the computer case:
Turn Off The Computer
Before opening the computer case, shut down the computer and unplug it from the power source to avoid any electrical mishaps.
Remove The Cover
Once the computer is turned off, locate the screws or latches on the outer cover of the computer case. Unscrew the screws or release the latches to remove the cover, exposing the internal components of the computer.
Installing The Ssd
Now that you have successfully identified the available drive bays and connected the SSD to the power supply, it’s time to move on to the next step in installing your SSD drive. This step-by-step guide will walk you through the process of installing the SSD into your computer.
Identify Available Drive Bays
Before you begin installing your SSD, you need to determine the available drive bays in your computer. This is where the SSD will be placed, so it’s important to locate the appropriate bay for installation. To identify the available drive bays:
- Open up your computer case by removing the screws or latches that hold the side panels in place.
- Once the case is open, visually inspect the interior to locate the drive bays.
- Refer to your computer’s documentation or the motherboard manual to identify the specific drive bay locations.
Please Note: Some cases may have removable drive cages or trays. If this is the case, you may need to remove the cage or tray from the bay you wish to install the SSD into.
Connect The Ssd To The Power Supply
Now that you have identified the available drive bays, it’s time to connect the SSD to the power supply. Follow these steps:
- Locate the SATA power cable from your power supply. These cables typically have a flat L-shaped connector on one end and multiple SATA connectors on the other end.
- Connect one of the SATA connectors to an available power port on your power supply.
- Take the other end of the SATA power cable and connect it to the power port on the SSD.
- Ensure that the connection is secure and firmly in place.
Once you have successfully connected the SSD to the power supply, you have completed the installation process. Now you can proceed to connect the SSD to the motherboard and configure it within your operating system. But we’ll cover those steps in our next section.
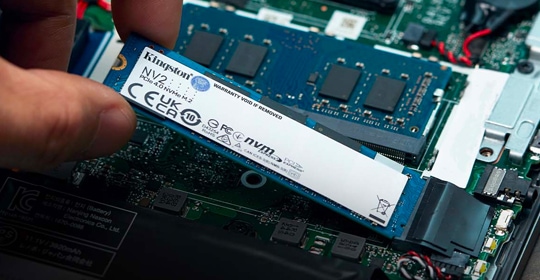
Credit: www.cdw.com
Mounting The Ssd
Mounting the SSD is an essential step in installing it into your computer. This involves inserting the SSD into a mounting bracket and securing the bracket in the drive bay. By following these simple steps, you can ensure that your SSD is properly installed and secure. Here’s how to mount your SSD:
Insert The Ssd Into The Mounting Bracket
The first step is to insert the SSD into the mounting bracket. The mounting bracket is a device that helps secure the SSD in place within the computer. To insert the SSD into the mounting bracket, follow these steps:
- Open the mounting bracket to create a space for the SSD.
- Align the holes on the SSD with the holes on the mounting bracket.
- Insert the screws through the holes on the SSD and into the corresponding holes on the mounting bracket.
- Tighten the screws to secure the SSD firmly in place.
Secure The Mounting Bracket In The Drive Bay
Once the SSD is inserted into the mounting bracket, the next step is to secure the bracket in the drive bay of your computer. The drive bay is the area where the SSD will be housed. Follow these steps to secure the mounting bracket in the drive bay:
- Locate the drive bay in your computer case.
- Position the mounting bracket so that the SSD is aligned with the drive bay.
- Slide the mounting bracket into the drive bay until it is firmly seated.
- Use the screws provided to attach the mounting bracket to the drive bay.
- Ensure that the mounting bracket is securely fastened.
With the SSD properly mounted and secured in the drive bay, you can now proceed to connect the necessary cables and power up your computer. Mounting the SSD is a crucial step in the installation process as it ensures that the SSD is securely fixed and ready to enhance the performance of your computer.
Connecting The Ssd
When connecting your SSD drive, it’s important to ensure a proper and secure connection. This step is essential for the smooth functioning of your new SSD drive. Let’s break down the process into simple and clear steps.
Connect The Ssd To The Sata Port
First, locate the SATA port on your motherboard. It’s typically a small L-shaped connector. Align the SATA data cable’s L-shaped end with the SSD’s port and gently push it in until it’s secured. Ensure that the cable is firmly connected, but be cautious not to apply excessive force.
Attach The Power Cable To The Ssd
Locate an available SATA power connector from your power supply unit. The power connector typically has a perpendicular L-shaped design that matches the SSD’s power input. Align the connectors and firmly press them together until you hear a click, ensuring a secure power connection.
Closing The Computer Case
When it comes to closing the computer case after installing your new SSD drive, follow these steps carefully:
Replace The Cover
Slide the computer case cover back into place, lining up the screw holes.
Tighten Any Screws
Ensure each screw is tightened securely to keep the computer case closed and the components safe.
Verifying The Ssd Installation
To ensure a successful installation of an SSD, it is crucial to verify it. This involves checking the drive connections and ensuring that the system recognizes the new SSD. Once verified, the SSD should appear in the system’s storage settings and be ready for use.
Access Bios Settings
Check For Recognized Ssd
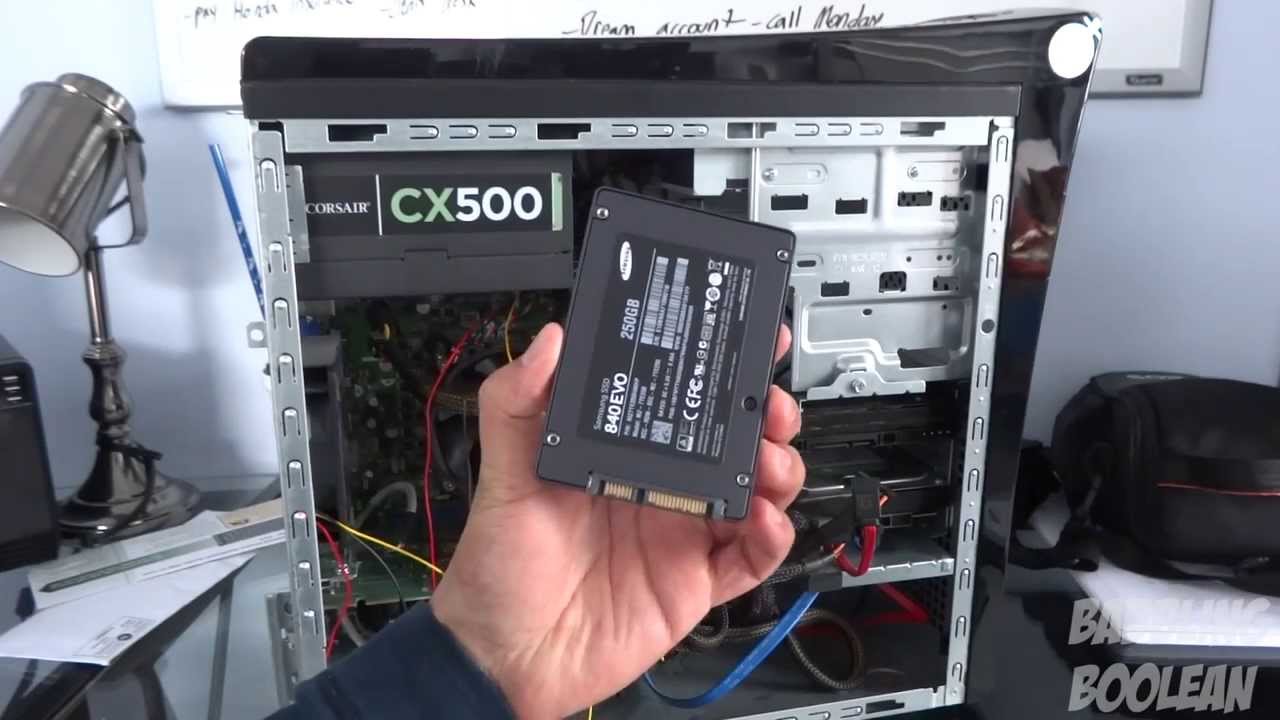
Credit: www.youtube.com
Frequently Asked Questions Of How To Instal An Ssd Drive
What Is An Ssd Drive And Why Should I Install One?
An SSD drive (solid-state drive) is a storage device that offers faster data access, improved performance, and better reliability compared to traditional hard drives. By installing an SSD drive, you can experience quicker boot times, faster file transfers, and overall enhanced system responsiveness.
Is It Difficult To Install An Ssd Drive?
Installing an SSD drive is generally a straightforward process, even for those with limited technical skills. With a few simple steps, such as connecting the drive to your computer’s motherboard, cloning your existing drive, and securing it in the appropriate slot, you can successfully install an SSD drive and start enjoying its benefits.
Do I Need To Reinstall My Operating System After Installing An Ssd Drive?
In most cases, you do not need to reinstall your operating system after installing an SSD drive. You can either clone your existing operating system from your old drive to the new SSD or perform a fresh installation. However, it is always recommended to create a backup of your important data before making any changes to your system.
Conclusion
Installing an SSD drive can significantly enhance your computer’s performance. With the step-by-step guide provided, it’s easier than ever to upgrade your system. By following these simple instructions, you can enjoy faster speeds, improved reliability, and an overall smoother computing experience.
Don’t hesitate to make the upgrade and optimize your computer today!
0 comments