
To install liquid cooling on a CPU, start by attaching the radiator and fans to the case. Then, connect the pump, reservoir, and tubing following the manufacturer’s instructions.
Liquid cooling systems offer efficient cooling for high-performance CPUs, keeping temperatures low during intense tasks. By dissipating heat more effectively than air cooling, liquid cooling can prolong the lifespan of your CPU and improve overall system performance. With proper installation and maintenance, liquid cooling can provide reliable and quiet operation for your CPU.
Whether you are a gaming enthusiast or a professional requiring optimum performance, liquid cooling is a worthy investment for your system.
Choosing The Right Liquid Cooling System
When installing liquid cooling on your CPU, it is crucial to choose the right system to ensure optimal performance and compatibility. Let’s explore the key factors to consider when selecting a liquid cooling solution for your CPU.
Compatibility With Cpu
Before purchasing a liquid cooling system, make sure it is compatible with your CPU. Different CPUs have varying socket types, such as LGA 1151, AM4, and TR4. Check the manufacturer’s specifications or compatibility list to ensure the liquid cooling system will fit your CPU socket type.
Cooling Performance
The primary goal of a liquid cooling system is to enhance cooling performance compared to traditional air cooling. Consider the thermal dissipation capacity and efficiency of the liquid cooler. Look for features such as a large radiator, high-quality pump, and efficient fans to ensure optimal cooling performance for your CPU.
Installation Complexity
Assess the complexity of installing the liquid cooling system. Opt for a user-friendly installation process to avoid complications. Look for features such as pre-filled coolant, clear installation instructions, and compatibility with your PC case to simplify the installation process.
Preparing For Installation
Learn how to install liquid cooling on your CPU with these simple steps. Ensure efficient cooling for your computer system and protect it from overheating.
Gathering Tools And Materials
1. Before beginning, gather the necessary tools:
- Screwdriver
- Cleaning cloth
- Thermal paste
2. Ensure you have the following materials:
- Liquid cooling system
- Fans
- Radiators
Understanding Pc Components
1. Familiarize yourself with the CPU and motherboard parts.
2. Identify the CPU socket on the motherboard.
3. Locate the CPU block and fittings for liquid cooling installation.
Preparing The Cpu And Motherboard
1. Power off the PC and disconnect all cables.
2. Remove the existing cooling system carefully.
3. Clean the CPU surface with a lint-free cloth.
4. Apply a small amount of thermal paste to the CPU.
Installing The Liquid Cooling System
Installing the Liquid Cooling System on your CPU is a crucial step to ensure efficient and effective cooling performance. This process involves mounting the CPU block, attaching the radiator and fans, connecting the tubing and filling coolant, and securing and testing the system.
Mounting The Cpu Block
- Remove the old cooler and apply thermal paste to the CPU.
- Secure the CPU block onto the CPU using mounting brackets.
- Connect the pump cable to the CPU fan header on the motherboard.
Attaching The Radiator And Fans
- Position the radiator in a suitable location in the case.
- Attach the fans to the radiator using mounting screws.
- Connect the fan cables to the fan headers on the motherboard.
Connecting The Tubing And Filling Coolant
- Connect the tubing from the CPU block to the radiator.
- Fill the reservoir with coolant, ensuring there are no air bubbles.
- Turn on the system and check for any leaks or issues.
Securing And Testing The System
- Secure all components in place to prevent any movement.
- Power on the system and monitor the temperatures.
- Run stress tests to ensure the liquid cooling system is functioning correctly.

Credit: www.youtube.com
Troubleshooting Common Issues
When installing liquid cooling on your CPU, you may encounter some common issues that need troubleshooting. Understanding these issues and knowing how to address them can help ensure the optimal performance of your liquid cooling system.
Leaking Or Dripping
If you notice any leaking or dripping from your liquid cooling system, it’s essential to act quickly. First, turn off your computer immediately to prevent any potential damage. Next, carefully inspect the tubes, fittings, and reservoir for any visible signs of leakage. Tighten any loose fittings and replace any damaged tubes or O-rings. It’s also crucial to check the liquid levels and ensure they are within the recommended range. If the leaking persists, consider contacting a professional for further assistance.
Unstable Temperatures
Unstable temperatures can be indicative of an issue within your liquid cooling system. Begin by checking the thermal paste application between the CPU and the water block. Reapplying thermal paste can help improve heat transfer and stabilize temperatures. Additionally, ensure that the coolant flow is not obstructed and that the radiator fans are functioning correctly. Adjusting the fan speed and pump settings within your system’s BIOS or software can also help regulate temperatures. Regular maintenance of the radiator and cleaning any dust buildup can contribute to improved heat dissipation.
Noisy Pump Or Fans
A noisy pump or fans can disrupt the overall experience of liquid cooling. Start by checking the mounting of the pump and ensure it is secure and free from any vibrations against the case. If the noise persists, inspect the fans for obstructions or signs of wear. Considering the use of rubber mounting for fans and pumps can help minimize vibrations and reduce noise levels. Furthermore, adjusting the fan curves and pump speeds through your system’s software can provide a quieter operational environment.
Maintenance And Cleaning
Maintaining and cleaning your liquid cooling system is essential for its optimal performance and longevity. Regular inspections and cleanings can help prevent dust build-up, ensure proper airflow, and keep the coolant levels in check. Here are a few important steps to follow when it comes to the maintenance and cleaning of your CPU liquid cooling system:
Regular Inspection And Dusting
Regularly inspecting and dusting your liquid cooling system is crucial for preventing dust accumulation, which can hinder proper heat dissipation. Dust can clog the radiator, fans, and other components, leading to reduced cooling efficiency and potentially damaging your CPU. Inspect these components and clean them using a soft brush or compressed air to remove any dust particles.
Checking Coolant Levels
Monitoring the coolant levels in your liquid cooling system is important to ensure that there is enough coolant to effectively transfer heat away from the CPU. Low coolant levels can lead to overheating and cause damage to your CPU. Check the coolant level regularly and add more if necessary, following the manufacturer’s instructions.
Replacing/cleaning Filters
The filters in your liquid cooling system play a crucial role in trapping dust and debris before they enter the system. Over time, these filters can become clogged and restrict airflow. Check the filters regularly and clean or replace them as needed. This will help maintain proper airflow and prevent dust from accumulating inside the system.
Maintaining Proper Airflow
Proper airflow is vital for the efficient functioning of your liquid cooling system. Ensure that the fans, radiators, and other components are free from obstructions, allowing air to circulate smoothly. Make sure that cables, tubing, and other hardware are properly organized and do not impede airflow. Additionally, ensure that the system is properly positioned in a well-ventilated area to facilitate optimal cooling.
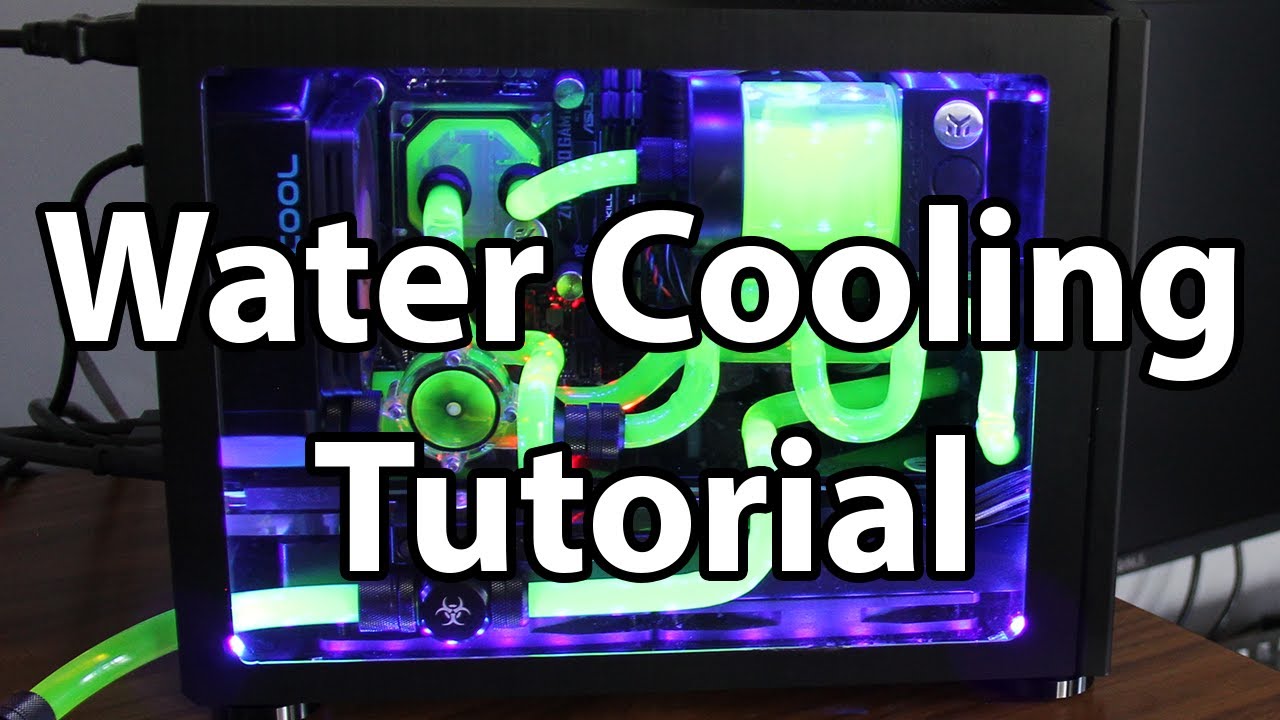
Credit: m.youtube.com

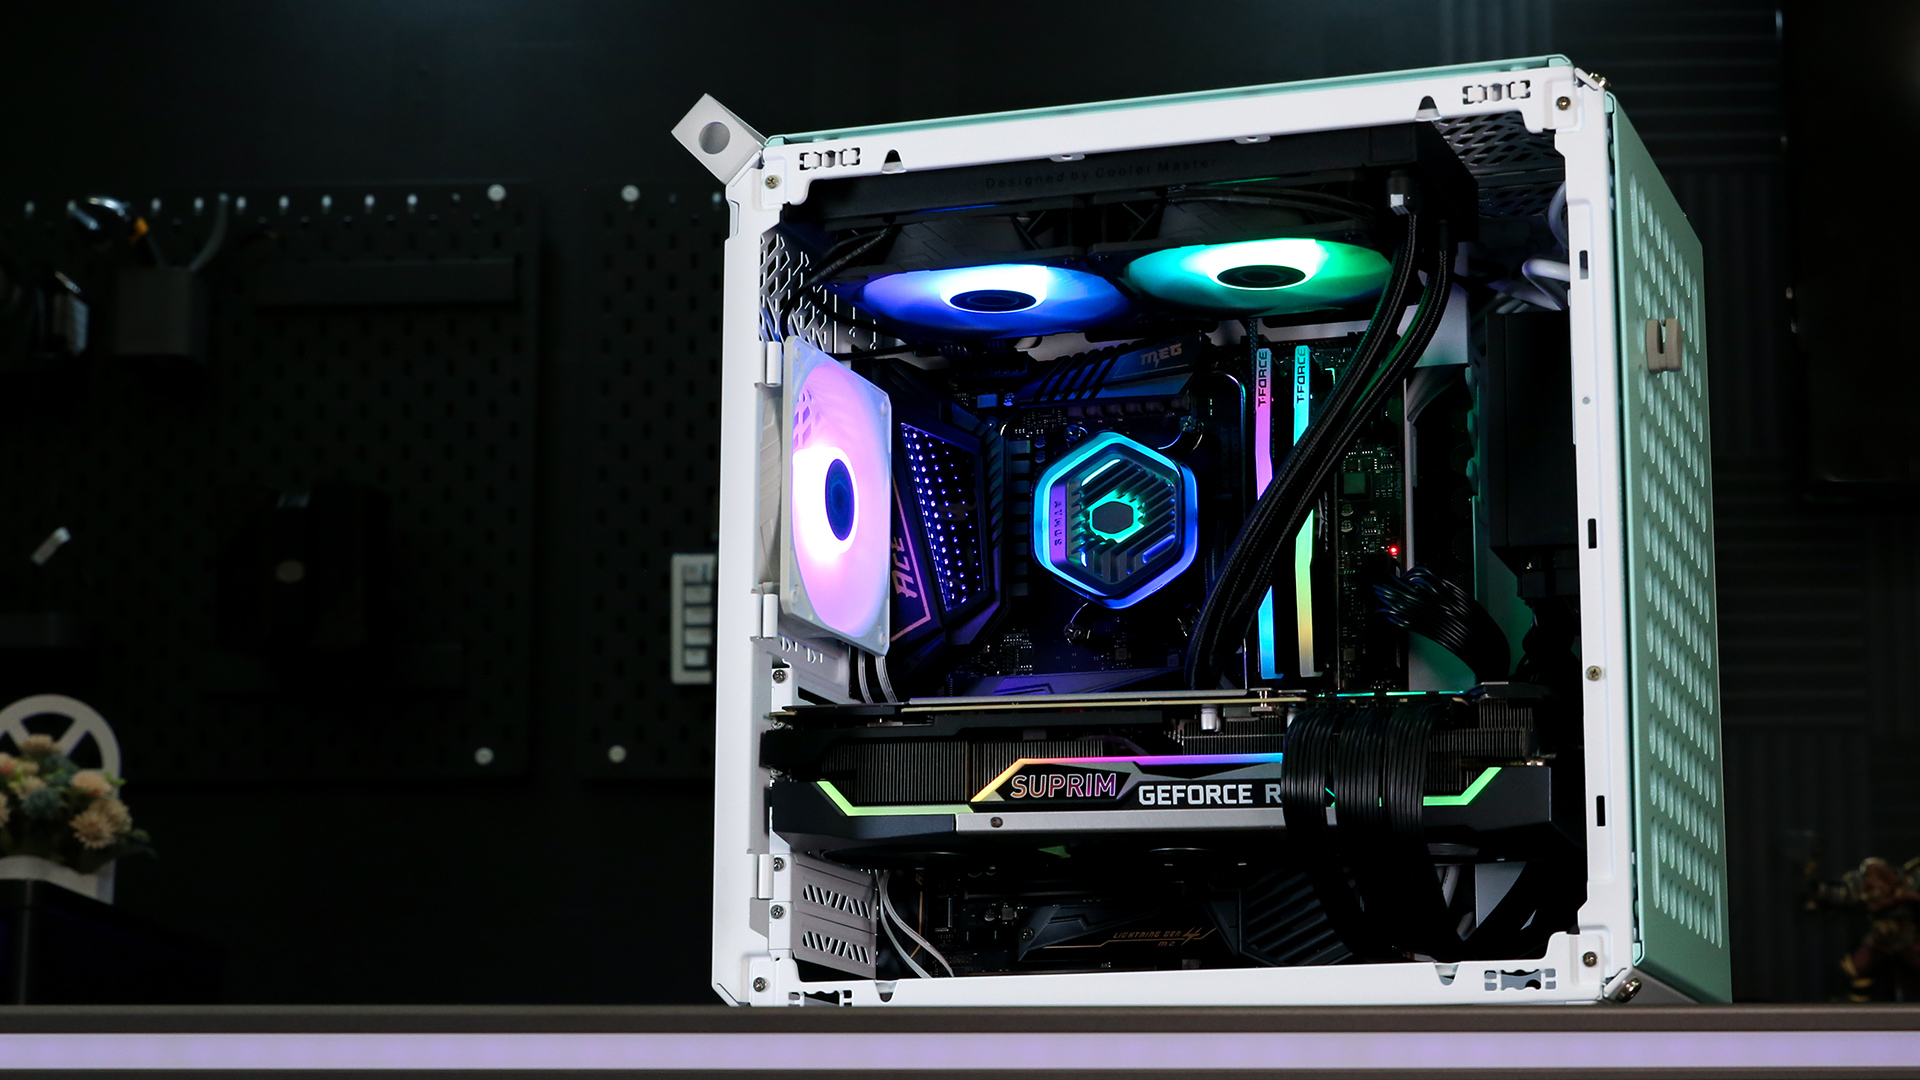
Credit: www.msi.com
Frequently Asked Questions Of How To Install Liquid Cooling On Cpu
What Are The Benefits Of Liquid Cooling For Cpus?
Liquid cooling offers superior heat dissipation, allowing CPUs to run cooler and more efficiently. It can also reduce noise levels, provide better overclocking potential, and prolong the lifespan of your CPU by preventing overheating.
Is Liquid Cooling Necessary For Every Cpu?
Liquid cooling is not necessary for every CPU. Air cooling can be sufficient for most CPUs, especially if you are not planning to overclock. However, liquid cooling does offer additional benefits for those who want to push their CPU’s performance to the limits.
How Does Liquid Cooling Work On A Cpu?
Liquid cooling involves using a closed loop system that circulates a liquid coolant around the CPU. The liquid absorbs the heat from the CPU and carries it to a radiator, where it is dissipated into the surrounding air. This process keeps the CPU temperature lower than traditional air cooling methods.
Is Liquid Cooling Difficult To Install?
While liquid cooling may seem intimidating, installing it on a CPU can be relatively straightforward. Most liquid cooling kits come with detailed instructions, and there are plenty of tutorials available online. As long as you follow the instructions carefully and take your time, you should be able to install liquid cooling without much trouble.
Conclusion
Liquid cooling systems offer efficient cooling for CPUs, enhancing their performance and longevity. By following the simple steps outlined in this guide, you can successfully install a liquid cooling system on your CPU. With the right equipment and proper precautions, you can achieve optimal cooling for your gaming or computing needs.
0 comments