

To install an SSD in your desktop, power off your computer and open the case. Then, locate the SATA ports on your motherboard and connect the SSD using a SATA cable.
Upgrading your desktop with a solid-state drive (SSD) can significantly improve its performance and speed. By installing an SSD, you can enjoy faster boot-up times, quicker file transfers, and overall improved system responsiveness. In this guide, we will walk you through the step-by-step process of installing an SSD in your desktop computer.
With just a few simple steps, you can enhance your computer’s performance and enjoy a more efficient computing experience. Let’s dive into the installation process and get your desktop running on SSD speed!
Preparation
Before you install an SSD in your desktop, it’s essential to make sure you have everything you need at hand and have taken necessary precautions to protect your data. Proper preparation can make the installation process smoother and minimize the risk of data loss. Here’s how to get everything ready for the SSD installation.
Gather The Necessary Tools
Before you begin the SSD installation process, make sure you have all the tools required. The following tools will be needed:
- Screwdriver (usually Phillips and/or Torx)
- Anti-static wristband or mat
- Optional: Data transfer kit or external hard drive enclosure
Backup Data
Prior to installing the SSD, it’s essential to back up your data to ensure it is not lost during the process. You can back up your data by:
- Using a cloud storage service to upload important files
- Copying data to an external hard drive or USB flash drive
- Creating a system image using built-in backup tools in your operating system
Credit: www.pcworld.com
Choosing The Right Ssd
When it comes to choosing the right SSD for your desktop, there are a few key factors to consider. From capacity to speed and compatibility, getting the right SSD is crucial for optimal performance.
Consider Capacity And Speed
A. Capacity:
Select an SSD with sufficient storage space for your needs.
B. Speed:
Opt for a faster SSD to enhance your desktop’s performance.
Check Compatibility With Your Desktop
A. Processor Compatibility:
Ensure the SSD is compatible with your desktop’s processor.
B. Interface Compatibility:
Check if the SSD matches the interface of your desktop.
Opening The Desktop Case
Shut Down The Desktop
Step 1: Power off your desktop computer completely. Locate the ‘Shut Down’ option and click it.
Step 2: Wait for the computer to power down entirely before proceeding to the next step.
Disconnect All Cables And Power
Step 1: Unplug all cables connected to the desktop, including power, monitor, and peripherals.
Step 2: Ensure the computer is not receiving any power supply to avoid any potential hazards.
Remove The Side Panel
Step 1: Place the desktop on a stable surface with enough room to maneuver.
Step 2: Use the appropriate screwdriver to remove the screws holding the side panel in place.
Step 3: Gently slide off the side panel, ensuring it is fully detached from the desktop.
“` Hope this helps. Let me know if you need any modifications.Locating The Hard Drive Bay
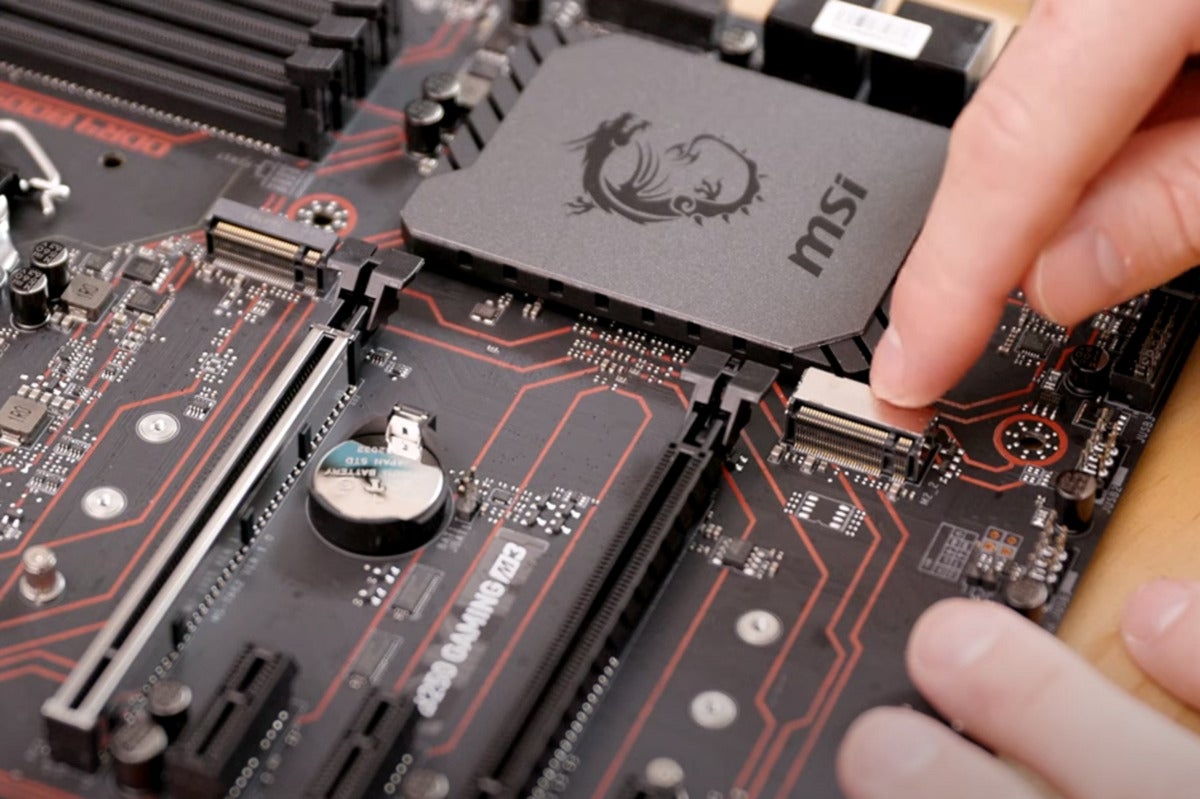
Before you begin the SSD installation process, it’s essential to locate the hard drive bay in your desktop computer. The hard drive bay is the area where the current hard drive is housed, and it’s where the new SSD will be installed. The location of the hard drive bay can vary depending on the desktop model, so it’s important to identify it before proceeding with the installation.
Identify The Current Hard Drive
First, you need to identify the current hard drive in your desktop computer. Most desktops have a single hard drive, but some models may have multiple drives. You can identify the current hard drive by its size and location within the computer. Typically, the hard drive is located in the lower front part of the desktop’s internal structure.
Prepare The Hard Drive Bay
Once you’ve located the hard drive bay and identified the current hard drive, it’s time to prepare the bay for the SSD installation. This involves ensuring that the bay has enough space and that any necessary cables or brackets are in place to secure the SSD. Take this opportunity to inspect the bay for any dust or debris that may need to be cleaned out before proceeding with the installation. Additionally, check if there are any screws or mounting hardware that will be needed to secure the SSD in place.
Installing The Ssd
To install an SSD in your desktop, start by shutting down the computer and unplugging it. Open the computer case, locate the hard drive bay, and slot in the SSD. Secure it with screws, then connect the SATA and power cables.
Close the case, power up the computer, and format the SSD.
Installing an SSD in your desktop is a straightforward process that can greatly enhance the speed and performance of your computer. In this section, we will guide you through the steps to properly install the SSD in your desktop. We will cover how to align the SSD in the bay, secure it in place, and connect the necessary cables for optimal functionality.Align The Ssd In The Bay
To begin, locate an available bay in your desktop case where you can install the SSD. Most cases have dedicated slots or bays for storage drives such as SSDs. Once you have identified the appropriate bay, remove any brackets or screws that may obstruct the installation. Place the SSD into the bay, ensuring that the connector end is facing towards the back of the case. Align the screw holes on the SSD with those on the bay for a secure fit.Secure The Ssd In Place
Once the SSD is aligned in the bay, use the screws provided with your case or SSD to secure it in place. Gently tighten the screws, being careful not to overtighten, as this could damage the SSD or the bay. Make sure the SSD is firmly fixed and does not move when lightly nudged.Connect The Necessary Cables
After securing the SSD, locate the SATA data and power cables. The SATA data cable is used to connect the SSD to the motherboard, while the power cable supplies electricity to the drive. Connect one end of the SATA data cable to the SATA port on the motherboard, and the other end to the corresponding port on the SSD. Next, connect the power cable to both the SSD and the power supply unit. Ensure the connections are snug and properly seated. By following these simple steps, you can successfully install an SSD in your desktop and enjoy the benefits of improved speed and performance. Take care to align the SSD in the bay, secure it firmly in place, and connect the necessary cables, and you will be well on your way to a faster and more efficient computer.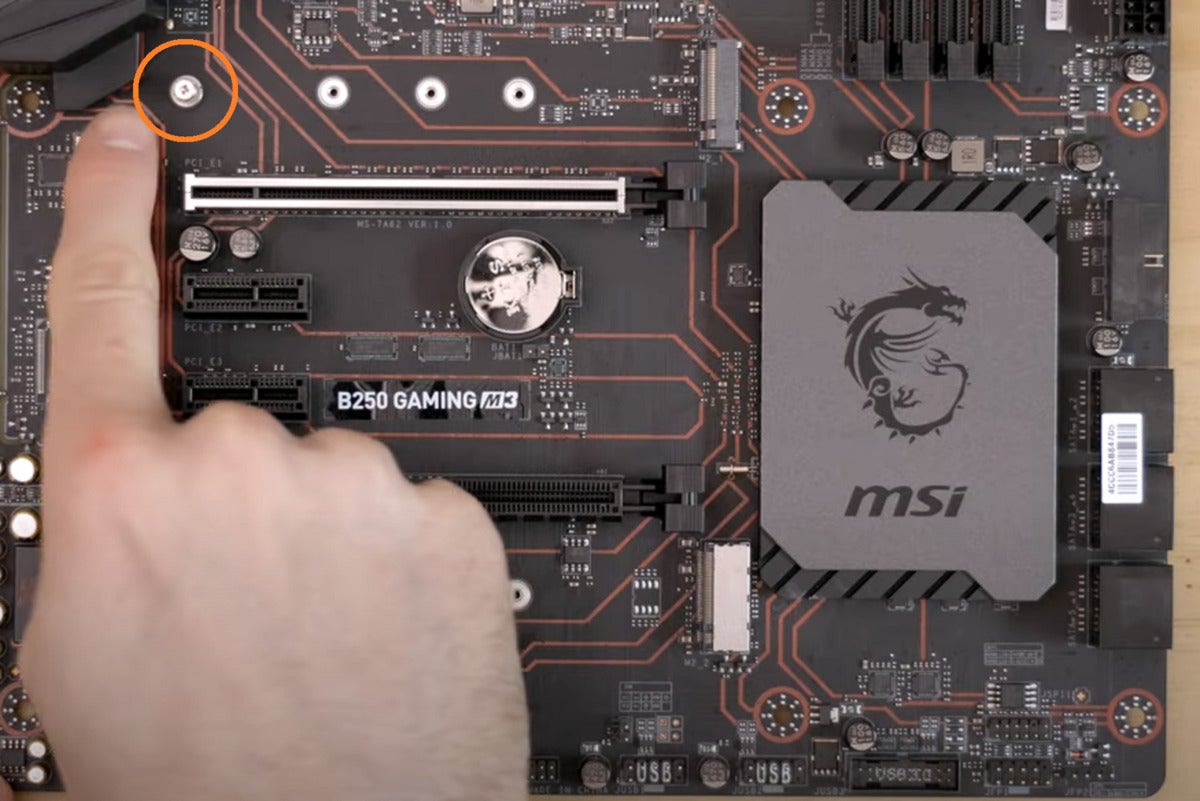
Credit: www.pcworld.com
Connecting The Ssd
This step-by-step guide explains how to easily install an SSD in your desktop. You’ll learn the necessary tools and techniques to ensure a successful connection.
Introduction
When it comes to speeding up your desktop’s performance, installing an SSD (solid-state drive) is a game-changer. Not only does it provide faster boot times and application load times, but it also improves overall system responsiveness. In this guide, we will walk you through the process of connecting an SSD to your desktop, ensuring a seamless installation.
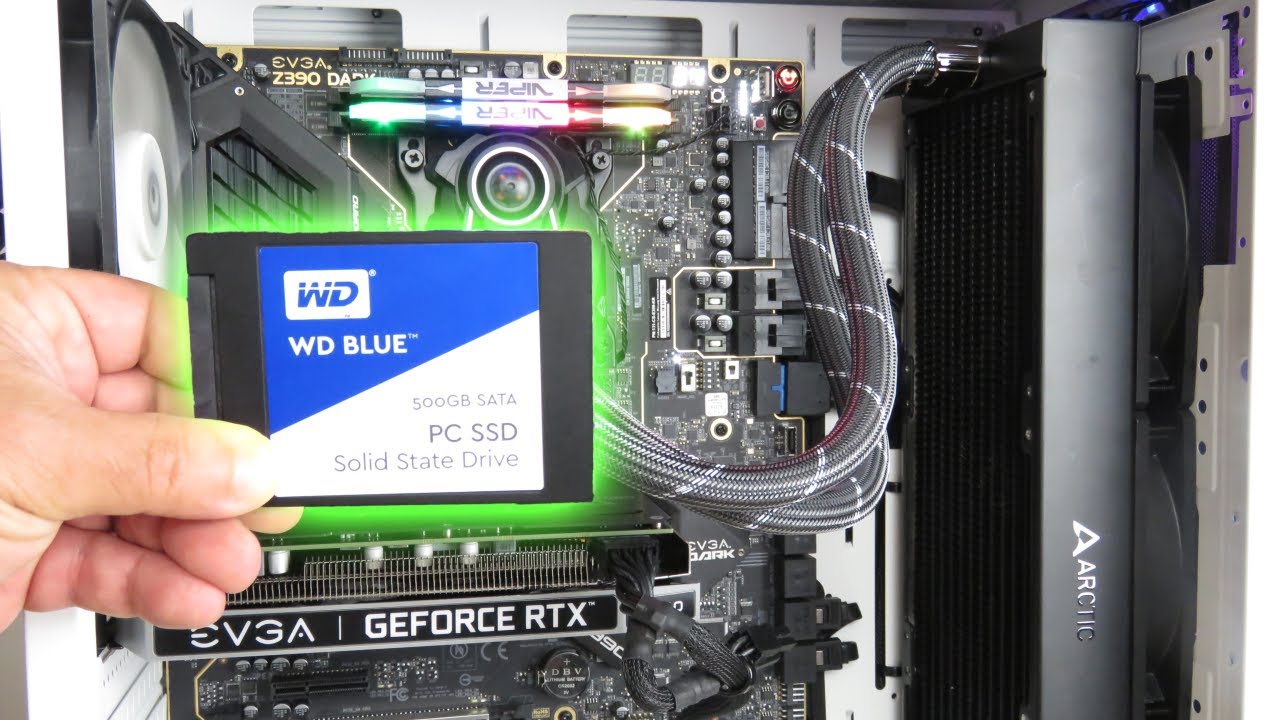
Connect The Sata Cable
To connect your SSD to your desktop, you will need a SATA cable. Follow the steps below to connect the SATA cable:
- Locate the SATA ports on your desktop’s motherboard. These ports are usually rectangular and have a small L-shaped notch at one end.
- Identify an available SATA port and insert the SATA cable connector into it. Ensure that the L-shaped notch aligns with the notch on the port to ensure a proper connection.
- On the other end of the SATA cable, you will find a similar connector. Connect this end to the SSD’s SATA port, which is usually located on the side or the back of the SSD.
Securing a solid connection between the SATA cable and the SSD is crucial for optimal performance. Make sure the connectors are firmly inserted and that there are no loose connections.
Connect The Power Cable
Once the SATA cable is securely connected, you will need to provide power to the SSD. Follow these steps to connect the power cable:
- Locate the power supply unit (PSU) in your desktop. This is where the power cables are connected.
- Identify an available SATA power connector from the PSU. These connectors have a distinctive “L”-shaped design and will fit only one way into the SSD’s power port.
- Align the SATA power connector with the SSD’s power port and gently push it in until it is fully secured.
Ensure the power cable is properly connected and the SSD receives adequate power for smooth operation. Double-check that all connections are secure and snug.
Closing The Desktop Case
Once you have successfully installed the SSD into your desktop, it’s time to close the desktop case to ensure everything is secure and protected.
Reattach The Side Panel
To close the desktop case, gently reattach the side panel by aligning it with the case and sliding it into place. Ensure that the panel is secured with the screws to prevent any movement or vibrations while operating the desktop. This step ensures the internal components are well protected.
Reconnect All Cables And Power
After reattaching the side panel, it’s crucial to reconnect all cables and power to ensure the desktop can function correctly. First, carefully connect the power cables to the SSD and then reconnect all other peripheral cables such as the monitor, keyboard, and mouse.
Credit: www.youtube.com
Bios Configuration
When installing an SSD in a desktop, configuring the BIOS is a crucial step to ensure proper functionality of the new drive. The BIOS (Basic Input/Output System) is responsible for initializing hardware components during the boot-up process, including storage devices like SSDs.
Access The Bios
To access the BIOS, reboot your computer and press the designated key (commonly Del, F2, F10) during startup. This will take you to the BIOS settings interface.
Set The Ssd As The Boot Device
- Navigate: Use the arrow keys to navigate to the “Boot” menu within the BIOS settings.
- Select SSD: Locate the SSD within the list of storage devices and set it as the primary boot device.
- Save Changes: Save the changes before exiting the BIOS, usually by selecting “Save and Exit”.
By configuring the BIOS to recognize the SSD as the boot device, you ensure that your desktop will prioritize booting from the new SSD, enhancing system performance and speed.
Verify The Installation
After successfully installing the SSD in your desktop, it’s important to verify the installation to ensure everything is working correctly.
Power On And Check Bios Detection
First, power on your desktop and access the BIOS settings to see if the SSD is detected properly.
Check Operating System Recognition
Next, boot into your operating system and confirm if the SSD is recognized and functioning as the primary storage device.
Frequently Asked Questions Of How To Install Ssd In Desktop
How Do I Install An Ssd In My Desktop?
To install an SSD in your desktop, first, shut down your computer and disconnect the power cord. Open the computer case and locate an empty spot for the SSD. Mount the SSD securely and connect it to the motherboard using a SATA cable.
Finally, close the case, reconnect the power cord, and start your computer.
What Tools Do I Need To Install An Ssd In My Desktop?
To install an SSD in your desktop, you will need a screwdriver, preferably a Phillips-head screwdriver, to open the computer case and mount the SSD securely. Additionally, you may need SATA cables if they are not already included with your SSD.
Can I Install An Ssd In Any Desktop?
Most desktop computers have provisions to install an SSD. However, it is recommended to check the specifications of your desktop and ensure that it has an available drive bay and compatible connectors (usually SATA) for the SSD installation. If in doubt, consult your computer manufacturer or a professional for assistance.
Do I Need To Transfer My Operating System To The Ssd?
Transferring your operating system to the SSD can significantly improve its performance. You can either perform a clean installation of the operating system on the SSD or clone your existing system drive to the SSD using specialized software. Transferring the operating system will ensure that it boots up faster and runs smoother on the SSD.
Conclusion
Installing an SSD in your desktop can vastly improve its performance. With proper tools and a simple step-by-step guide, anyone can accomplish this upgrade. Enhance your computer’s speed and efficiency by following these easy steps to install an SSD. Don’t miss the opportunity to level up your desktop’s performance!
0 comments