To mute iMessage on MacBook, open iMessage, click Preferences, select Accounts, and uncheck Enable this account. Muting iMessage on your MacBook can help you avoid unnecessary distractions during work or when you need to focus.
By following a simple process within the iMessage application, you can easily mute notifications and alerts, allowing you to concentrate on your tasks without interruptions. This feature is especially useful when you are in a meeting, working on a project, or simply want to minimize disruptions.
In this guide, we will walk you through the steps to mute iMessage on your MacBook, ensuring a more seamless and distraction-free user experience.

Credit: www.idownloadblog.com
Method 1: Muting Imessage Notifications
Muting iMessage notifications on your MacBook can help you to stay focused and avoid interruptions during your work. There are several methods to achieve this, and in this section, we will go over the first method, focusing on muting iMessage notifications through system settings.
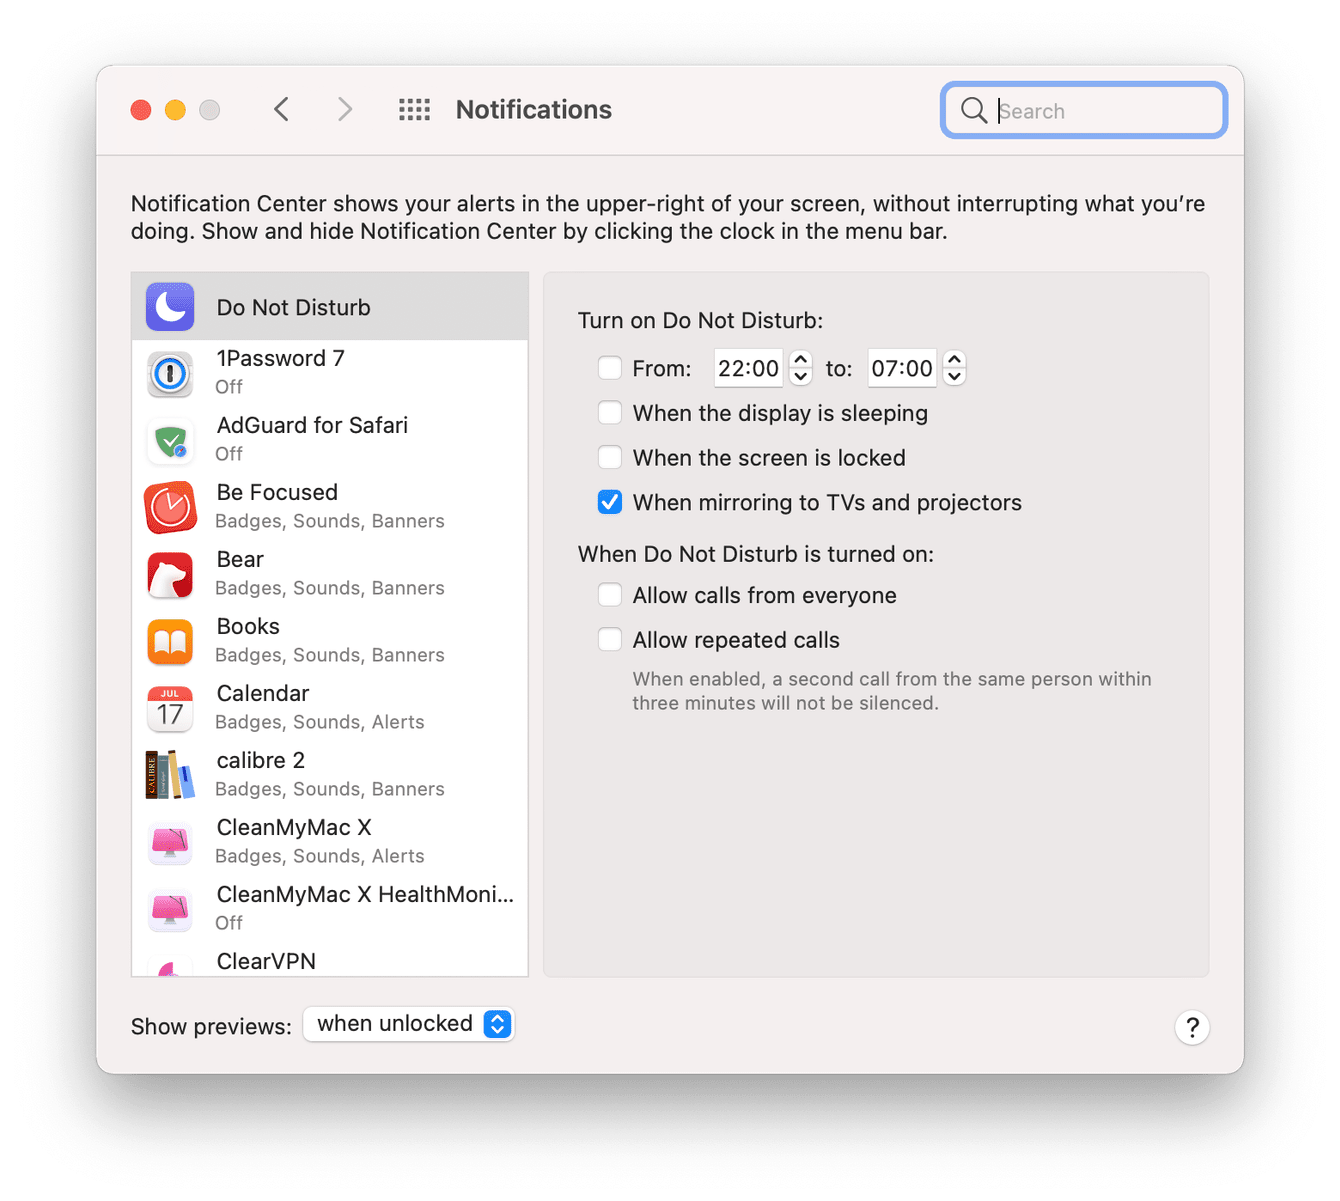
Enabling Do Not Disturb Mode
If you want to quickly silence iMessage notifications and other interruptions, enabling the Do Not Disturb mode is a convenient option. This feature allows you to silence all notifications and alerts, ensuring a distraction-free workflow.
Here’s how you can enable Do Not Disturb mode:
- Click on the Notification Center icon in the top-right corner of your Mac’s menu bar.
- Scroll to the top of the Notification Center to access the “Do Not Disturb” toggle switch.
- Toggle the switch to activate the Do Not Disturb mode and mute all notifications, including iMessage.
Customizing Notification Settings
Customizing the notification settings for iMessage gives you more control over which notifications you receive and when. This allows you to tailor your notification preferences to suit your specific needs and work environment.
Follow these steps to customize iMessage notification settings:
- Open the “Messages” app on your MacBook.
- Click on “Messages” in the menu bar and select “Preferences.”
- Navigate to the “Notifications” tab and adjust the settings to your liking, such as disabling banner notifications or turning off message previews.
Method 2: Disabling Imessage On Macbook
To mute iMessage on your MacBook, follow Method 2: Disabling iMessage. This easy-to-use guide will help you quickly turn off iMessage on your device.
Signing Out Of Imessage
To sign out of iMessage on your MacBook, follow these easy steps:
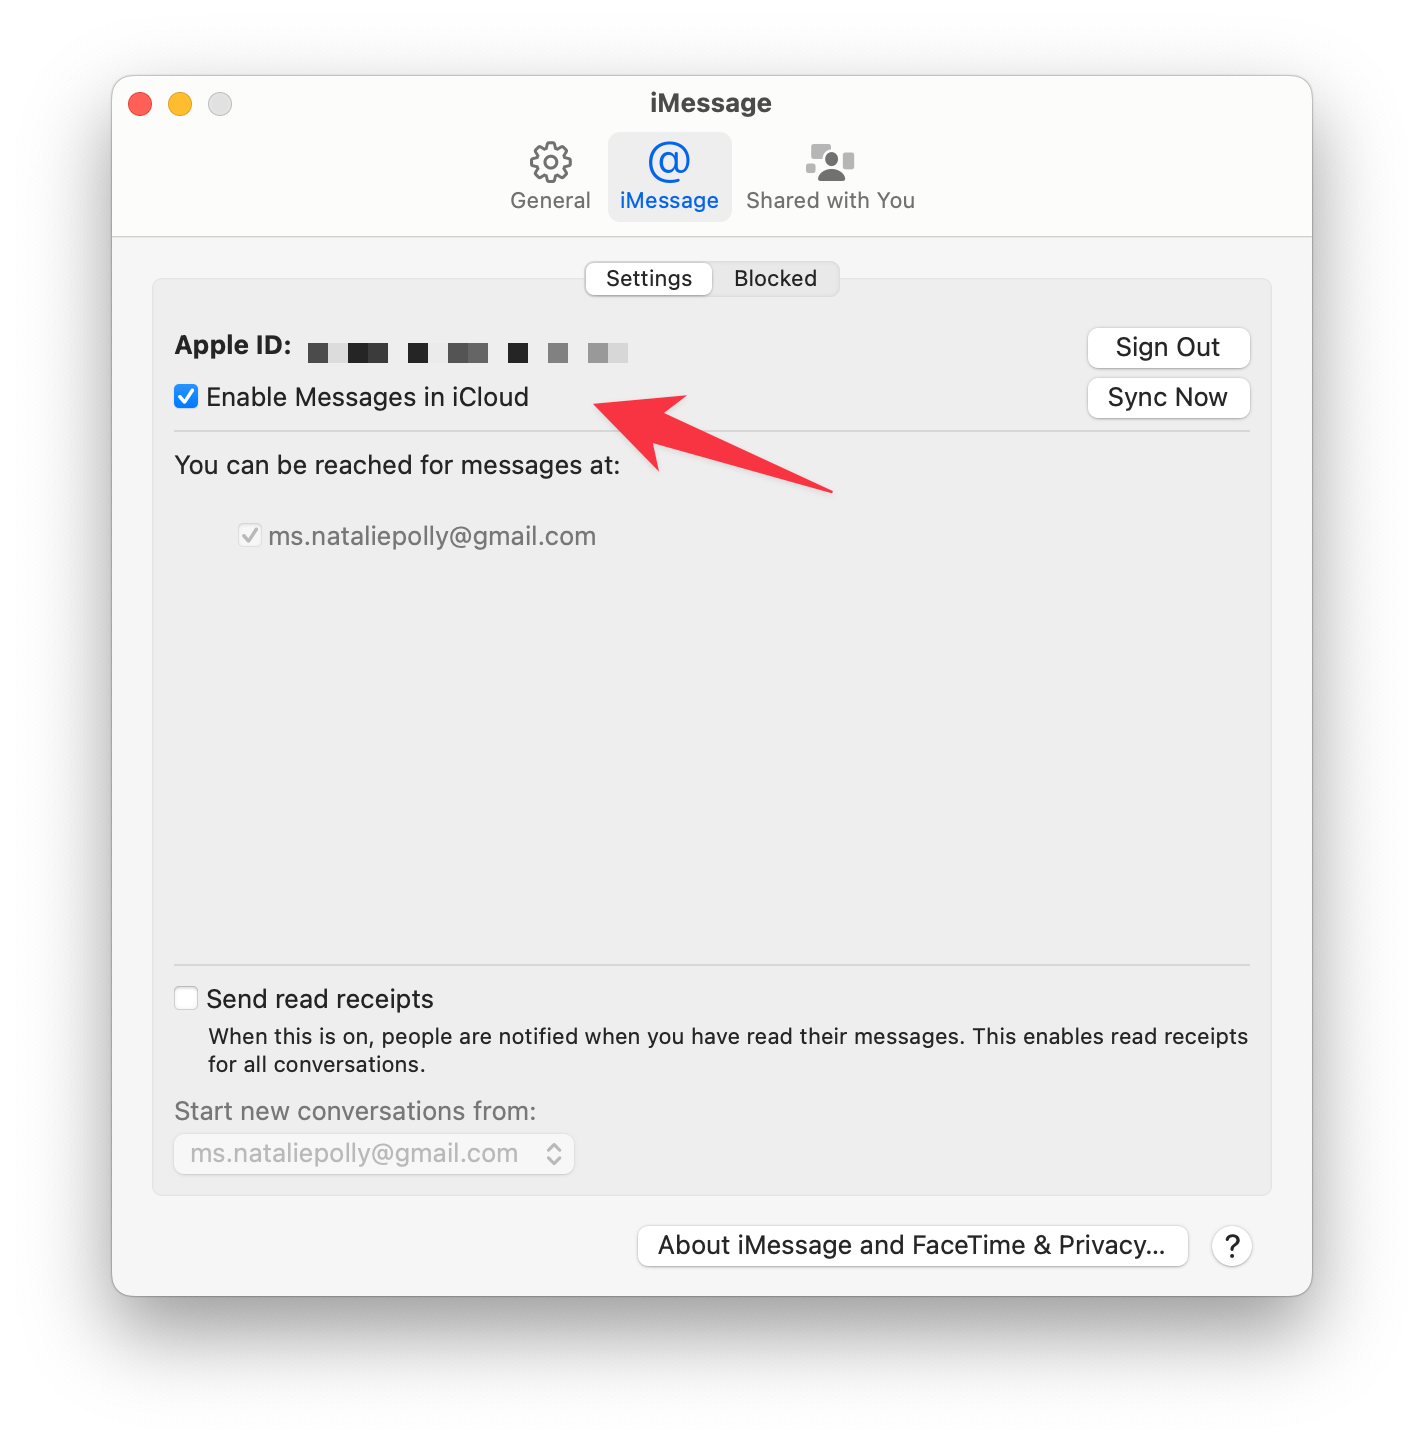
- Open the Messages app on your MacBook.
- Click on “Messages” in the menu bar and select “Preferences”.
- Go to the “Accounts” tab and select your iMessage account.
- Click on the “Sign Out” button to log out of iMessage.
Disabling Imessage Altogether
If you want to completely disable iMessage on your MacBook, here’s what you need to do:
- Open the Messages app on your MacBook.
- Click on “Messages” in the menu bar and select “Preferences”.
- Go to the “Accounts” tab and uncheck the box next to “Enable this account”.
- Click on “Sign out” to disable iMessage altogether.
Method 3: Creating A Rule In Mail To Send Imessages To A Specific Folder
To mute iMessages on a MacBook, you can create a rule in Mail to send iMessages to a specific folder. This method allows you to manage your iMessages more effectively and avoid distractions while working on your MacBook. Simply follow the steps to set up the rule and enjoy a more peaceful work environment.
Setting Up A Rule In Mail
Creating a rule in Mail allows you to redirect iMessages to a specific folder on your MacBook.Redirecting Imessages To A Folder
By setting up a rule in Mail, you can organize your iMessages easily on your MacBook. Follow these simple steps to create a rule in Mail and redirect your iMessages: 1. Open the Mail app on your MacBook. 2. Go to Preferences from the Mail menu. 3. Click on Rules to set up a new rule. 4. Choose Add Rule and name your rule. 5. Select the conditions for the rule, such as iMessage sender. 6. Set the action to move messages to a specific folder. 7. Create the folder where you want to redirect iMessages. 8. Apply the rule to start redirecting iMessages to the folder. With this method, you can easily manage and mute iMessages on your MacBook without interruptions.Credit: www.businessinsider.com
Method 4: Temporarily Blocking Message Senders
`Method 4: Temporarily Blocking Message Senders on iMessage allows you to take a break from specific individuals without permanently cutting off communication. Whether you’re dealing with a persistent spammer or simply need some time away from a contact, this method can help you manage your iMessage notifications effectively. By following simple steps, you can easily block and unblock contacts as needed, without the hassle of losing important messages or notifications.
Blocking A Contact Temporarily
`When you need a temporary break from a contact, you can easily block them on iMessage. Here’s how to do it:`
- Open the Messages app on your Macbook.
- Select the conversation with the contact you want to block.
- Click on “Details” in the upper-right corner of the conversation window.
- Click on the contact’s name or number at the top of the Details window.
- Scroll down and click on “Block this caller” to temporarily block the contact.
- Confirm the action when prompted.
`Once you’ve completed these steps, you won’t receive any notifications from the blocked contact until you decide to unblock them. This temporary solution can offer some reprieve from unwanted messages or conversations without permanently cutting off communication. `
Unblocking A Contact
`If you’re ready to resume communication with a previously blocked contact, simply follow these steps to unblock them:`
- Open the Messages app on your Macbook.
- Click on “Messages” in the menu bar and select “Preferences.”
- Go to the “Accounts” tab and select your iMessage account.
- Click on the “Blocked” tab to view your blocked contacts list.
- Select the contact you want to unblock and click on “Unblock” to allow communication with them again.
`By carefully managing your blocked contacts list, you can control who can reach out to you on iMessage and maintain a clutter-free messaging experience on your Macbook.`
Method 5: Using Parental Controls To Restrict Imessage
To restrict iMessage on your Macbook, employ parental controls to effectively mute notifications. Access system preferences, navigate to the parental controls section, then select the user account where you wish to limit iMessage activity. Set specific time restrictions or completely block iMessage access as needed.
When it comes to controlling and restricting iMessage on your MacBook, using Parental Controls can be an effective method. By setting up Parental Controls, you can limit iMessage usage for specific users, providing you with peace of mind and control over who can use iMessage on your device.
Setting Up Parental Controls
To start using Parental Controls, follow these simple steps:
- Open the Apple menu from the top left corner of your MacBook’s screen.
- Select “System Preferences” from the dropdown menu.
- In the System Preferences window, click on “Parental Controls” icon.
- Enter your administrator password when prompted.
- Click on the lock icon at the bottom left corner to make changes.
- Select the user account for which you want to restrict iMessage usage.
- Click on the “Apps” tab.
- Uncheck the box next to “Messages” to disable iMessage for that specific user.
- Close the window to save your changes.
Limiting Imessage For Specific Users
If you want to restrict iMessage usage for specific users, follow these additional steps:
- Under the user’s account in Parental Controls, click on the “Allowed Apps” tab.
- Uncheck the box next to “Messages” to prevent the user from accessing iMessage.
- Click on the “+” button to add any additional apps you want to restrict.
- Choose the apps from the list and click “OK”.
- Close the window to save your changes.
By correctly setting up and utilizing Parental Controls on your MacBook, you can ensure that iMessage remains restricted and accessed only by authorized users. This feature is useful for parents who want to monitor and control their children’s iMessage activities, or for shared devices in an office environment where specific users should not have access to iMessage.

Credit: cleanmymac.com
Frequently Asked Questions For How To Mute Imessage On Macbook
How Do I Mute Imessage Notifications On Macbook?
To mute iMessage notifications on your Macbook, go to System Preferences, then Notifications. Find and select the iMessage app, and adjust the alert style to “None”. This will silence all incoming iMessage notifications on your Macbook.
Can I Mute Specific Imessage Conversations On Macbook?
Yes, you can mute specific iMessage conversations on your Macbook. Open the Messages app, right-click on the conversation you want to mute, and select “Hide Alerts”. This will prevent any notifications from that conversation from appearing on your Macbook.
How Can I Temporarily Disable Imessage On Macbook?
To temporarily disable iMessage on your Macbook, open the Messages app and go to Preferences. Under the Accounts tab, uncheck the box next to your Apple ID. This will effectively pause iMessage activity on your Macbook until you re-enable it.
What Happens When I Mute Imessage On Macbook?
When you mute iMessage on your Macbook, you will no longer receive any notifications or alerts for incoming iMessages. However, you can still read and send iMessages manually through the Messages app. Muting iMessage is a great way to minimize distractions and focus on other tasks.
Conclusion
To sum up, muting iMessage on your MacBook is simple and can enhance your overall experience. By following the steps outlined in this post, you can effectively manage your notifications and prioritize your workflow. With iMessage muted, you can focus on your tasks without unnecessary distractions.
Implement these tips to optimize your MacBook usage.


0 comments