
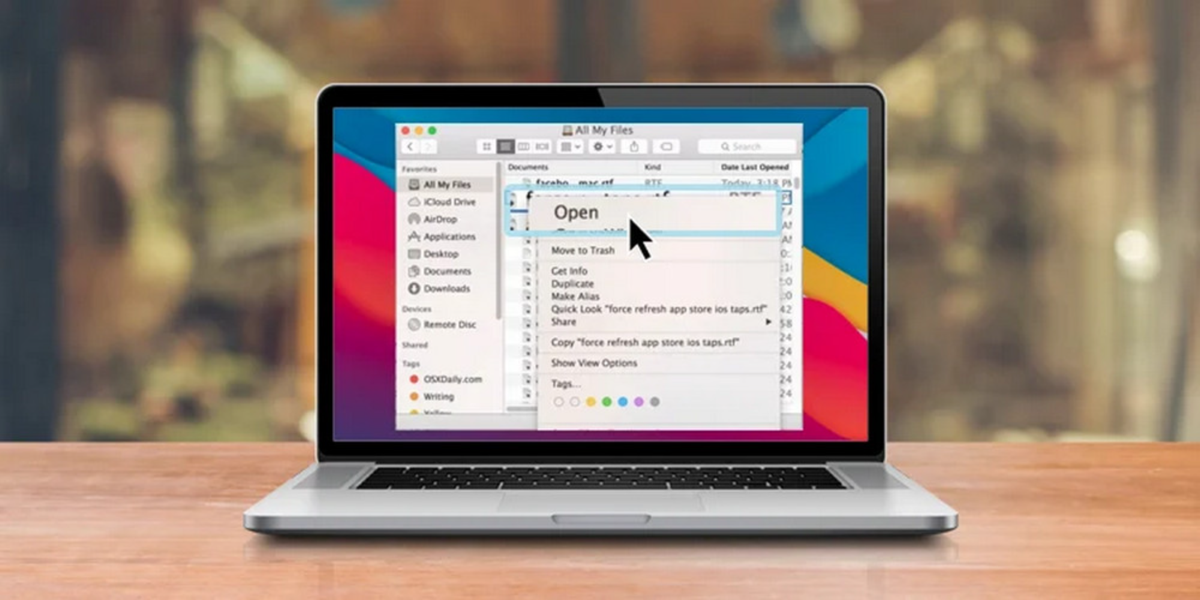
To open a file on a Macbook, simply double-click on the file icon. Alternatively, go to the File menu and select “Open.”
In the digital age, accessing your files efficiently is crucial for productivity. For Macbook users, opening a file is a straightforward process that can be done with just a few clicks. Whether you have documents, images, or videos to view or edit, knowing how to open files on your Macbook is essential.
In this guide, we will explore the simple steps required to access your files quickly and easily on your Macbook. By following these steps, you can streamline your workflow and make the most out of your Macbook experience.
Credit: www.intego.com
Finding The File
Finding the file you need on your MacBook can sometimes be a daunting task, especially if you have tons of files saved on your device. However, with the right techniques, locating your desired file can be quick and easy. Below are a couple of methods to help you find the file you need for your tasks on your MacBook.
Using The Finder
One of the quickest ways to find a file on your MacBook is by using the Finder. Here’s how you can do it:
- Open the Finder application on your MacBook.
- Navigate to the location where you think the file might be stored, such as Documents, Desktop, or Downloads.
- Once you’re in the desired location, you can visually scan the files present or use the search bar at the top right to narrow down your search.
- Remember to utilize the search filters such as file type, date modified, or keywords to refine your search results.
Searching For The File
If you’re unsure about the exact location of the file, you can take advantage of the built-in search feature on your MacBook. Follow these steps to search for the file:
- Click on the magnifying glass icon located at the top right corner of your screen, which opens the Spotlight search bar.
- Type in the file name or relevant keywords and press Enter.
- Review the search results to find the file you’re looking for.
Credit: www.bleepingcomputer.com
Choosing The App
When it comes to opening a file on your Macbook, choosing the right app is crucial to ensure you can access and interact with the file properly. Identifying the File Type and Selecting the App are essential steps in this process.
Identifying The File Type
- Check the file extension by right-clicking on the file
(.pdf, .docx, .jpg). - Look at the file icon, which may indicate the file type
(a blue 'W' for Word documents). - Use the ‘Get Info’ option to view detailed file information
(Command + I).
Selecting The App
- Consider the file’s format and purpose before selecting an app.
- Use built-in Mac apps like Preview for PDFs and QuickTime for videos.
- Download third-party apps from the App Store for specialized file types.
By choosing the right app based on the file type, you can ensure a seamless experience when opening and working with files on your Macbook.
Opening The File
When it comes to opening a file on your Macbook, there are a few simple methods you can use. Below, we will walk you through two common ways to open a file on your Macbook.
Double-clicking The File
To open a file on your Macbook, locate the desired file on your desktop or within a folder. Double-click directly on the file icon to open it. This action will launch the default application associated with that specific file type, allowing you to view or edit the file.
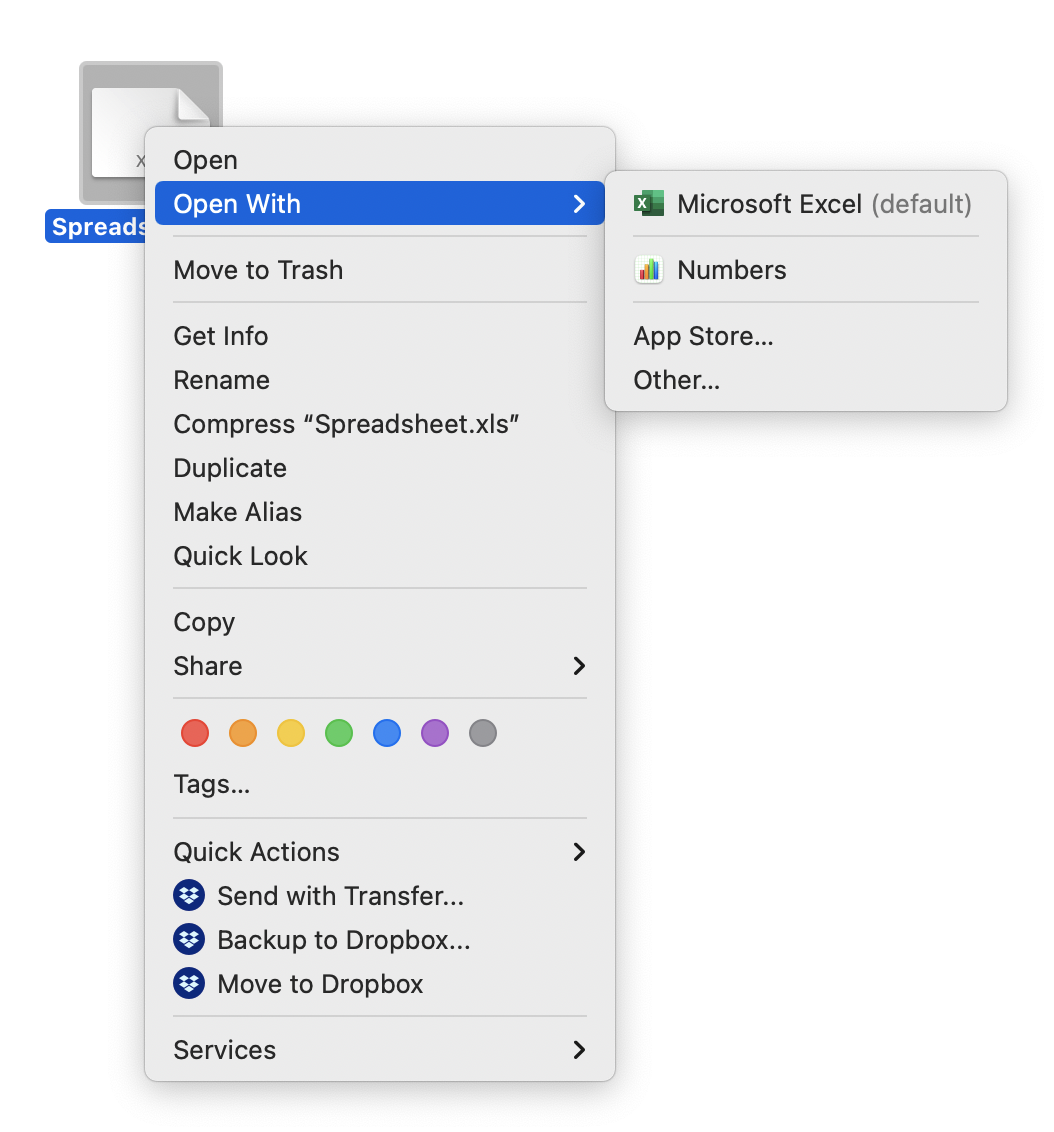
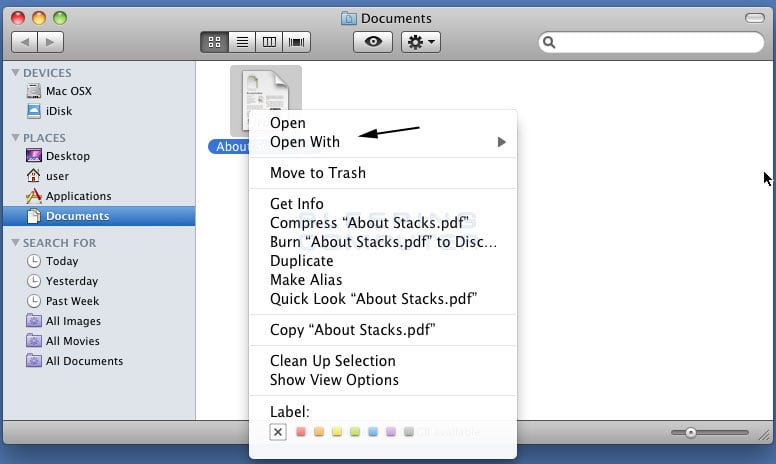
Using The ‘open With’ Option
If you wish to open a file with a specific application other than the default one, right-click on the file icon. Select the ‘Open With‘ option from the dropdown menu. Choose the desired application from the list to open the file using that program.
Opening Specific File Types
When using a Macbook, you may need to open different types of files for various purposes. Here’s how to open specific file types, including documents, images, and audio or video files.
Opening Documents
To open documents on your Macbook, simply double-click on the file you want to open. If you prefer using keyboard shortcuts, you can also right-click on the document and select “Open With” from the dropdown menu. From there, choose the appropriate application to open the document.
Opening Images
To open images, you can again double-click on the image file, which will open it in the default image viewer. If you want to open it with a specific application, right-click on the image, select “Open With”, and choose the desired application from the list.
Opening Audio Or Video Files
When it comes to opening audio or video files, the process is similar. Double-click on the file to open it with the default media player. For specific applications, right-click on the file, select “Open With”, and choose the preferred media player.
Organizing And Managing Files
When it comes to working with your Macbook, it’s important to have an efficient way of organizing and managing your files. This not only helps you keep your files organized but also saves you time when you need to locate specific files quickly. In this section, we will explore various methods for organizing and managing files on your Macbook, including creating folders, renaming files, and moving files.
One of the simplest and most effective ways to organize your files is by creating folders. Folders act as containers for related files, allowing you to group them together and find them easily later on. To create a new folder on your Macbook, follow these steps:
- Click on the desktop or open the Finder window to the location where you want to create the folder.
- Right-click or Control-click on an empty space and select “New Folder” from the context menu.
- A new folder will appear, ready for you to rename. Type in a descriptive name for the folder and press Enter.
By creating folders and giving them meaningful names, you can easily categorize and locate your files based on different projects, themes, or any other organizational approach that suits your needs.
Renaming files is another essential skill for effectively managing your files. Sometimes, the default names of files may not accurately describe their contents, or you might want to give them more descriptive names for easier identification. To rename a file on your Macbook, follow these steps:
- Locate the file you want to rename, either in a Finder window or on the desktop.
- Click once on the file to select it, then press the Enter key on your keyboard.
- An editable text field will appear around the file’s name. Type in the new name for the file and press Enter.
With the ability to rename files, you can ensure that your files have clear and meaningful names that make sense to you, making it easier to find and identify them later on.
In addition to organizing files within folders, you may also need to move files to different locations on your Macbook. Whether you want to move files between folders or transfer them to external storage devices, the process is straightforward. To move a file on your Macbook, follow these steps:
- Open a Finder window and navigate to the file you want to move.
- Click and drag the file to its new location within the Finder window, or drag it onto a folder in the sidebar or desktop.
- Release the mouse button to drop the file in its new location.
By moving files, you can keep your folders organized and ensure that related files are stored together, helping you maintain a structured and clutter-free filing system.
Customizing File Associations
When it comes to opening files on your MacBook, the default app that opens a particular file type may not always be your preferred choice. Fortunately, macOS allows you to customize file associations, so you can effortlessly open files with the apps you love and are most comfortable using. In this blog post, we will guide you through the process of customizing file associations on your MacBook.
Changing Default Apps
If you find yourself frequently using a specific app to open certain file types, you may want to change the default app for those files. This way, whenever you double-click on a file, it will automatically open in your preferred app. To change the default app for a file type, follow the steps below:
- Locate the file for which you want to change the default app.
- Right-click on the file and select “Get Info” from the context menu.
- In the Info window that appears, find the “Open with” section.
- Click on the dropdown menu next to the current default app.
- Select the app you want to set as the default for that file type.
- Click the “Change All” button below the dropdown menu to apply the changes to all files of the same type.
By following these simple steps, you can easily change the default app for any file type on your MacBook.
Resetting File Associations
If you want to revert the file associations back to their default settings, you can reset them. This can be useful if you have made changes that you no longer wish to keep or if you want to start fresh. To reset file associations on your MacBook, the following steps can be followed:
- Open the “Finder” application on your MacBook.
- From the menu at the top, select “Preferences”.
- In the “Preferences” window, click on the “General” tab.
- Locate the section titled “Default web browser” and click the “Reset” button.
After resetting the file associations, your MacBook will revert to its default settings, and files will open with the default apps as determined by macOS.
Customizing file associations on your MacBook gives you the power to control how files are opened and which apps are used. Whether you want to change the default app for certain file types or reset the associations back to the default settings, macOS provides you with the flexibility to make these adjustments effortlessly. By following the simple steps we provided, you can easily customize file associations on your MacBook to suit your preferences and workflow.
Opening Files From External Storage
Connecting External StorageWhen you need to access files stored on an external storage device, such as a USB flash drive or an external hard drive, you’ll first need to connect the device to your MacBook. To do this, simply plug the USB flash drive or connect the external hard drive to one of the USB ports on your MacBook. Once connected, the external storage device should appear on your desktop as a new icon.
Accessing FilesTo access files from the external storage device on your MacBook, simply double-click on the icon representing the device on your desktop. This will open a new window displaying the contents of the external storage device. From here, you can browse through the files and folders stored on the device and open the files as needed by double-clicking on them.
As you are preparing to access files from external storage on your MacBook, consider the following steps:- Connect the external storage device.
- Double-click on the device icon to access its contents.
- Select and open the desired files.
Troubleshooting
Troubleshooting: Having trouble opening a file on your Macbook? Don’t worry, we’ve got you covered. Below are common issues and solutions you may encounter when trying to open a file on your Macbook.
File Not Opening
- Check file extension for errors.
- Ensure file is not corrupted.
- Try opening the file in a different application.
Unsupported File Types
- Research compatibility of the file type with Macbook.
- Look for third-party applications that support the file.
- Convert the file to a supported format.
Tips And Tricks
When it comes to opening files on your Macbook, there are some handy tips and tricks you can use to make the process more efficient. These include using Quick Look and utilizing keyboard shortcuts.
Using Quick Look
Quick Look is a built-in feature on Macbooks that allows you to preview the contents of a file without opening it fully. To use Quick Look, simply select the file you want to view and press the spacebar. This is great for quickly checking the contents of a file without launching the application it belongs to.
Utilizing Keyboard Shortcuts
Keyboard shortcuts can help you open files on your Macbook faster. Command + O opens a file, Command + D duplicates a file, and Command + W closes a file. Memorizing these shortcuts can save you time and streamline your workflow.
Credit: iboysoft.com
Frequently Asked Questions For How To Open A File In Macbook
How Do I Open A File In Macbook?
To open a file in Macbook, simply double-click on the file icon. This will launch the default application associated with that file type and open the file for you to view or edit. You can also right-click on the file and select “Open” from the context menu.
What Are The Keyboard Shortcuts To Open Files On Macbook?
There are several keyboard shortcuts you can use to open files on a Macbook. For example, you can press Command + O to open a file in the currently active application. If you want to quickly open a file in Finder, press Command + Shift + O.
These shortcuts can save you time and make file opening a breeze.
Can I Use Spotlight To Open Files On Macbook?
Yes, Spotlight is a powerful search tool on Macbook that can also be used to open files. Simply press Command + Space to open Spotlight, then type in the name of the file you want to open. Spotlight will display the file in the search results.
Press Enter to open the file using the default application.
How Can I Open A Specific File Type On Macbook?
To open a specific file type on Macbook, you can use the “Open With” feature. Right-click on the file, select “Open With,” then choose the application you want to use to open the file. You can also select “Always Open With” to set your preferred application as the default for that file type.
Conclusion
Opening a file on your Macbook is a simple process that can be done in a few easy steps. By following the methods mentioned you can efficiently access your files and make the most of your Macbook experience. Remember to stay organized and use the right applications for seamless file management.
0 comments