
To print screen on a Logitech keyboard, press the “Fn” key along with the “Print Screen” key. This will capture the screen image.
Capturing your screen with a Logitech keyboard is a simple process that can come in handy for various tasks. Whether you need to save an important document, share information visually, or troubleshoot technical issues, knowing how to print screen effectively can be a valuable skill.
By following a few easy steps, you can quickly capture and save images of your screen without any hassle. In this guide, we will explore the straightforward method of printing screen on a Logitech keyboard, allowing you to streamline your workflow and enhance your productivity. Let’s dive into the details of this helpful process.
Credit: www.quora.com
Using The Print Screen Function
To print screen on a Logitech keyboard, press the “PrtScn” or “Print Screen” button located at the top right corner of the keyboard. The captured screenshot can then be pasted into an image editing program or document for further use.
Overview Of The Print Screen Function
Using the Print Screen function allows you to capture and save an image of your computer screen as a screenshot. It’s a handy feature for capturing important information, images, or errors that you may want to share or reference later.Locating The Print Screen Key On Your Logitech Keyboard
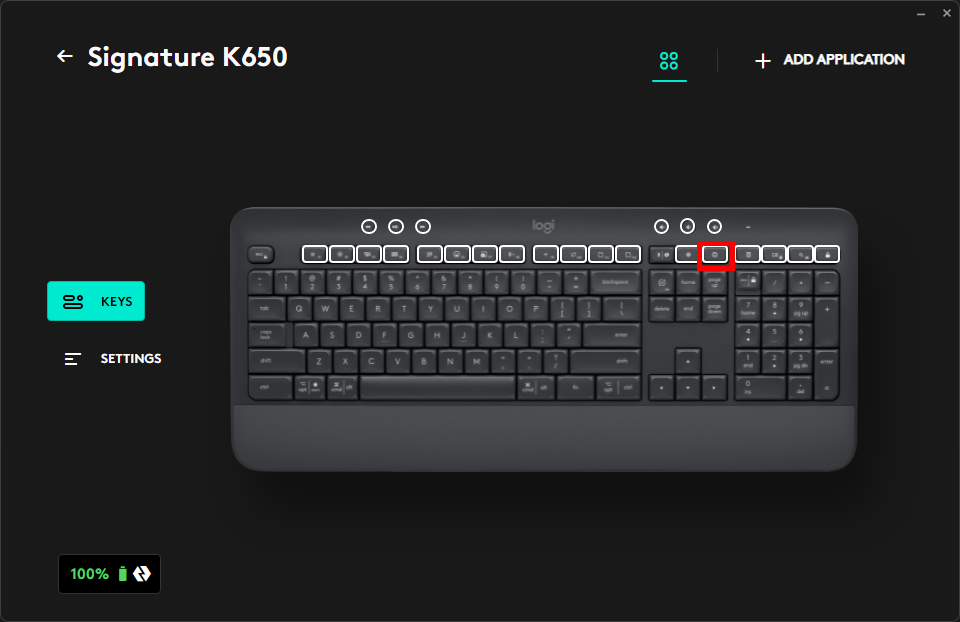
The Print Screen key is typically located in the top row of your Logitech keyboard. It is usually labeled as “PrtScn” or “Print Screen” and may be situated alongside other function keys. If you’re having trouble locating it, refer to your keyboard’s user manual for specific key placement.Taking A Screenshot Using The Print Screen Key
To capture a screenshot using the Print Screen key on your Logitech keyboard, simply press the “PrtScn” key. This action copies an image of your entire screen to the clipboard. You can then paste the screenshot into an image editing program such as Paint or Photoshop by pressing “Ctrl + V”, or directly into a document or email by pressing “Ctrl + V”. “`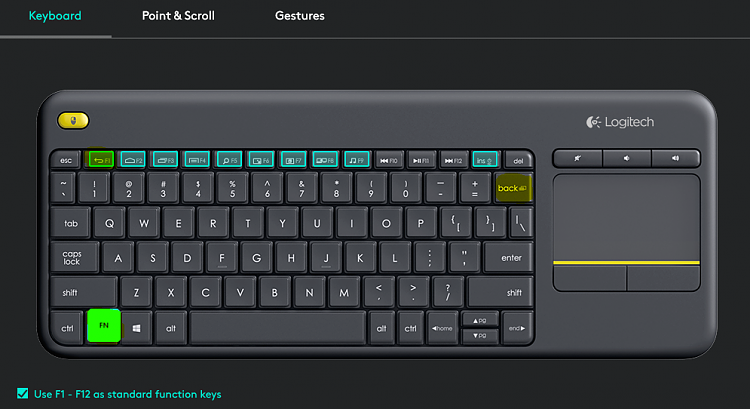
Credit: www.tenforums.com
Using Snipping Tool In Windows
To print screen on a Logitech keyboard, you can utilize the Snipping Tool in Windows. Access the Snipping Tool program and choose the type of screenshot you want, whether it’s a specific section, window, or the entire screen. After capturing the image, it can be saved or printed directly.
Introduction To Snipping Tool
Snipping Tool is a built-in Windows utility that allows users to easily capture and save screenshots of their computer screens.
Accessing Snipping Tool On Your Computer
To access the Snipping Tool on your computer, simply search for it in the Windows Start menu or search bar
Choosing The Desired Snip Type
- Select New to start a new snip
- Choose from Free-form, Rectangular, Window, or Full-screen snip types
Capturing A Screenshot Using Snipping Tool
- Click New in the Snipping Tool window
- Select the area you want to capture
- Save the snip by clicking the Save icon
Using The Built-in Screenshot Shortcut
To take a screenshot using your Logitech keyboard, simply press the “Print Screen” key on your keyboard. This built-in shortcut allows for quick and easy capture of your screen without the need for additional software. Perfect for capturing important information or saving images.
Understanding Logitech’s Built-in Screenshot Shortcut
Logitech keyboards come equipped with a convenient built-in screenshot shortcut for capturing your screen effortlessly.
Activating The Built-in Screenshot Shortcut
To activate the screenshot shortcut on your Logitech keyboard, you need to configure the settings in the Logitech software.
Taking A Screenshot Using The Built-in Shortcut
- Press
Ctrl + PrtScnsimultaneously to capture the entire screen. - Press
Ctrl + Shift + PrtScnto capture a specific window or application. - The screenshot will be saved to your clipboard for easy pasting into an image editing software or document.
Credit: lucafrance.medium.com
Using Third-party Screenshot Software
Using third-party screenshot software can offer a more versatile approach to capturing your screen compared to the traditional method of using the Print Screen button. Rather than being limited to the basic features of your Logitech keyboard, utilizing third-party software options allows for greater customization and functionality. This can be particularly beneficial for those who require more advanced screenshot tools, such as professionals working in design, development, or content creation.
Exploring Third-party Screenshot Software Options
When it comes to exploring third-party screenshot software options, there are several popular choices available in the market. These include but are not limited to programs like Snagit, Lightshot, Greenshot, and ShareX. Each software offers its unique set of features and functionalities, catering to the varying needs of users.
Downloading And Installing A Suitable Software
In order to begin utilizing third-party screenshot software, you first need to download and install a suitable program of your choice. To do so:
- Visit the official website of the selected software.
- Locate the download section and click on the appropriate link for your operating system.
- Follow the on-screen instructions to complete the download and installation process.
Taking A Screenshot With The Third-party Software
Once the software is successfully installed, taking a screenshot with the third-party software can typically be achieved through the following steps:
- Launch the software and ensure it is running in the background.
- Utilize the designated hotkey or on-screen button to initiate the screenshot capture.
- Drag and select the area of the screen you wish to capture, and release the mouse button to take the screenshot.
- Following the capture, additional editing and saving options may be available within the software depending on the features provided.
Saving The Screenshot
Learn to take a screenshot using your Logitech keyboard by pressing the “Print Screen” key. Capture your screen effortlessly!
Viewing The Captured Screenshot
After successfully taking a screenshot using your Logitech keyboard, the next step is to view and ensure that the screenshot has been captured accurately. To do this:- Locate the folder where the screenshot was saved.
- Double-click on the folder to open it.
- Scroll through the files in the folder until you find the screenshot you just took.
- Alternatively, you can use the search bar in the folder to search for the screenshot by its file name.
Choosing The Saving Location
Choosing the right saving location for your screenshot is essential to keep your files organized and easily accessible. To select the saving location:- Decide whether you want to save the screenshot in the default save folder or in a specific folder of your choice.
- If you prefer to save it in a specific folder, navigate to the desired folder using the file browser.
- Once you have reached the desired folder, click on it to select it.
Selecting The File Format
Selecting the appropriate file format for your screenshot depends on how you intend to use the captured image. Below are the commonly used file formats:| File Format | Usage |
|---|---|
| PNG | Best for screenshots with text or graphics, as it offers high-quality images with a transparent background. |
| JPEG | Ideal for screenshots with lots of colors, such as photographs, but may result in slight loss of image quality. |
| GIF | Recommended for animated screenshots or simple images with limited colors, such as icons or logos. |
- Before saving the screenshot, check the options provided under the “Save as type” or “Format” field.
- Choose the suitable file format for your needs by clicking on it.
Naming The Screenshot
Naming your screenshot helps you easily identify and organize your files. Here are some tips for naming your screenshot:- Use a descriptive and meaningful name that reflects the content of the screenshot.
- Avoid using generic names like “Screenshot 1” or “Untitled”.
- Include relevant keywords if the screenshot is related to a specific project or purpose.
- Use hyphens or underscores to separate words in the file name.
- Ensure the name is concise and easy to read.
Frequently Asked Questions On How To Print Screen On Logitech Keyboard
How Do You Print Screen On A Logitech Keyboard?
To print screen on a Logitech keyboard, press the Fn key and the PrtScn key together. This will capture your screen and save it to the clipboard. You can then paste the screenshot into an image editing program or document.
Conclusion
To sum up, printing screen on a Logitech keyboard is a simple process that can enhance your productivity. By following the steps explained in this blog post, you can effortlessly capture and save important information from your screen. This handy feature can be a valuable tool for anyone using a Logitech keyboard, enabling you to efficiently manage your digital content.
0 comments