
To put on a Lenovo laptop, open the lid and press the power button. Plug in the charger if needed.
Lenovo laptops are known for their reliability, performance, and sleek design. Whether you are a student, professional, or gamer, Lenovo offers a range of laptops to suit your needs. Putting on a Lenovo laptop is a simple process that allows you to access the power and functionality of your device.
We will guide you through the steps to turn on your Lenovo laptop and get started with all your tasks and entertainment needs. So, let’s dive in and power up your Lenovo laptop for a seamless computing experience.
Preparing For The Setup
Before diving into the exciting world of your new Lenovo laptop, there are several essential steps to take in order to ensure a seamless setup process. From unboxing the laptop to checking the accessories and charging the battery, it’s vital to do things in the right order to get started efficiently.
Unboxing The Laptop
When unboxing your new Lenovo laptop, handle the packaging and the device itself with care. Remove the laptop from the box gently, ensuring that you avoid any potential damage.
Checking The Accessories
Take a moment to inspect all the accessories that come with your Lenovo laptop. Ensure that you have received all the necessary items such as the power adapter, user manuals, and any other peripherals that may be included in the package.
Charging The Battery
Before powering up your laptop, it’s crucial to charge the battery. Connect the power adapter to an electrical outlet and the laptop to start the charging process. This step will ensure that you have enough power to complete the setup and familiarize yourself with your new device.
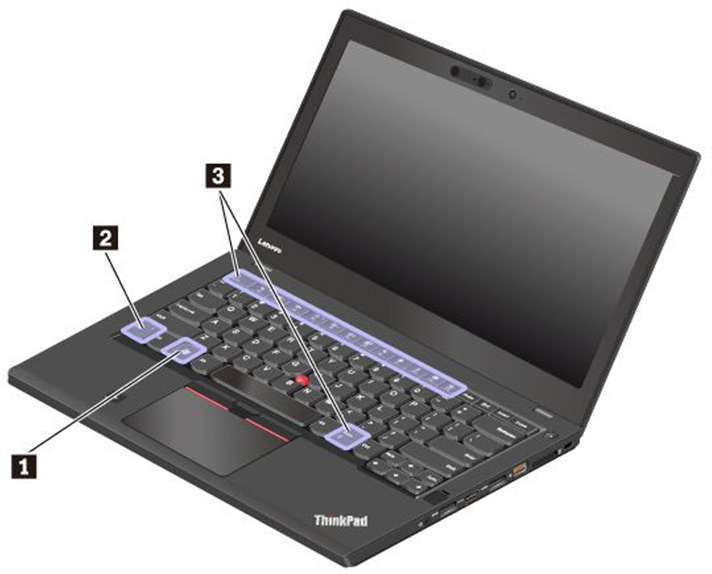
Credit: support.lenovo.com
Connecting Power And Hardware
To put on a Lenovo laptop, start by connecting the power adapter to the charging port of the laptop. Then, plug the power adapter into a power outlet. Once the laptop is charging, you can turn it on by pressing the power button.
Remember to ensure a steady power supply for the best performance.
Connecting The Power Adapter
1. Plug the power adapter into a power outlet and insert the other end into your Lenovo laptop.
2. Ensure that the connection is securely in place to provide power to your device.
Attaching External Devices
1. Connect external devices like printers or external drives to the laptop using USB ports.
2. Make sure to check the compatibility of the devices with your laptop before attaching them.
Connecting To Wi-fi
1. Navigate to the Wi-Fi settings on your Lenovo laptop through the control panel or system tray.
2. Select the Wi-Fi network you want to connect to and enter the password if required.
3. Once connected, you can start browsing the internet with your Lenovo laptop.
Setting Up The Operating System
Powering On The Laptop
Press the power button on the Lenovo laptop to turn it on.
Selecting Language And Region
Choose your preferred language and region settings.
Accepting Terms And Conditions
Agree to the terms and conditions to proceed with the setup.
Creating User Accounts
Creating user accounts on your Lenovo laptop is an essential part of personalizing your device and ensuring that each user has their own space. This process involves setting up an administrator account as well as adding additional user accounts. In this guide, we will walk through the steps to accomplish these tasks.
Setting Up Administrator Account
To start, you’ll need to set up the primary administrator account on your Lenovo laptop. This account will have full control over the system and can make changes to settings, install software, and manage other user accounts.
Create an administrator account by following these simple steps:
- Go to the Start menu and click on Settings.
- Click on Accounts, then select Family & other users.
- Under Other users, click “Add someone else to this PC.”
- Choose “I don’t have this person’s sign-in information” and proceed with the instructions to create a new account.
- Once the account is created, go to the “Change account type” option and set it to Administrator.
Adding Additional User Accounts
After setting up the administrator account, you may want to add additional user accounts for family members or colleagues who will be using the laptop. Each user account will have its own settings, files, and privileges, providing a personalized experience for each user.
Follow these steps to add new user accounts:
- Go to Settings and click on Accounts.
- Choose Family & other users and then click “Add someone else to this PC.”
- Enter the new user’s email address or select “I don’t have this person’s sign-in information” to create a local account.
- Complete the account setup process and customize the user settings as needed.
Customizing Settings
One of the great things about Lenovo laptops is the flexibility and control you have over various settings. Customizing these settings allows you to personalize your laptop’s user experience, ensuring it fits your specific needs. In this section, we’ll explore how to adjust display settings, configure audio settings, and set up privacy options on your Lenovo laptop.
Adjusting Display Settings
The display settings on your Lenovo laptop can greatly impact your viewing experience. By adjusting these settings, you can enhance clarity, brightness, and color accuracy. To make these changes, follow these simple steps:
- Start by right-clicking on the desktop and selecting “Display settings”.
- In the display settings window, you’ll find options to adjust the screen resolution, orientation, and scale.
- To change the screen resolution, click on the drop-down menu under “Resolution” and select the desired resolution.
- If you want to rotate your screen, click on the drop-down menu under “Orientation” and choose the appropriate option.
- To adjust the scale and layout of your screen elements, click on the drop-down menu under “Scale and layout” and choose the preferred option.
- Once you’ve made your desired changes, click on “Apply” and then “OK” to save the settings.
Configuring Audio Settings
Having the right audio settings on your Lenovo laptop is essential for an immersive multimedia experience. Whether you’re watching videos, listening to music, or making video calls, configurin audio settings according to your preferences is important. Follow these steps to configure audio settings:
- Click on the Windows start menu and type “Sound settings” in the search bar.
- Open the “Sound settings” from the search results.
- In the sound settings window, you’ll find options to adjust the volume, choose the audio output device, and configure sound enhancements.
- To adjust the volume, move the slider under “Volume and device preferences” to the desired level.
- If you want to change the audio output device, click on the drop-down menu under “Choose your output device” and select the desired device.
- To configure sound enhancements, click on “Sound control panel” and navigate to the “Enhancements” tab.
- Once you’ve made the necessary changes, click on “Apply” and then “OK” to save the settings.
Setting Up Privacy Options
Protecting your privacy is crucial when using your Lenovo laptop. Fortunately, Lenovo provides various privacy options that allow you to control who can access your data and ensure your personal information remains secure. To set up privacy options, follow these steps:
- Open the Windows start menu and click on the gear icon to open the settings.
- In the settings window, click on “Privacy”.
- Here, you’ll find different privacy settings like camera, microphone, location, and more.
- Click on each privacy setting to customize it according to your preference.
- For example, you can toggle off the camera or microphone access for specific apps by clicking on the respective toggle buttons.
- Make sure to review and adjust the privacy settings for individual apps under the “App permissions” section.
- Once you’ve customized the privacy settings to your liking, close the settings window.
Installing Essential Software
When it comes to getting your new Lenovo laptop up and running, one of the most important steps is installing essential software. This includes everything from antivirus protection to productivity tools that will enhance your overall laptop experience. In this blog post, we will guide you through the process of installing the essential software for your Lenovo laptop.
Installing Anti-virus Software
Protecting your new Lenovo laptop from viruses and malware is crucial. To ensure the security of your device and the safety of your personal information, it is essential to install reliable antivirus software. Follow these steps to get started:
- Research and choose a reputable antivirus software provider. Popular choices include Avast, Norton, and McAfee.
- Download the antivirus software installation file from the provider’s official website.
- Run the installation file and follow the on-screen instructions to complete the installation process.
- Once the installation is complete, open the antivirus program and configure the settings according to your preferences, such as scheduled scans and real-time protection.
- Ensure that your antivirus software stays up to date by enabling automatic updates.
Updating Operating System
Keeping your Lenovo laptop’s operating system up to date is crucial for optimal functionality, performance, and security. Follow these steps to update your operating system:
- Click on the Start menu and open the Settings app.
- In the Settings window, select “Update & Security.”
- Click on “Check for updates.” If updates are available, they will be downloaded and installed automatically.
- Restart your laptop if prompted to complete the installation of the updates.
Installing Productivity Tools
Enhance your productivity on your Lenovo laptop by installing essential productivity tools. Here are some popular options:
| Productivity Tools | Description |
|---|---|
| Microsoft Office Suite | A powerful suite of applications including Word, Excel, and PowerPoint for document creation and management. |
| Google Workspace | A cloud-based suite of productivity apps including Gmail, Google Docs, and Google Sheets for collaboration and organization. |
| Adobe Creative Cloud | A collection of creative applications including Photoshop, Illustrator, and Premiere Pro for graphic design, photo editing, and video production. |
To install these productivity tools, follow these general steps:
- Visit the official website of the desired productivity tool provider.
- Choose the appropriate subscription plan or trial version.
- Download the installation file and run it to start the installation process.
- Follow the on-screen instructions to complete the installation.
- After installation, open the productivity tool and sign in with your account or create a new one if necessary.
By following these steps, you will ensure that your Lenovo laptop is equipped with essential software, providing you with a secure and productive computing experience.
Transferring Data
Transferring data to a new Lenovo laptop is a crucial step in the setup process. Whether you’re moving files from an old device or importing bookmarks and settings, the right approach can save time and prevent data loss. In this guide, we’ll cover the essential steps for transferring data seamlessly to your new Lenovo laptop.
Transferring Files From Old Device
When migrating to a new Lenovo laptop, transferring files from your old device is a top priority. To do this, you can use a variety of methods such as:
- Using an external hard drive or USB flash drive to transfer files
- Utilizing cloud storage services like Google Drive or Dropbox for seamless file synchronization
- Using a data transfer cable to directly connect your old and new devices for quick file transfer
Importing Bookmarks And Settings
Importing bookmarks and settings from your old browser to the new Lenovo laptop can be achieved through a few simple steps:
- Export your bookmarks from the old browser to a file
- Import the bookmarks file into your new Lenovo laptop’s browser
- To transfer settings, ensure to sync your browser profiles across devices if using a browsers like Chrome or Firefox

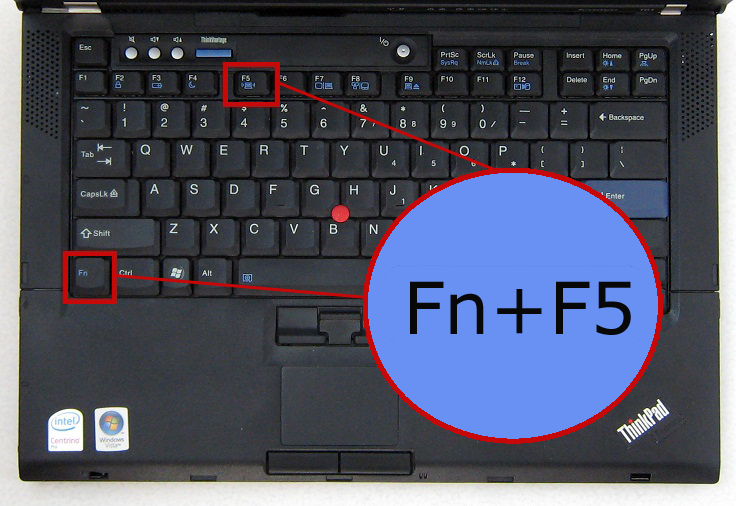
Credit: m.youtube.com
Setting Up Security Measures
Learn how to set up security measures on your Lenovo laptop with these easy steps. Protect your valuable information and prevent unauthorized access with the help of this comprehensive guide.
Setting Up Passwords
Setting strong and unique passwords is crucial for protecting your Lenovo laptop.
Configuring Firewall
Activate the firewall to guard against unauthorized access to your system.
Enabling Automatic Updates
Enable automatic updates to stay protected against the latest security threats.
Creating Backup And Recovery
Backing up your Lenovo laptop and creating a system recovery plan is essential to safeguard your important data and ensure smooth operations. Let’s dive into how to efficiently set up your backup and recovery options.
Setting Up Data Backup
- Locate Backup Settings: Open the Control Panel and find the “Backup and Restore” option.
- Choose Backup Drive: Select an external hard drive for storing your data backup.
- Customize Backup Schedule: Set up automatic backups at regular intervals for convenience.
- Confirm Backup Selection: Ensure all desired files and folders are selected for backup.
Creating System Recovery Media
- Access Recovery Options: Go to the Control Panel and find “Create a recovery drive.”
- Prepare Recovery Drive: Insert a USB drive with sufficient storage capacity.
- Start Recovery Media Creation: Follow the on-screen instructions to create a recovery drive.
- Verify Recovery Drive: Test the recovery drive to ensure it works in times of need.
Credit: ccit.college.columbia.edu
Frequently Asked Questions Of How To Put On Lenovo Laptop
How Do I Put On My Lenovo Laptop?
To put on your Lenovo laptop, simply press and hold the power button located on the keyboard. Release the button once you see the Lenovo logo appear on the screen. Your laptop will now start up and you can proceed with using it.
Can I Put On My Lenovo Laptop Without The Power Button?
No, you cannot put on your Lenovo laptop without the power button. The power button is designed to initiate the startup process of the laptop. If your power button is not working, it is recommended to contact Lenovo support for assistance.
Why Is My Lenovo Laptop Not Turning On?
There are several potential reasons why your Lenovo laptop may not be turning on. It could be due to a drained battery, a faulty power adapter, or a hardware issue. Try connecting your laptop to a power source, check the power adapter, and if the problem persists, contact Lenovo support.
Conclusion
To sum up, putting on a Lenovo laptop is an important process that requires attention to detail and understanding of the device. By following the steps outlined in this guide, you can ensure a smooth and efficient installation. Remember to refer back to this article whenever you need a refresher, and don’t hesitate to reach out for further assistance.
0 comments