
To remove a camera lens protector, gently twist and pull it off the lens. Use a firm grip to avoid damage.
Ensuring the protection of your camera lens is crucial for capturing high-quality images. However, there may come a time when you need to remove the lens protector for cleaning or replacement. Knowing the right technique to safely remove the protector can help prevent any damage to your lens.
We will guide you through the process of removing a camera lens protector in a few simple steps. By following these instructions, you can easily maintain the integrity of your camera lens and continue capturing stunning photographs.
Credit: www.walmart.com
Inspect The Lens Protector
Before removing the camera lens protector, it’s important to inspect it thoroughly to ensure its condition. Inspecting the lens protector allows you to identify any potential damage or issues that may affect the removal process.
Check For Any Damage
Start by visually examining the lens protector for any visible damage such as scratches, cracks, or dents. These can have an impact on the removal process and can also affect the performance of your camera lens. If you notice any damage, it’s advisable to seek professional assistance or consult the manufacturer for guidance.
Remove Any Dust Or Debris
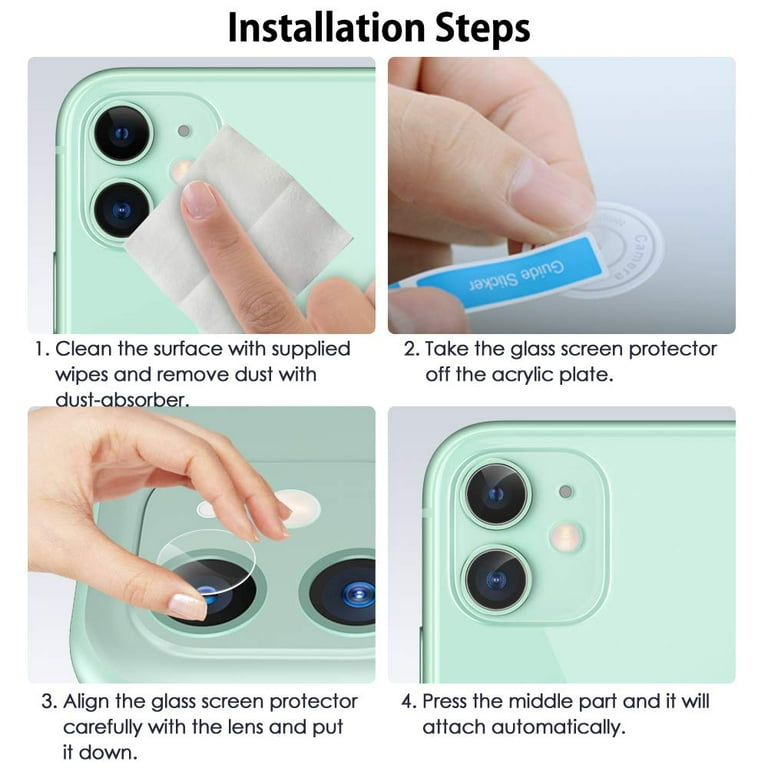
After ensuring the lens protector is free from damage, it’s time to remove any dust or debris that may have accumulated on its surface. Dust particles or debris can obstruct the lens and affect the quality of your photos, so it’s necessary to clean it before proceeding.
To clean the lens protector:
- Gently blow air onto the lens protector using a manual air blower or compressed air. This helps dislodge larger particles of dust and debris.
- Using a soft-bristled brush or lens cleaning cloth, gently brush off any remaining dust or debris. Be careful not to apply too much pressure to avoid scratching the lens protector.
Remember to clean both the front and back surfaces of the protector to ensure optimal lens performance.
By inspecting the lens protector and removing any dust or debris, you’ll be ready to proceed with removing it from your camera lens. Proper inspection and cleaning help maintain the longevity of your lens and ensure the best possible image quality.

Credit: www.tiktok.com
Apply Heat To The Lens Protector
Applying heat to the lens protector is a effective method to soften the adhesive and safely remove it from your camera. By using the right amount of heat, you can easily loosen the adhesive and lift off the protector without damaging your lens or camera.
Use A Hairdryer
Using a hairdryer is a convenient way to apply heat to the lens protector. Simply set the hairdryer to a low or medium heat setting and hold it a few inches away from the protector. Move the hairdryer back and forth, ensuring that the heat is evenly distributed across the protector. After a few minutes, the adhesive should soften, allowing you to gently peel off the lens protector without leaving any residue behind.
Or Use A Heat Gun
If you have a heat gun available, this can be an even more effective method for applying heat to the lens protector. Set the heat gun to a low setting and hold it at a safe distance from the protector to avoid overheating. Similar to the hairdryer method, move the heat gun back and forth to evenly distribute the heat. Once the adhesive softens, carefully lift off the lens protector using a clean, dry cloth.
Loosen The Lens Protector
To remove a camera lens protector, first, ensure the camera is turned off. Then, use a lens wrench or a lens spanner tool to gently twist and loosen the lens protector. Take care not to apply excessive force to avoid damaging the lens or camera body.
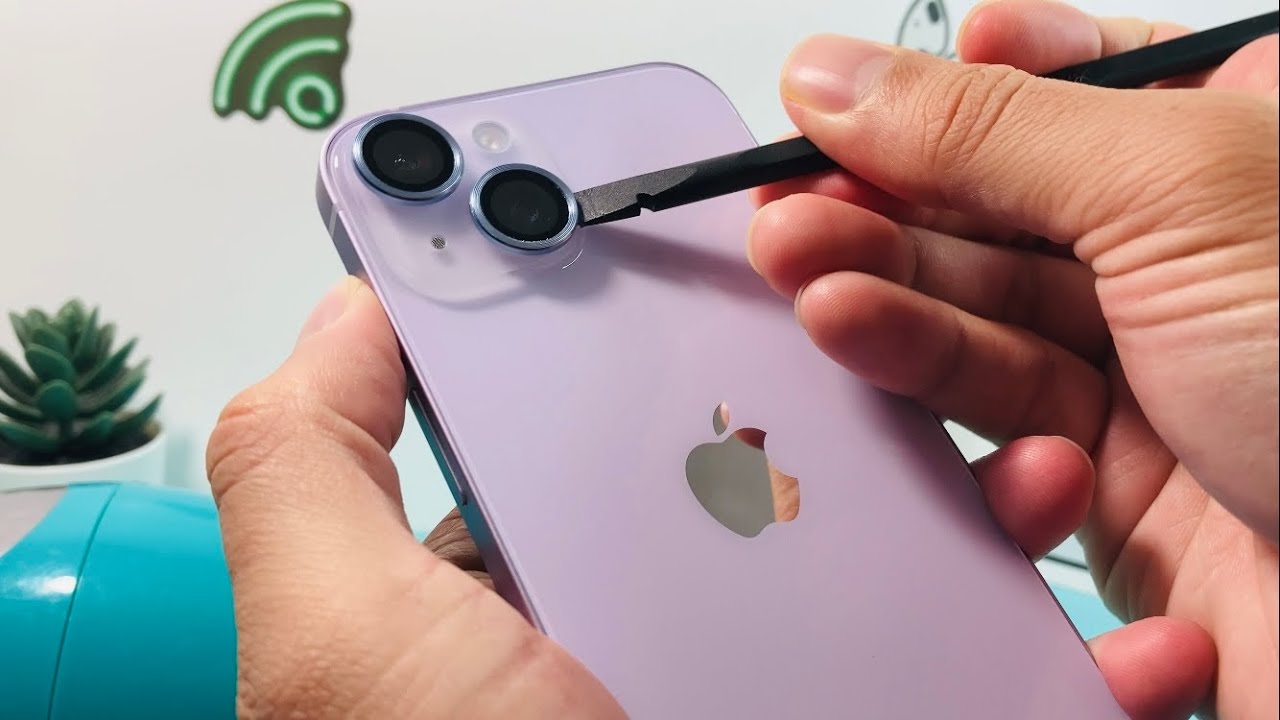
Gently Pry With A Plastic Tool
To remove the camera lens protector, gently pry around the edges using a plastic tool. – Insert the plastic tool between the lens protector and the camera body. – Apply gentle pressure and move the tool around the circumference. – Continue prying until the adhesive loosens.Unscrew If Necessary
If the lens protector is screwed onto the camera, follow these steps: – Use the appropriate screwdriver to undo the screws. – Carefully remove the screws from the lens protector. – Once all screws are removed, lift off the lens protector. Remember to handle the lens protector delicately to avoid any damage to your camera lens.Clean The Camera Lens
To properly maintain and achieve clear, high-quality images, the camera lens must be kept clean at all times.
Use A Microfiber Cloth
1. Start by gently wiping the camera lens with a clean, dry microfiber cloth.
2. Use light, circular motions to remove any smudges or dirt from the lens surface.
Or Lens Cleaning Solution
1. If the lens still appears dirty, consider using a specialized lens cleaning solution.
2. Apply a small amount of the solution to the microfiber cloth and gently clean the lens surface.
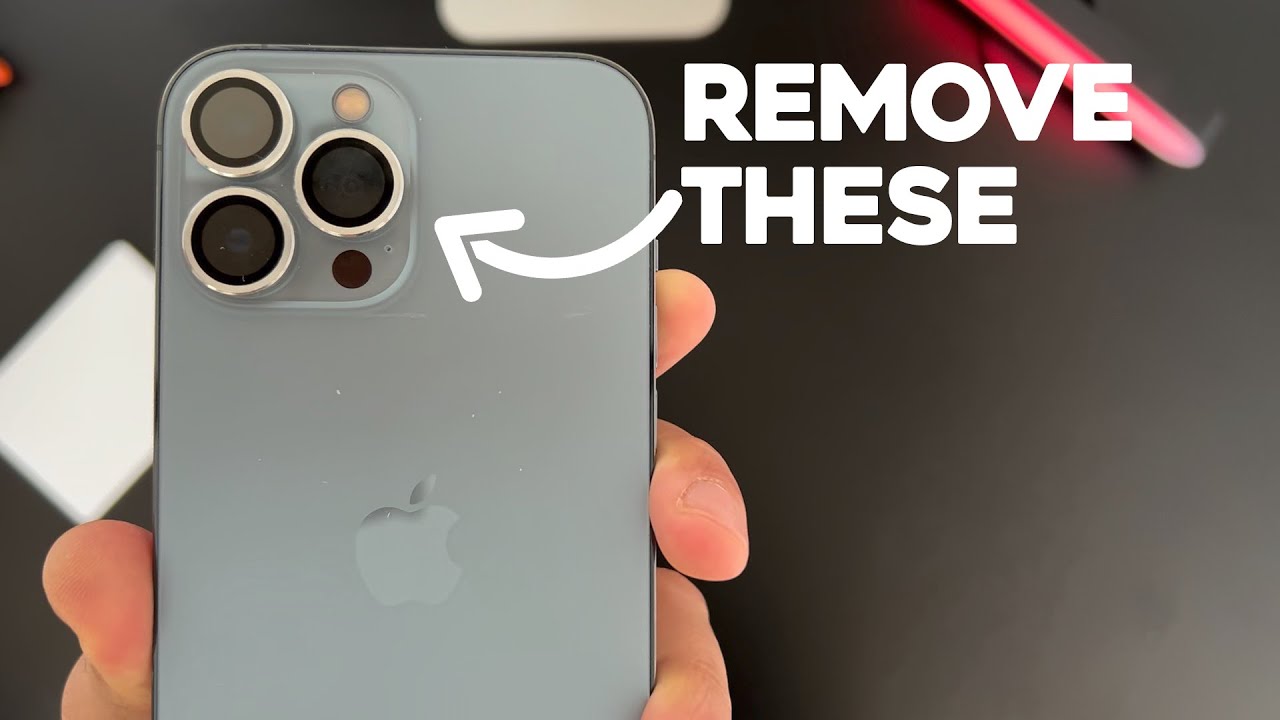
Credit: www.youtube.com
Conclusion
Removing a camera lens protector is a simple task that requires careful handling. By following the step-by-step instructions, you can ensure that your lens remains free from scratches and smudges. Remember to use gentle pressure and avoid any sudden movements to avoid damaging the lens.
With the protector successfully removed, you can now enjoy clear and crisp photographs with your camera.
0 comments