
To screen record on a Dell laptop, use the built-in Game Bar or a third-party software. Screen recording on a Dell laptop is a simple process that can be accomplished using various tools and software available.
Whether you need to capture an important presentation or record gameplay footage for sharing with others, knowing how to screen record on your Dell laptop can be a useful skill. In this guide, we will explore the steps involved in setting up and using screen recording software on your Dell laptop.
By following these instructions, you will be able to easily capture your screen activities and create engaging video content. Let’s dive in and learn how to screen record on your Dell laptop efficiently.
Check System Requirements
Before you start screen recording on your Dell laptop, it’s crucial to check the system requirements to ensure seamless functionality and a smooth recording experience.
Operating System Compatibility
Dell laptops support various operating systems, but not all of them may be compatible with screen recording software. It’s essential to verify whether your specific Dell model is compatible with the screen recording software you intend to use. Most modern Dell laptops are compatible with Windows 10, offering seamless screen recording capabilities.
Minimum Hardware Requirements
Ensuring that your Dell laptop meets the minimum hardware requirements is vital for successful screen recording. The minimum system requirements typically include a multi-core processor, a certain amount of RAM, and available storage space. Always check the software’s minimum requirements, and then ensure your Dell laptop meets or exceeds these specifications.
Choose The Right Screen Recording Software
When it comes to screen recording on your Dell laptop, choosing the right screen recording software is crucial for a smooth experience. Researching various options and considering important features and pricing can help you make an informed decision.
Research Different Options
Before deciding on a screen recording software, it’s essential to research different options available in the market. Look for software that is compatible with your Dell laptop’s operating system and offers the features you need.
Consider Features And Pricing
When selecting a screen recording software, consider features and pricing carefully. Evaluate whether the software offers features like video editing capabilities, audio recording, and easy sharing options. Additionally, compare pricing plans to ensure you get the best value for your investment.
Install The Screen Recording Software
To install the screen recording software on your Dell laptop, you need to follow a few simple steps. The first step is to download the software onto your device. Once you have downloaded the software, the next step is to follow the installation instructions. Let’s dive into the details of how to install the screen recording software on your Dell laptop.
Download The Software
To get started, navigate to the official website of the screen recording software you have chosen. Look for the download button on the website and click on it to start the download process. Make sure to choose the version of the software that is compatible with your Dell laptop’s operating system.
Follow Installation Instructions
Once the software has been downloaded, locate the downloaded file on your Dell laptop. Double-click on the file to start the installation process. Follow the on-screen instructions to complete the installation. Make sure to customize the settings according to your preferences during the installation process.

Credit: www.awesomescreenshot.com
Configure Your Recording Settings
When you screen record on a Dell laptop, it’s essential to configure the recording settings to ensure you capture the content precisely as needed. This involves selecting the recording area and adjusting the audio settings for optimal results.
Select The Recording Area
If you want to capture a specific window or a portion of the screen, you can easily do so by selecting the recording area. Open your chosen screen recording application and look for the option to choose the recording area. Once selected, adjust the frame to fit around the area you want to capture and start recording.
Adjust Audio Settings
It’s important to ensure that the audio settings are properly configured to record clear sound. In your screen recording application, locate the audio settings and make sure that the correct input source is selected, such as the built-in microphone or an external microphone if you have one connected. Adjust the volume levels to ensure that the audio is neither too quiet nor distorted, and test the settings before you start recording to avoid any issues.
Test The Recording
Learn how to screen record on your Dell laptop with ease. Testing the recording process is simple and effective, allowing you to capture video and audio effortlessly. Follow the steps to start recording your screen for various purposes, from tutorials to presentations.
Create A Test Recording
After you have successfully learned how to screen record on your Dell laptop, it is essential to test your recording before proceeding further. Testing the recording ensures that the screen capture software is working correctly and that you are capturing the desired content accurately. By creating a test recording, you can identify any potential issues and make necessary adjustments as needed. To create a test recording:- Open the screen capture software installed on your Dell laptop.
- Search for the “Record” button or a similar icon within the software’s interface.
- Before you start recording, double-check the settings to ensure that the correct audio source and recording area are selected.
- Consider providing a brief introduction or narration for your test recording to verify that the audio recording functionality is working properly.
- Click the “Record” button to begin the screen recording.
- Perform actions on your laptop screen that you intend to capture in your recordings, such as opening applications, browsing websites, or demonstrating a specific process.
- Ensure that you record for an adequate duration to thoroughly evaluate the playback quality.
- Once you are satisfied with your test recording, click the “Stop” or “Finish” button to end the recording process.
Review Playback Quality
Once your test recording is complete, it is crucial to review the playback quality to ensure that the recorded content is clear and easily understandable. By carefully reviewing the playback, you can identify any potential issues such as poor video resolution, distorted audio, or lagging screen capture. To review the playback quality:- Locate the recorded video file in the output destination specified in the screen capture software.
- Double-click the video file to open it using a video player application installed on your Dell laptop.
- Pay close attention to the visual and audio elements of the recording.
- Ensure that the video resolution is crisp and that the captured content is visible without any blurriness or distortion.
- Listen to the audio and confirm that it is clear and synchronized with the video.
- Scan through different sections of the recording to check for any lagging or skipping of frames.
- If you notice any issues, consider adjusting the recording settings or exploring alternative screen capture software options.
- Repeat the test recording and playback review process until you achieve the desired quality.
Start Recording
Now that you have set up your screen recording software and customized the recording options, you are ready to start recording your Dell laptop screen. Follow these simple steps to begin the recording process:
Open The Screen Recording Software
Launch the screen recording software on your Dell laptop by locating the software icon on your desktop or in the start menu. Alternatively, you can use the search bar in the taskbar to find the software quickly. Once you have located the software, click on it to open the application.
Set Recording Options
Before you start recording, take a moment to ensure that the recording options are set according to your preferences. Most screen recording software will provide you with a variety of options to customize your recording. To access these options, look for a settings icon or menu within the software. Click on it to open the settings window.
Within the settings window, you may find options to choose the recording area, select the audio source, and adjust the video quality. If you are unsure about the settings, it is recommended to select the default options. These settings typically work well for most users.
Once you have reviewed and adjusted the recording options, close the settings window to return to the main screen recording interface.
With the screen recording software open and the recording options set, it is time to begin the actual recording. Ensure that the application or screen you want to capture is visible on your Dell laptop screen. This could be a software program, a browser window, or any other content that you want to record.
Now, look for a prominent “Record” button within the screen recording software. Click on this button to initiate the recording process. Some software may require you to specify the duration of the recording or set a timer. Follow the prompts provided by the software to complete this step.
Once the recording starts, a visible indication such as a timer or a red dot may appear on the screen to indicate that the software is actively capturing the screen. This lets you know that the recording is in progress.
Tip: Consider using keyboard shortcuts provided by the screen recording software to start and stop the recording process. This can save you time and make the process more efficient.
When you are finished recording, locate the “Stop” or “Finish” button within the screen recording software. This button is typically positioned near the “Record” button. Click on it to stop the recording process.
After you stop the recording, the screen recording software may automatically save the recorded file to a default location on your Dell laptop. Alternatively, you may be prompted to specify a file name and location for the recording. Follow the prompts provided by the software to complete this step.
And that’s it! You have successfully completed the screen recording process on your Dell laptop. Now you can review the recorded file, edit it if necessary, and share it with others.
Remember to save your recorded files to a safe location on your laptop or an external storage device to ensure that you do not accidentally lose them.
Pause And Resume Recording
When it comes to screen recording on a Dell laptop, the ability to pause and resume recording can be a valuable feature. Whether you’re creating tutorials, capturing gameplay, or recording presentations, the pause and resume functionality allows you to have more control over your recordings. In this guide, we will explore how to utilize the pause function and seamlessly continue recording from the pause point on your Dell laptop.
Utilize Pause Functionality
When recording your screen on a Dell laptop, you can take advantage of the pause functionality to temporarily halt the recording process without ending the entire capture session. This can be particularly useful if you need to gather your thoughts, make quick adjustments, or simply pause to eliminate any unwanted content from the final recording.
Continue Recording From Pause Point
By utilizing the pause function, you can effortlessly resume the recording from the exact point where you left off, ensuring a smooth and uninterrupted capture. This eliminates the need to merge multiple recording files, streamlining the editing process and producing a seamless final video. Whether you’re creating instructional content or capturing important moments, the ability to seamlessly continue recording from the pause point provides a professional touch to your screen recordings.

Credit: www.joyoshare.com
Finish And Save The Recording
Stop The Recording
To stop the recording, click on the stop button located on the screen recording toolbar.
Save The Recording File
To save the recording file, click on the save icon and choose the location where you want to save the file.
Edit And Share The Recording
Learn how to screen record on a Dell laptop with this step-by-step guide. Edit and share your recordings effortlessly for a smoother user experience.
Edit and Share the Recording When you’ve recorded your screen on a Dell laptop, the next steps involve editing and sharing the captured content.Trim And Cut Unwanted Parts
To remove unnecessary sections, use the built-in editing tools. Simply select the portion you’d like to delete.Share The Recording With Others
After editing, share the recording with colleagues or friends via email or social media. Remember to click “Save” after making any changes to your recording.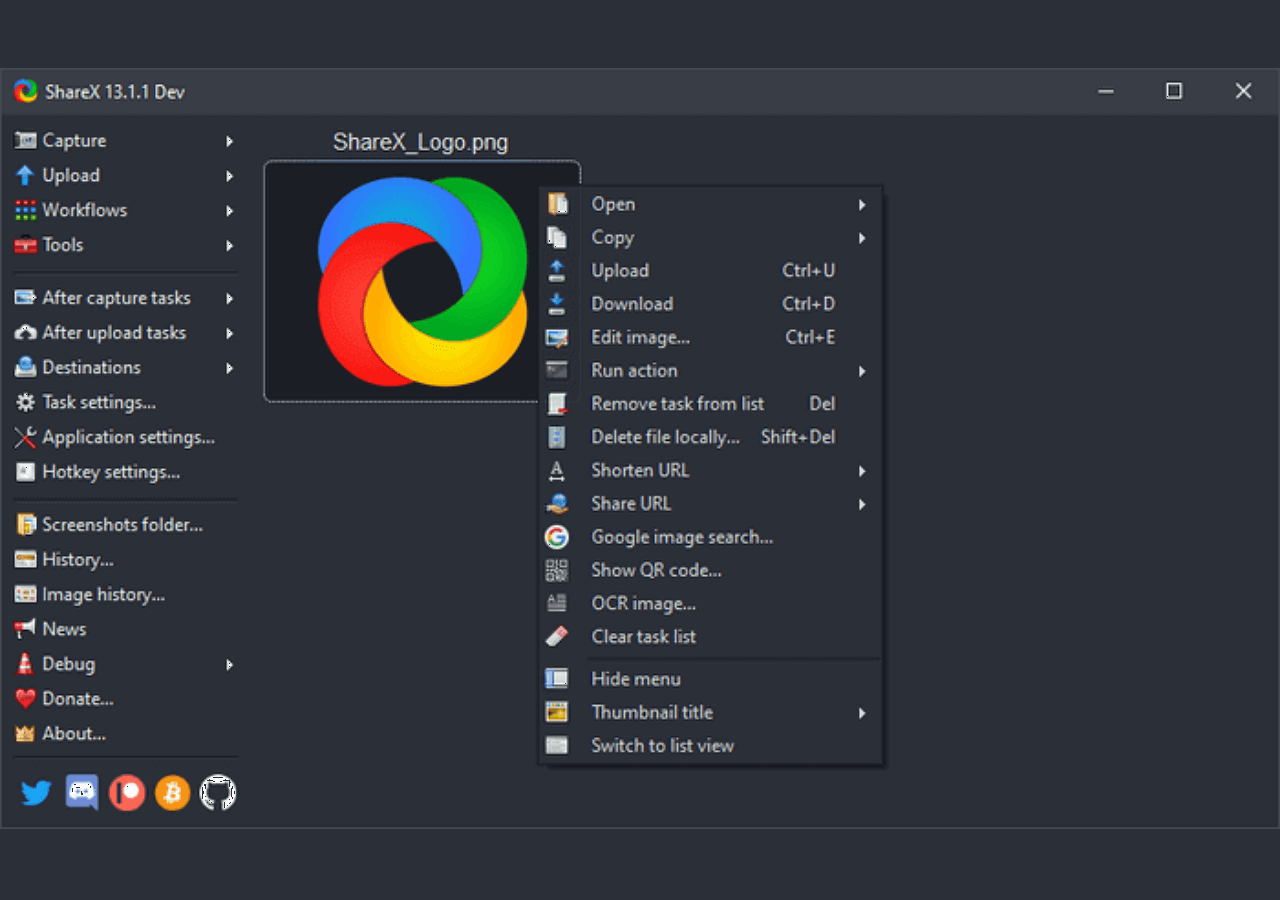
Credit: recorder.easeus.com
Frequently Asked Questions For How To Screen Record On A Dell Laptop
How Do I Screen Record On A Dell Laptop?
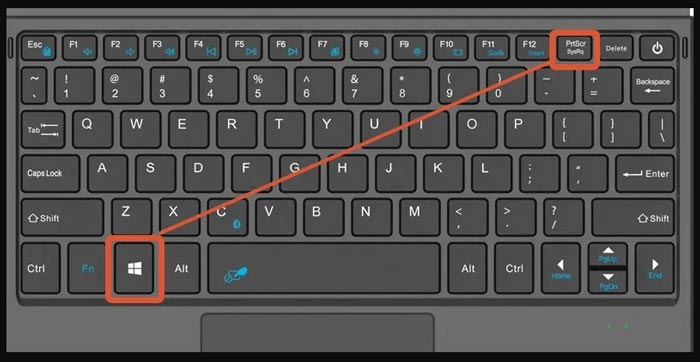
To screen record on a Dell laptop, you can use the pre-installed Xbox Game Bar. Simply press the Windows key + G to open the Game Bar, click on the “Record” button, and choose “Record Window” or “Record Desktop” to start recording your screen.
Can I Screen Record Without Third-party Software On My Dell Laptop?
Yes, you can screen record on your Dell laptop without third-party software by using the built-in Xbox Game Bar. It allows you to capture your screen and save the recordings as video files in high quality.
How Can I Access The Xbox Game Bar On My Dell Laptop?
To access the Xbox Game Bar on your Dell laptop, press the Windows key + G. This will open the Game Bar, where you can find various options such as recording, broadcasting, and capturing screenshots.
Is The Screen Recording Feature Available On All Dell Laptop Models?
Yes, the screen recording feature is available on most Dell laptop models with Windows 10. However, it’s always recommended to check if your specific Dell laptop model is compatible with the Xbox Game Bar, as it may vary depending on the hardware and software configuration.
Conclusion
Screen recording on a Dell laptop is a useful tool for capturing and sharing content. By following the steps outlined in this guide, you can easily record your screen for various purposes. Whether it’s for creating tutorials, presentations, or simply preserving memorable moments, mastering screen recording can enhance your digital experience.
0 comments