
To screenshot on a 60 keyboard, press the “PrtScn” key to capture the screen image. In addition, use editing software for further customization.
Capturing screenshots can be essential for various tasks, from sharing information to saving important data. Understanding how to screenshot on a 60 keyboard can streamline this process. By utilizing the “PrtScn” key, users can instantly capture images of their screen content.
This simple technique is effective for taking snapshots of anything displayed on the screen, whether it be a webpage, document, or image. Furthermore, the availability of editing software allows for additional modifications, such as cropping, highlighting, or adding annotations to the screenshot. In this guide, we will explore the steps to efficiently screenshot on a 60 keyboard, providing you with a practical tool for capturing and sharing information.
Understanding The 60% Keyboard
Discover how to easily screenshot on a 60% Keyboard with simple steps. Capture your screen effortlessly for quick sharing and productivity. Unlock the power of your compact keyboard with this handy feature.
What Is A 60% Keyboard?
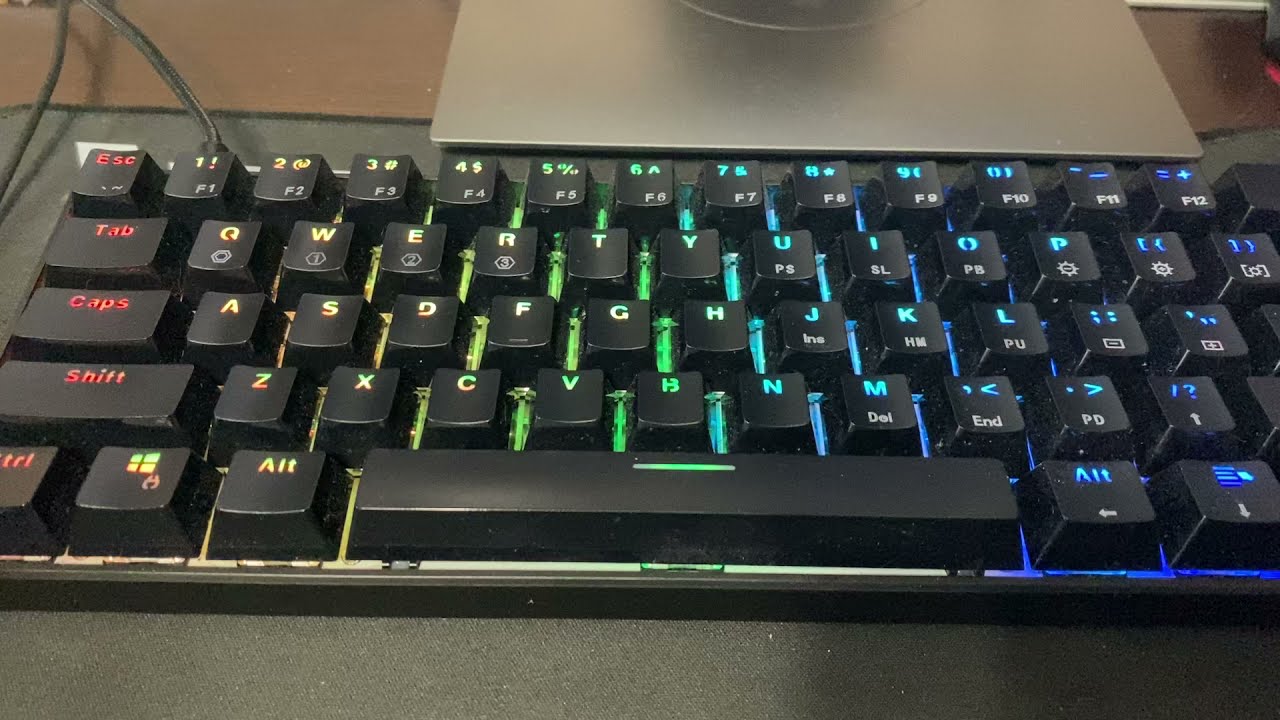
A 60% keyboard is a compact and minimalistic keyboard that excludes the number pad, function row, and navigation cluster, providing a smaller form factor suited for space-conscious users, gamers, and enthusiasts. Despite its smaller size, it retains the essential typing functions, making it a popular choice for those seeking efficiency and portability.
Advantages Of A 60% Keyboard
- Portability: Its compact design makes it easy to transport, especially for individuals frequently on the go.
- Space-saving: Ideal for those with limited desk space or who prefer a clutter-free setup.
- Customizability: Many 60% keyboards offer customizable key layouts and programming, catering to individual preferences.
- Enhanced Ergonomics: The reduced size promotes a more comfortable and natural typing position, reducing strain on the hands and wrists.
- Aesthetic Appeal: The sleek and minimalist design of a 60% keyboard can complement various setups and aesthetics.
Layout Of A 60% Keyboard
The layout of a 60% keyboard typically includes the alphanumeric keys, some modifier keys, and a few essential function keys, often accessible through layers activated by key combinations. Despite the minimized key count, these keyboards maintain functionality through strategic placement of keys and layer toggling, providing a fulfilling typing experience for users who adapt to the smaller layout.
Credit: medium.com
Operating Systems
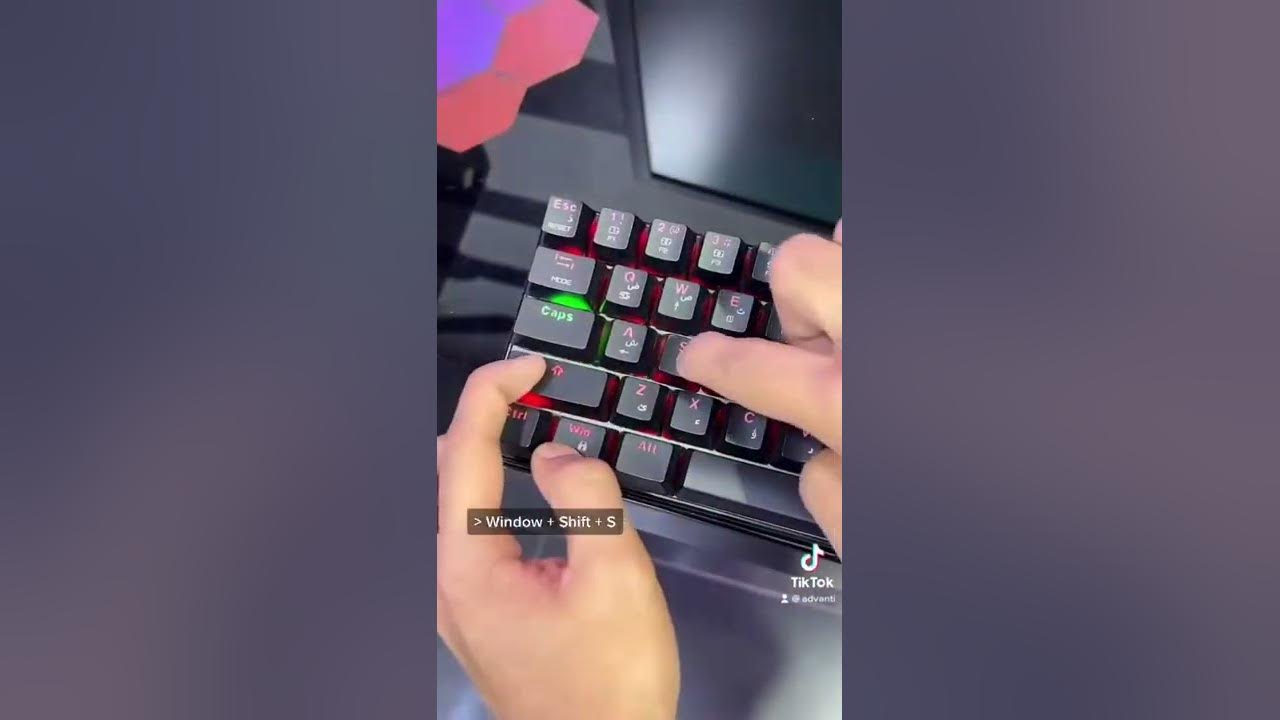
Learn how to effortlessly capture your screen with the ‘Print Screen’ button on your keyboard. Stay productive with these simple steps for taking screenshots on a 60 keyboard.
Windows, Mac, and Linux are the popular operating systems for screenshot on 60 Keyboard.Windows
To screenshot on a 60 Keyboard using Windows, press PrtScn or Win + PrtScn for full screen capture.Mac
On Mac, press Command + Shift + 3 to capture the whole screen, or Command + Shift + 4 to select a portion.Linux
For screenshot on 60 Keyboard in Linux, use PrtScn or Shift + PrtScn for active window capture. Ensure to know the specific key combinations for each operating system to capture your screen efficiently. – Windows: PrtScn or Win + PrtScn – Mac: Command + Shift + 3 or Command + Shift + 4 – Linux: PrtScn or Shift + PrtScn Capture your screen easily on different operating systems with the appropriate key commands.Using Print Screen Key
Locating The Print Screen Key
Find the ‘Print Screen’ key on the top right of your keyboard.
Taking A Full-screen Screenshot
- Press Print Screen key.
- The screen is captured and saved to clipboard
Capturing An Active Window
- Click on the window you want to capture.
- Press Alt + Print Screen keys together.
Copying A Screenshot To Clipboard
- Press Print Screen key to capture.
- Access a program like Paint and press Ctrl + V to paste the screenshot.
Credit: recorder.easeus.com
Using Keyboard Shortcuts
Windows Shortcut
To take a screenshot on a Windows 10 keyboard, use the following keyboard shortcut:
- Press the “Windows” key and the “Print Screen” key simultaneously.
- Your screen will dim for a moment, indicating that the screenshot has been taken.
- The screenshot is automatically saved in the “Screenshots” folder within the “Pictures” library.
Mac Shortcut
To capture a screenshot on a Mac keyboard, utilize the keyboard shortcut below:
- Press and hold the “Shift,” “Command,” and “4” keys at the same time.
- Your cursor will transform into a crosshair.
- Click and drag to select the area for the screenshot. Release the mouse or trackpad button to capture the selected area.
- The screenshot will be saved to the desktop by default.
Third-party Software
When it comes to taking screenshots on a 60 keyboard, sometimes the built-in options may not provide all the features and customization you need. This is where third-party software comes in. With a multitude of options available, third-party software can offer more advanced screenshot capturing capabilities to enhance your experience. In this section, we will provide an overview of third-party screenshot software, as well as guidance on how to install and use it effectively.
Overview Of Third-party Screenshot Software
Third-party screenshot software offers a range of features that are not available with the standard keyboard shortcuts or system tools. These programs often allow you to capture screenshots of specific sections of your screen, record screen activity, annotate images, and even edit captured screenshots before saving or sharing them.
To find the right third-party software for your needs, it’s important to consider factors such as ease of use, functionality, compatibility with your operating system, and available features. Some popular choices include Snagit, Lightshot, Greenshot, and FastStone Capture. Each of these options offers unique features and customization settings to suit different user preferences.
Installing And Using A Third-party Software
- Research: Begin by researching and identifying the third-party software that best meets your requirements. Take into account the features, user interface, and compatibility with your system.
- Download and install: Once you have chosen a suitable third-party software, visit the official website or a trusted source to download the installation file. Follow the provided instructions to install the software on your computer.
- Familiarize yourself: After installation, take some time to explore the features and settings of the software. This will help you make the most of its capabilities and improve your efficiency in capturing screenshots.
- Customize settings: Many third-party screenshot software options allow you to customize various settings according to your preferences. This may include choosing the default save location, selecting the desired image format, setting hotkeys for capturing screenshots, and more.
- Capture screenshots: With the software installed and customized, you can now start capturing screenshots using the specific tools and shortcuts provided by the third-party program. Depending on the software, you may have options to capture a full screen, an active window, a selected area, or even a scrolling webpage.
- Edit and save: Once you have captured the desired screenshot, most third-party software will offer editing tools to enhance or annotate the image as per your requirements. You can then save the edited screenshot to your preferred location or share it directly with others.
To ensure a smooth experience, it’s important to follow the installation and usage instructions carefully, as provided by the developers of the third-party software. Remember to regularly update the software to access the latest features and improvements.
Saving And Editing Screenshots
Taking screenshots on your 60 keyboard is incredibly useful, especially when you want to capture important information or share something visually with others. But just capturing the screenshot is not enough; you also need to know how to save and edit them to make them usable. In this section, we’ll explore the various options for saving your screenshots and editing them to enhance their visual appeal and convey your message effectively.
Choosing The Save Location
When it comes to saving screenshots, you have the flexibility to choose the location that suits your needs best. By default, your computer may save the screenshots to the desktop, but you can easily change this setting. To do so, follow these simple steps:
- Open the ‘Settings’ menu on your computer.
- Navigate to the ‘Keyboard’ or ‘Shortcuts’ section, depending on your system.
- Look for the ‘Screenshot’ option and click on it.
- Select the ‘Save to’ or ‘Save screenshots to’ field.
- Choose your desired location, such as a specific folder, cloud storage, or a custom directory.
- Click ‘Apply’ or ‘Save’ to confirm the changes.
Selecting The Image Format
When you take a screenshot, it is essential to choose the right image format to ensure that the captured image is of the highest quality and suitable for your purpose. Different image formats have their advantages and limitations. Here are some commonly used formats for screenshots:
| Format | Advantages | Limitations |
|---|---|---|
| PNG (Portable Network Graphics) | Lossless compression, supports transparency | Large file size |
| JPEG/JPG (Joint Photographic Experts Group) | Small file size, suitable for photographs | Lossy compression, no transparency support |
| GIF (Graphics Interchange Format) | Supports animation, small file size | Restricted color palette, limited image quality |
Basic Editing Options
Editing your screenshots can make them more visually appealing and help you convey your message clearly. While advanced editing may require specialized software, most operating systems offer basic editing options built-in. Here are some common editing options you can find:
- Cropping: Remove unwanted areas and focus on the relevant part of the screenshot.
- Annotation: Add text, arrows, or shapes to highlight specific information or guide the viewer’s attention.
- Highlighting: Use a marker or a highlighter tool to emphasize specific areas or text within the screenshot.
- Resize: Adjust the dimensions of the screenshot to fit your desired output size or platform.
- Filters: Apply basic filters to enhance the overall look and feel of the screenshot.
By utilizing these basic editing options, you can create visually appealing and informative screenshots that effectively communicate your message.
Troubleshooting
Screenshot Not Working
If you experience issues with taking a screenshot on your 60 keyboard, ensure that your keyboard firmware is up to date. In addition, check if the screenshot function is enabled in the keyboard’s settings. Inspect the keybindings to verify there are no conflicts.
Keyboard Shortcuts Not Functioning
If you encounter problems with keyboard shortcuts not working, try remapping the specific keys for screenshot functionality. Clean the keyboard to remove any debris that may be interfering with the keys. It’s also beneficial to check the keyboard’s manual for troubleshooting information.
Software Compatibility Issues
In some instances, software compatibility issues may arise, preventing the keyboard from capturing screenshots. Verify that the software you are using supports the specific keyboard model and its features. Update the software to the latest version to potentially resolve compatibility issues.
Credit: www.youtube.com
Frequently Asked Questions On How To Screenshot On 60 Keyboard
How Do You Screenshot On A 60 Keyboard?
To take a screenshot on a 60% keyboard, you can use the “Print Screen” key in combination with the “Fn” key. Press and hold down the “Fn” key, then press the “Print Screen” key to capture the screen. The screenshot will be saved to your clipboard, which you can then paste into an image editing software or document.
Where Is The Print Screen Key On A 60 Keyboard?
On a 60% keyboard, the Print Screen key is usually located in the function row, often labeled as “PrtScr” or “PrtSc”. It is typically in the same row as the function keys, usually near the top-right corner of the keyboard.
Can You Take A Screenshot On A 60 Keyboard Without The Print Screen Key?
Yes, if your 60% keyboard does not have a dedicated Print Screen key, you can still take a screenshot using alternative methods. One option is to use software or browser extensions that allow you to capture the screen. Another option is to use the built-in screenshot function of your operating system, such as the Snipping Tool on Windows or the Grab utility on macOS, which can be accessed through the keyboard shortcuts.
How Do I Use The Snipping Tool To Take A Screenshot On A 60 Keyboard?
To use the Snipping Tool to take a screenshot on a 60% keyboard, open the application by pressing the Windows key and typing “Snipping Tool” in the search bar. Once the tool opens, click on “New” to start the screenshot capture.
You can then select the area you want to capture, save the screenshot, and annotate or share it as needed.
Conclusion
Incorporating the 60% keyboard into your workflow will make taking screenshots a breeze. With the simple combination of keystrokes, you can capture and share valuable information efficiently. By learning how to efficiently take screenshots, you can improve productivity and communicate effectively across various platforms.
Embrace the simplicity and convenience of screenshotting with your 60% keyboard today.
0 comments