
Upgrading SSD on a laptop involves opening the casing, removing the existing SSD, and installing a new one. Want to boost your laptop’s performance?
Upgrading the SSD is a simple process that can significantly enhance speed and storage capacity. Whether you’re looking to replace a faulty SSD or just want to increase storage, this guide will walk you through the steps to successfully upgrade your laptop’s SSD.
By following these instructions, you can enjoy faster boot-up times, quicker application launches, and improved overall performance on your laptop. Let’s dive into the process of upgrading the SSD on your laptop and take your computing experience to the next level.

Credit: m.youtube.com
Preparing For The Upgrade
Before upgrading your laptop’s SSD, there are a few crucial steps you need to take in order to ensure a smooth and successful process. This involves checking your laptop specifications, backing up important data, and gathering the necessary tools and components.
Check Laptop Specifications
Before purchasing a new SSD, it’s essential to check your laptop’s specifications to ensure compatibility. You’ll need to know the form factor and interface supported by your laptop, as well as the maximum storage capacity it can accommodate. This information can usually be found in the laptop’s user manual or on the manufacturer’s website.
Backup Important Data
Prior to the upgrade, it’s critical to create a backup of all your important data to prevent any loss during the process. This includes documents, photos, videos, and any other files you can’t afford to lose. You can use an external hard drive, cloud storage, or a dedicated backup software for this purpose.
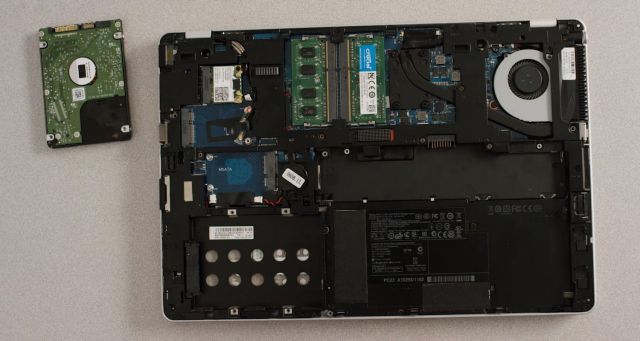
Gather Necessary Tools And Components
Once you’ve verified your laptop’s compatibility and backed up your data, it’s time to gather the necessary tools and components for the upgrade. You’ll need a suitable screwdriver to open the laptop’s casing, along with the new SSD and any additional components required for installation, such as mounting brackets or cables.
Selecting The Right Ssd
When upgrading the SSD on your laptop, selecting the right one is crucial for optimal performance. Here are key factors to consider:
Consider Storage Capacity
Determine your storage needs based on the files you will be using regularly. Opt for sufficient capacity to ensure you don’t run out of space quickly.
Choose The Appropriate Form Factor
Match the form factor of the new SSD to the existing one in your laptop to ensure a proper fit and installation.
Check For Compatibility
Verify that the SSD you choose is compatible with your laptop’s interface and connector type for a seamless upgrade process.
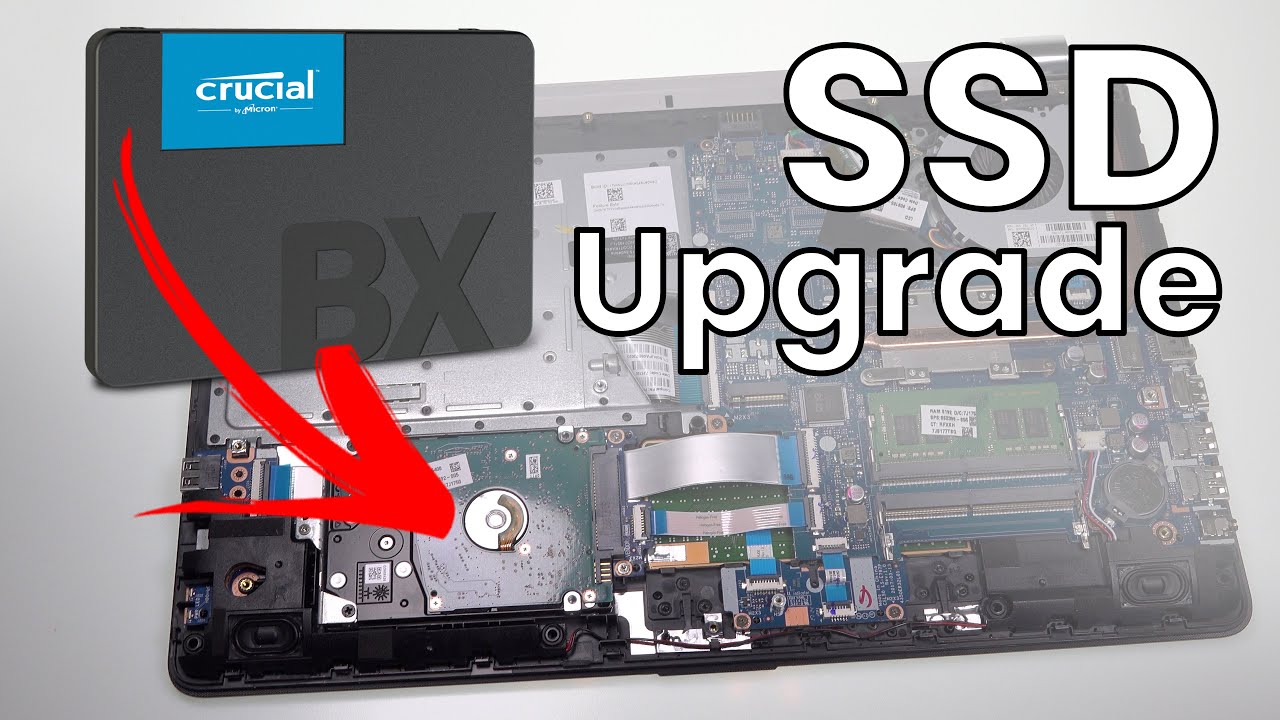
Removing The Old Ssd
Shut Down And Unplug The Laptop
Ensure laptop is turned off and unplugged before starting the SSD upgrade process.
Locate The Ssd Compartment
Find the specific location where the SSD is installed within your laptop.
Remove The Ssd
- Locate and unscrew the panel covering the SSD compartment.
- Carefully detach any cables connected to the SSD.
- Gently remove the old SSD from its slot.
- Handle the SSD with care to prevent any damage.

Credit: www.pcworld.com
Installing The New Ssd
If you’ve successfully removed the old SSD from your laptop, it’s now time to install the new SSD. This process requires careful handling and attention to detail to ensure everything is set up correctly.
Insert The New Ssd
First, carefully align the new SSD with the slot inside your laptop. Push the SSD into the slot using gentle, even pressure until it’s firmly in place. Be cautious not to apply excessive force as it may cause damage to the SSD or slot.
Secure The Ssd
Once the SSD is in position, secure it using the screws you removed earlier. Ensure the SSD is firmly secured, but avoid over-tightening the screws, as this could lead to damage. Double-check that the SSD is securely in place before proceeding to the reassembly stage.
Reassemble The Laptop
After securely installing the new SSD, proceed to reassemble the laptop by following the reverse of the disassembly steps. Double-check all connections, screws, and components to ensure everything is in place before powering on the laptop. Once everything is reassembled, power on the laptop to confirm that the new SSD is functioning correctly.
Cloning The Data
When it comes to upgrading the SSD on your laptop, cloning the data is a crucial step to ensure a seamless transition. Cloning allows you to transfer all your files, settings, and applications from the old SSD to the new one, saving you the hassle of reinstalling everything from scratch. In this article, we will guide you through the process of cloning your data, making it quick and easy.
Install Cloning Software
The first step in the cloning process is to install a reliable cloning software on your laptop. There are various options available, both free and paid. Some popular choices include Acronis True Image, EaseUS Todo Backup, and Clonezilla. Choose the one that suits your needs and follow the on-screen instructions to install it on your system. Ensure that you download the latest version to benefit from any bug fixes and improvements.
Connect The Old And New Ssd
Once you have the cloning software installed, you need to connect the old SSD (source) and the new SSD (destination) to your laptop. To do this, you will require an external docking station or a USB-to-SATA adapter cable. Plug the old SSD into one of the available USB ports on your laptop, and connect the new SSD to another port. Make sure both drives are recognized by your computer before proceeding.
Clone The Data
With the software installed and the drives connected, you are ready to clone the data from the old SSD to the new one. Launch the cloning software and follow the on-screen instructions to select the source (old SSD) and destination (new SSD) drives. Double-check that you have selected the correct drives to avoid any accidental data loss. Once you have confirmed the source and destination, initiate the cloning process.
The time it takes to complete the cloning process will depend on the size of the data being transferred and the speed of your hardware. During the cloning process, the software will create an exact copy of the data on the old SSD and transfer it to the new SSD, preserving all your files, settings, and applications.
After the cloning is complete, shut down your laptop and disconnect the old SSD. Now, you can replace it with the new SSD in the appropriate slot, ensuring it is securely fastened. Once the new SSD is properly installed, power on your laptop. You should now be able to boot up your system with the new SSD and continue using your laptop as before, but with the improved performance and storage capacity offered by the upgraded SSD.
Setting Up The New Ssd
Once you have successfully installed the new SSD into your laptop, the next step is to set it up. This involves booting into the new SSD, updating its firmware, and verifying that your system recognizes the new SSD. Let’s go through each of these steps below.
Boot Into The New Ssd
To boot into the new SSD, you will need to restart your laptop and access the BIOS/UEFI settings. Follow the steps below to do so:
- Restart your laptop
- During startup, press the indicated key (usually F1, F2, Del, or Esc) to access the BIOS/UEFI settings
- Navigate to the ‘Boot’ or ‘Boot Options’ section using the arrow keys
- Select the new SSD as the primary boot device
- Save the changes and exit the BIOS/UEFI settings
Update The Ssd Firmware
Updating the SSD firmware is crucial to ensure optimal performance and compatibility. Each SSD manufacturer provides specific instructions and tools to update the firmware. Follow the steps provided by your SSD manufacturer to update the firmware of your new SSD. It usually involves downloading the firmware update utility, running the tool, and following the on-screen instructions. Make sure to back up your data before proceeding with the firmware update.
Verify The System Recognizes The New Ssd
After setting up the new SSD and updating its firmware, it’s essential to verify that your system recognizes the new SSD. Here’s how you can do it:
- Restart your laptop
- Access the BIOS/UEFI settings as mentioned earlier
- Navigate to the ‘Storage’ or ‘Drives’ section
- Verify that the new SSD is detected and listed as a connected device
Testing The New Ssd
Once the new SSD has been installed in your laptop, it’s crucial to thoroughly test its performance to ensure everything is functioning optimally. The testing process involves performing a system check, running benchmark tests, and checking for any issues or errors that may arise.
Perform A System Check
After upgrading to a new SSD, it’s essential to perform a system check to verify that all components are functioning correctly. Start by ensuring that the laptop recognizes the new SSD and that it appears in the BIOS settings. Check for any potential compatibility issues and ensure that the system detects the SSD’s full capacity.
Run Benchmark Tests
Running benchmark tests is an effective way to measure the performance of the new SSD. Use benchmarking software to assess the read and write speeds, as well as the overall responsiveness of the SSD. By comparing the benchmark results with the manufacturer’s specifications, you can validate the SSD’s performance.
Check For Any Issues Or Errors
After the installation and initial testing, it’s important to monitor the system for any potential issues or errors that may arise. Keep an eye out for unexpected slowdowns, freezes, or data corruption. Address any anomalies promptly to ensure the new SSD is operating smoothly.
Credit: www.crucial.com
Optimizing Ssd Performance
When upgrading your laptop’s SSD, optimizing its performance is crucial for a seamless experience. Enhancing the SSD performance can significantly boost your laptop’s speed and responsiveness. Here are some essential tweaks you can make:
Enable Trim
Enabling TRIM helps maintain your SSD’s performance over time by allowing the operating system to inform the drive which blocks of data are no longer in use.
Disable Unnecessary Services
Turning off unnecessary background services frees up system resources, ensuring your SSD can focus on critical tasks, leading to improved speed.
Enable Ahci Mode
Switching to AHCI mode enhances the performance of your SSD by enabling advanced features like Native Command Queuing (NCQ) for improved data transfer speeds.
Final Steps And Considerations
Dispose Of The Old Ssd
Properly dispose of old SSDs to prevent data breaches. Look for e-waste recycling facilities.
Update Ssd Firmware Regularly
Regularly update the SSD firmware to enhance performance and security of your system.
Monitor Ssd Health And Performance
Monitor SSD health and performance to ensure optimal functionality. Use SSD management tools.
Frequently Asked Questions Of How To Upgrade Ssd On Laptop
What Are The Benefits Of Upgrading To An Ssd On A Laptop?
Upgrading to an SSD on your laptop can significantly improve its performance and speed. With faster boot times, quicker file transfers, and smoother multitasking, you’ll experience a noticeable difference in your everyday computing tasks. Additionally, SSDs are more durable and reliable than traditional hard drives, reducing the risk of data loss.
How Do I Know If My Laptop Supports Ssd Upgrades?
To determine if your laptop supports SSD upgrades, you can check the manufacturer’s website or consult the laptop’s user manual. Look for specifications or compatibility information that mentions support for SSDs. Additionally, you can open your laptop’s casing and check if there is an available slot for an SSD or if there is an existing hard drive that can be replaced.
What Is The Recommended Ssd Size For Laptop Upgrades?
The recommended SSD size for laptop upgrades depends on your specific needs and budget. Generally, a 256GB or 512GB SSD is sufficient for most users, providing enough space for the operating system, applications, and important files. However, if you work with large media files or require extensive storage, you may opt for higher capacities such as 1TB or more.
Can I Transfer My Files And Data From The Old Hard Drive To The New Ssd?
Yes, you can transfer your files and data from the old hard drive to the new SSD. There are several methods you can use, such as cloning the entire hard drive or manually transferring specific files using backup and restore tools.
Make sure to back up your data before proceeding and follow the specific instructions based on your operating system and software preferences.
Conclusion
Upgrading your laptop’s SSD can significantly improve its performance and storage capacity. By following the step-by-step guide provided in this post, you can easily upgrade your SSD without much hassle. Keep in mind to backup your data and choose the right SSD for your laptop to ensure a smooth and successful upgrade process.
0 comments