
To use the camera on Mac, open the “Camera” app from the Applications folder. Click the “Capture” button to take photos or record videos.
Capturing moments with your Mac’s camera is easy and straightforward, offering a convenient way to snap photos or video chat with friends and family. Mac computers come equipped with a built-in camera that can be accessed through the Camera app.
In this guide, we will walk you through the simple steps to use the camera on your Mac effectively. Whether you want to take selfies, record videos, or engage in video conferences, the camera feature on your Mac offers a variety of functionalities. By following these steps, you’ll be able to make the most out of your Mac’s camera capabilities. Let’s dive in and explore how to use the camera on your Mac device effortlessly.
Getting Started
Using the camera on your Mac can be a wonderful way to capture precious moments and take high-quality photos for various purposes. Whether you’re a budding photographer or simply want to video chat with loved ones, understanding how to utilize your Mac’s camera is essential. In this article, we will walk you through the process of getting started with the camera on your Mac, covering camera types and checking compatibility.
Camera Types
Before diving into the world of Mac cameras, it’s important to note that there are different camera types available. Macs typically come with built-in cameras known as FaceTime HD cameras. These cameras offer a great user experience as they are designed specifically for Mac devices. However, if you’re looking to take your photography or videography skills to the next level, you may consider external cameras that offer higher resolutions and additional features.
If you opt to use an external camera, make sure it is compatible with your Mac device. Some popular external camera options for Mac include DSLR cameras, webcams, and even mobile cameras when connected via USB. Checking the compatibility of these cameras is crucial to ensure smooth functionality and optimal results.
Checking Compatibility
Before purchasing or connecting an external camera to your Mac, it’s important to check its compatibility. To do so:
- Research: Start by researching the camera model you wish to use and visit the manufacturer’s website for detailed specifications and compatibility information.
- System Requirements: Take note of the camera’s system requirements and compare them to your Mac’s specifications to ensure compatibility. Look for factors such as operating system version, processor type, and available ports.
- Check Mac Compatibility: Visit the official Apple website or use the “About This Mac” feature on your computer to find out if the camera you are interested in is compatible with your specific Mac model.
By following these steps, you can ensure that the camera you choose will work seamlessly with your Mac, allowing you to make the most out of your photography or video projects.
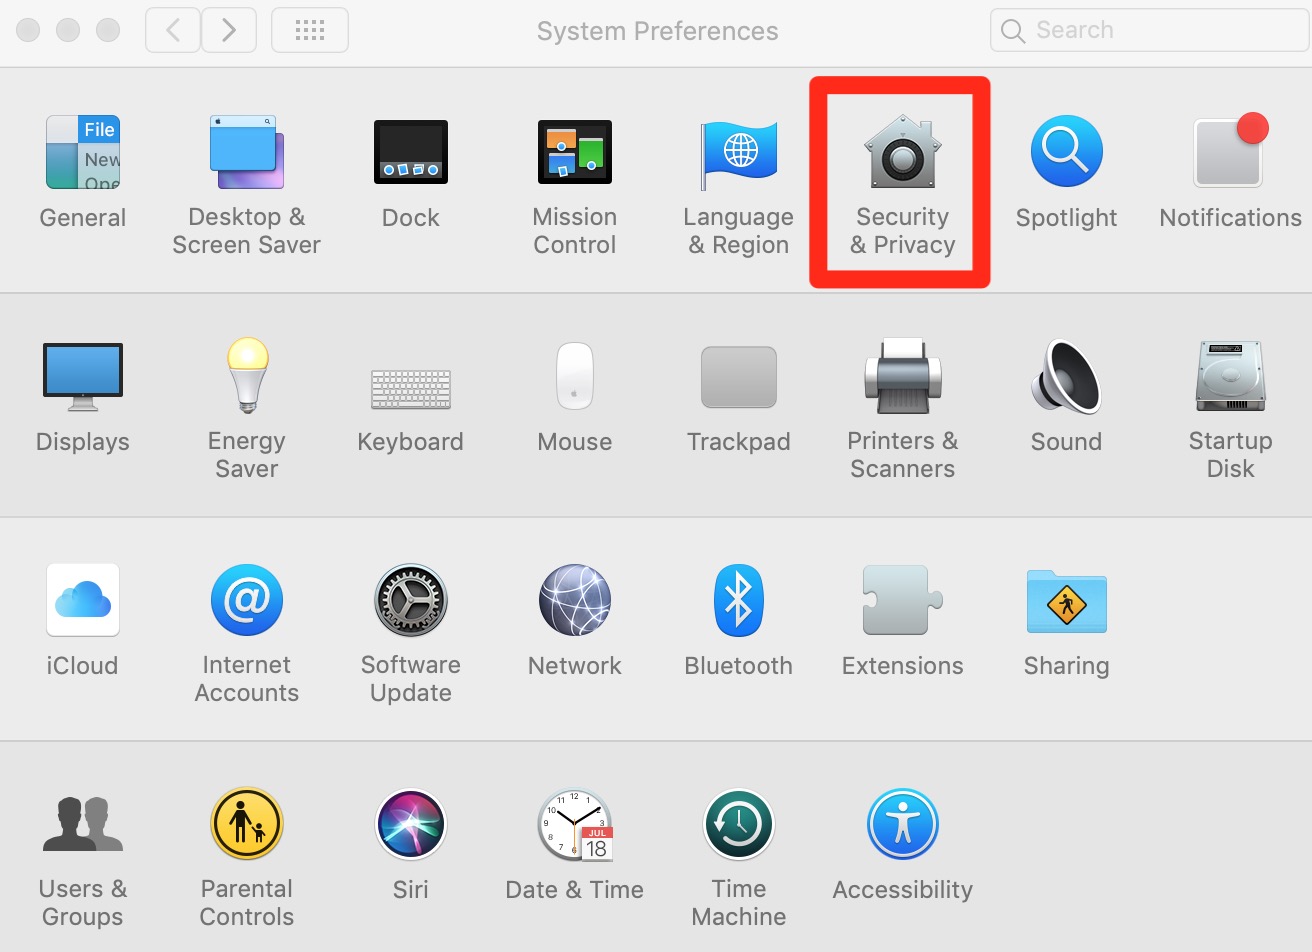
Credit: support.apple.com
Setting Up The Camera
Before you start using the camera on your Mac, follow these simple steps to set it up correctly. Whether you’re using the built-in FaceTime camera or an external webcam, getting your camera in working order is the first step to capturing quality photos and videos.
Connecting The Camera
1. For built-in cameras, simply open the Camera app from your Applications folder. If you’re using an external webcam, connect it to your Mac’s USB port and wait for the system to recognize the new device.
2. Once connected, launch the Camera app to access and control your camera settings. If you encounter any issues with the connection, double-check the USB cable and port for any damage.
Adjusting Camera Settings
1. To adjust camera settings, open the Camera app and locate the settings menu. Here, you can change resolution, frame rate, exposure, and other parameters to optimize your camera’s performance.
2. Experiment with different settings to find the ideal setup for your needs, whether it’s capturing crisp photos, recording clear videos, or engaging in video calls with high-quality visuals. Remember to test the settings in various lighting conditions for optimal results.
Capturing Photos
To begin capturing photos on your Mac, launch the Camera app by navigating to the Applications folder and selecting it.
Once the Camera app is open, make sure to frame the shot by adjusting the positioning and angle of your Mac’s camera.
To ensure a clear and well-exposed photo, you can adjust the exposure and focus settings within the Camera app.
Recording Videos
Recording videos on your Mac is simple and convenient, allowing you to capture special moments or create engaging content. Follow these steps to learn how to make the most of your Mac’s camera for video recording.
Switching To Video Mode
To start recording a video on your Mac, first switch to video mode within the camera app. Look for the video camera icon or click on the “Video” option to switch modes.
Setting The Video Quality
Before you begin recording, ensure you have selected the desired video quality for your recording. Go to settings and adjust the video quality settings according to your preference.
Recording And Stopping
Once you are in video mode and have set the video quality, you can now start recording by clicking the red record button. To stop recording, simply click the stop button to save your video.
Using Effects And Filters
Adding effects and filters to your photos on Mac can enhance the overall look and feel of your images. Whether you want to give your photos a vintage vibe or add some fun effects, the built-in camera app on Mac offers a variety of options to customize your pictures. In this guide, we will explore how to apply filters and add effects to your photos using the camera on Mac.
Applying Filters
Mac’s built-in camera app allows you to apply pre-set filters to your photos. This feature enables you to instantly change the appearance of your images with just a few clicks. Here’s how to apply filters:
- Open the Camera app on your Mac.
- Select the photo you want to edit or click a new one.
- Click on the “Filters” icon located at the bottom right corner of the screen.
- Choose from a range of filters including vivid, dramatic, black & white, and more.
- Click on the filter you want to apply, and it will be instantly added to your photo.
Adding Effects
In addition to filters, Mac’s camera app also enables you to add various effects to your photos. Whether you want to add a splash of color or create a dreamy atmosphere, adding effects can bring a unique touch to your images. Here’s how to add effects:
- Open the Camera app on your Mac.
- Choose the photo you want to edit or capture a new one.
- Click on the “Effects” icon, which is located next to the “Filters” icon.
- Explore the range of effects available, such as sepia, fade, mono, and more.
- Select the effect you want to apply and see your photo transform in real-time.
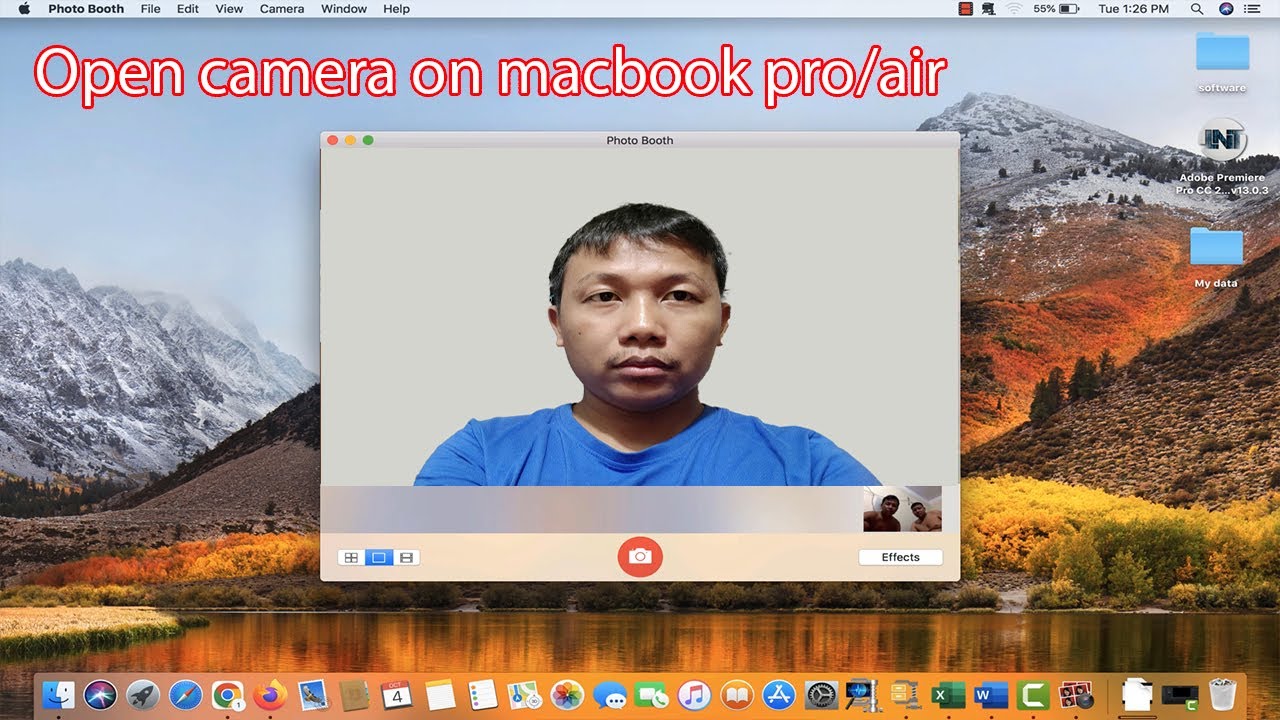
Credit: www.youtube.com
Managing Camera Files
Learn how to easily manage camera files on your Mac for a seamless photography experience. Organize, edit, and share your photos with simple and effective techniques. Access your camera files with ease and make the most of your photography endeavors on your Mac.
Importing Photos And Videos
Importing your photos and videos from your camera to your Mac is a seamless process. All you need is a USB cable to connect your camera to your Mac, and you’ll be ready to transfer your files in no time.
To import your photos and videos, follow these simple steps:
- Turn on your camera and connect it to your Mac using the provided USB cable.
- Open the Photos app on your Mac. If it doesn’t open automatically, you can find it in the Applications folder.
- In the Photos app, click on the “Import” tab at the top of the screen.
- You will see a list of all the photos and videos on your camera. Select the ones you want to import by clicking on them. If you want to import all the files, you can click on the “Import All New Photos” button.
- Choose the destination where you want to save your imported files. You can create a new album or import them into an existing album.
- Click on the “Import” button to begin the import process. You will see a progress bar showing the status of the import.
- Once the import is complete, you can disconnect your camera from your Mac.
By following these steps, you can easily import your photos and videos from your camera to your Mac and have them ready to edit, share, or organize.
Organizing Files
Having a well-organized photo and video library can make it easier to find and manage your files. The Photos app on your Mac provides various features to help you organize your camera files effectively.
Here are some tips to help you organize your camera files:
- Create albums: Use albums to group related photos and videos together. You can create albums for specific events, trips, or subjects. To create an album, go to the Albums tab in the Photos app and click on the “+” button.
- Add tags and keywords: Adding tags and keywords to your photos and videos can make them easier to search for later. You can add tags by selecting a photo or video and clicking on the “Add” button in the Info tab.
- Use smart albums: Smart albums are dynamic albums that automatically update based on certain criteria. You can create smart albums to organize your files based on date, location, or other attributes.
- Edit file names: Changing the names of your files can help you quickly identify them. To edit a file name, select the file and press the “Enter” key.
- Sort and filter: The Photos app allows you to sort and filter your files based on various criteria such as date, name, or file type. You can access these options in the View menu.
By utilizing these organizing features, you can keep your camera files in order and easily locate specific photos and videos when you need them.
Troubleshooting
Learn how to troubleshoot issues when using the camera on Mac, ensuring smooth functionality for capturing photos and videos. Adjust settings and permissions, update software, and check for hardware problems to optimize camera performance. Following these steps can resolve common camera-related issues on your Mac.
Camera Not Recognized
If your camera is not being recognized on your Mac, there are a few troubleshooting steps you can try to fix the issue. First, make sure that the camera is properly connected to your computer. Check the cable connections and ensure that they are securely plugged in. If your camera is an external device, try disconnecting and reconnecting it to see if that solves the problem. Restarting your Mac can also help to refresh the system and fix any software glitches that might be causing the issue. If none of these steps work, it is possible that there may be a hardware problem with your camera. In this case, you may need to contact the manufacturer for further assistance.Poor Image Quality
If you’re experiencing poor image quality when using the camera on your Mac, there are a few things you can do to improve it. First, check the lighting conditions in your area. Insufficient lighting can result in blurry or grainy images. If possible, try to provide more light by adjusting the settings in your room or using additional lighting sources. Another common cause of poor image quality is a dirty camera lens. Use a microfiber cloth to gently clean the lens and remove any smudges or fingerprints that may be affecting the clarity of your photos or videos. Additionally, make sure that you have the latest software updates installed on your Mac. These updates often include bug fixes and improvements that can help to enhance the performance of your camera. If you’ve tried all of these troubleshooting steps and are still experiencing poor image quality, it may be worth considering upgrading to a higher-resolution camera or consulting a professional for further assistance. In summary, troubleshooting issues with your camera on Mac can be done by checking the connection, restarting the device, cleaning the lens, improving lighting conditions, and ensuring up-to-date software. If the problems persist, however, reaching out to the manufacturer or seeking professional help may be necessary. Remember to always follow the troubleshooting steps in order to identify and resolve any camera-related problems you might encounter while using your Mac.
Credit: support.apple.com
Conclusion
Mastering the camera on your Mac is essential for capturing unforgettable moments. With these simple tips, you can take better photos, record crystal-clear videos, and make the most of your Mac’s camera features. Whether it’s for professional use or personal enjoyment, understanding your Mac’s camera capabilities can enhance your digital experience.
Keep practicing and exploring new features to unlock your creativity. Cheers to capturing more vivid memories!
0 comments