
To wipe an SSD on Windows 10, go to Disk Management, right-click on the SSD, select Format, and choose the file system. Deleting sensitive information from your SSD securely is crucial in maintaining your data privacy.
In this guide, we will walk you through the steps on how to wipe an SSD on Windows 10 effectively. By following these simple instructions, you can ensure that your SSD is clean and ready for future use. Whether you are preparing to sell your SSD or want to erase all data permanently, understanding the process of wiping an SSD is essential.
Keep reading to learn how to safely erase your SSD on Windows 10 without any hassle.
Credit: www.backblaze.com
Why Wiping An Ssd Windows 10 Is Important
Wiping an SSD in Windows 10 is crucial to maintain data security and optimize the performance of your device. Whether you are selling your computer, getting rid of it, or experiencing sluggish performance, properly wiping your SSD is essential to safeguard your personal information and ensure the longevity of your drive.
Preventing Data Leakage
When you wipe your SSD in Windows 10, you eliminate the traces of sensitive information, preventing potential data breaches from occurring. This process ensures that any personal or confidential data stored on the SSD is completely erased, minimizing the risk of unauthorized access to your personal information.
Improving Performance And Longevity
By wiping your SSD, you can improve its performance and longevity. This process removes unnecessary clutter and enhances the overall speed and efficiency of the drive. Additionally, wiping the SSD regularly can eliminate corrupted files and temporary data, contributing to a longer lifespan for the drive.
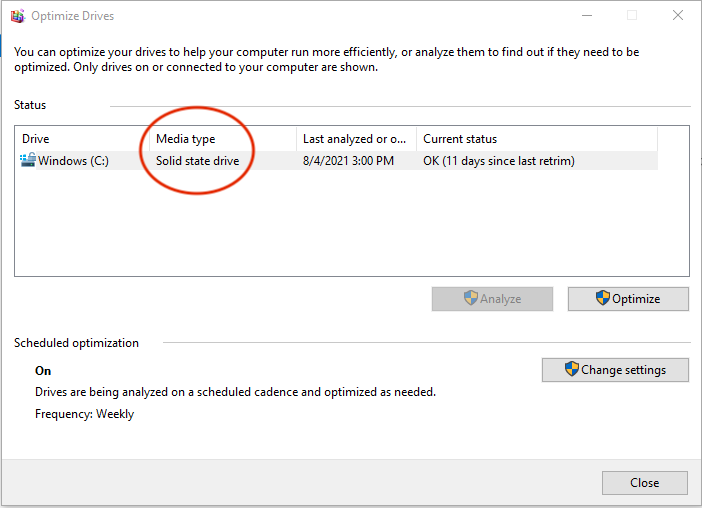
Understanding Ssds And Their Unique Challenges
SSDs pose unique challenges when wiping them on Windows 10 due to their architecture. The process requires specialized methods to ensure complete data erasure and maintain SSD longevity. It’s crucial to follow proper guidelines to securely wipe an SSD and protect sensitive information.
How Ssds Work
SSDs store data in microchips using flash memory technology.
Data is accessed and written to cells without moving parts, leading to faster performance.
Challenges Of Wiping Ssds
- SSDs have limited write cycles, making secure data wiping more complex.
- TRIM command can impact data wiping on SSDs.
Precautions To Take Before Wiping An Ssd
Before wiping an SSD on Windows 10, it’s crucial to follow some important precautions to ensure a smooth and safe process.
Backup Important Data
Backing up your important data is essential before proceeding with wiping an SSD. This step helps prevent data loss and ensures you can recover any crucial files post-wiping.
Disable Disk Encryption
Ensure to disable disk encryption before wiping the SSD to avoid any issues during the process. Disabling encryption helps speed up the wiping process and avoids data corruption.
Methods For Wiping An Ssd On Windows 10
When it comes to wiping an SSD on Windows 10, there are several methods you can use to ensure that your data is securely erased and the SSD is ready for re-use. The proper disposal of an SSD is crucial to protect your personal information and maintain security. In this article, we’ll explore two primary methods for wiping an SSD on Windows 10: using built-in Windows tools and employing third-party software.
Using Built-in Windows Tools
Windows 10 provides built-in tools that can be used to wipe an SSD securely. One such tool is the “Disk Cleanup” utility, which allows you to delete unnecessary files and free up space on your SSD. Another option is the “Format” feature, which enables you to erase all data on the SSD. However, it’s important to note that a simple format may not fully erase the data and could potentially be recovered.
Using Third-party Software
Using third-party software is another effective method for wiping an SSD on Windows 10. There are various third-party tools available that offer advanced options for securely erasing data from an SSD. These tools often use secure erase methods such as the ATA Secure Erase command to ensure that the data is permanently deleted and unrecoverable.
Step-by-step Guide: Wiping An Ssd Using Windows Tools
When it comes to wiping an SSD on Windows 10, using the correct tools and following the right steps is crucial to ensure that data is completely erased and cannot be recovered. In this step-by-step guide, we will walk you through the process of wiping an SSD using Windows tools. Let’s get started!
Formatting The Ssd
The first step in wiping an SSD using Windows tools is to format the drive. Formatting will erase all the data on the drive, making it unrecoverable. Follow these steps to format your SSD:
- Press Windows Key + X on your keyboard to open the Power User menu.
- Select “Disk Management” from the list of options. This will open the Disk Management tool.
- In the Disk Management window, locate your SSD in the list of drives. It will be labeled as “Disk X” with the size of the drive.
- Right-click on the SSD and select “Format” from the context menu.
- Choose the file system you want to use for your SSD from the drop-down menu. NTFS is the recommended file system for SSDs.
- Check the box next to Perform a quick format if you want to speed up the process. Keep in mind that a quick format does not securely erase the data on the drive.
- Click “OK” to start the formatting process. A warning message will appear, informing you that all data on the drive will be erased. Confirm the action.
- Wait for the formatting process to complete. This may take some time depending on the size of your SSD.
- Once the formatting process is finished, your SSD is now wiped and ready for use.
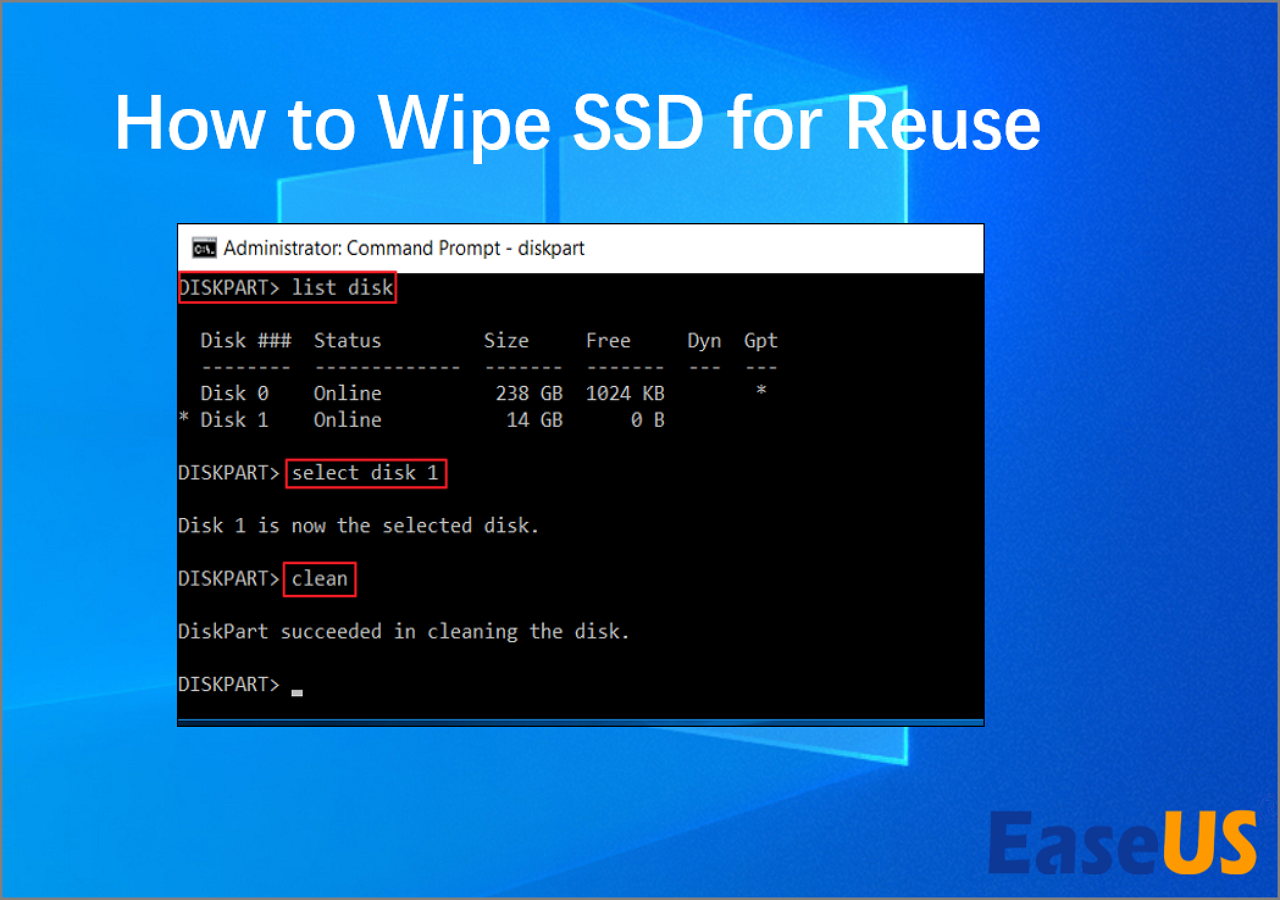
Using Diskpart Command
If you prefer a more advanced method of wiping your SSD, you can use the Diskpart command-line utility. Follow the steps below to wipe your SSD using Diskpart:
- Open the Command Prompt by pressing Windows Key + X and selecting “Command Prompt” from the list.
- Type
diskpartand press Enter to open the Diskpart utility. - Type
list diskand press Enter to view a list of connected drives. Make note of the number of your SSD. - Type
select disk X, whereXis the number of your SSD, and press Enter. - Once your SSD is selected, type
clean alland press Enter. This command will completely wipe the SSD, including all partitions and data. - Wait for the cleaning process to finish. This may take a while depending on the size of your SSD.
- After the cleaning process is complete, type
exitand press Enter to exit the Diskpart utility. - Your SSD is now completely wiped and ready to be used or repartitioned.
By following these step-by-step instructions, you can securely wipe your SSD using the built-in tools provided by Windows 10. Remember to double-check the drive you are formatting or cleaning to avoid accidentally wiping the wrong disk. Keeping your data safe and unrecoverable is essential, especially when disposing of or repurposing your SSD.
Step-by-step Guide: Wiping An Ssd Using Third-party Software
When it comes to securely wiping an SSD on Windows 10, using reliable third-party software is the way to go. In this step-by-step guide, we will walk you through the process of wiping your SSD using a trusted software, ensuring your data is completely erased and cannot be recovered.
Selecting A Reliable Software
To begin, it’s crucial to select a reliable third-party software that specializes in wiping SSD drives. This software should be renowned for its effectiveness, security, and user-friendly interface. Here are some tips to help you choose the right software:
- Research and read reviews to identify reputable SSD wiping software.
- Ensure the software supports wiping SSD drives specifically.
- Check for additional features like data verification and multiple wipe methods for added security.
- Verify that the software is compatible with your Windows 10 operating system.
Performing The Ssd Wipe
Once you have selected a reliable third-party software, follow these simple steps to perform the SSD wipe:
- Download and install the selected software from the official website.
- Launch the software and select the option to wipe an SSD drive.
- Choose the SSD drive you want to wipe from the list of available drives.
- Review and select the desired wipe method – the more passes, the more secure the wipe.
- Enable the data verification feature if available, to ensure the wipe is successful.
- Double-check that you have selected the correct SSD drive and wipe method.
- Click on the “Start” or “Wipe” button to initiate the process.
- Wait for the software to complete the wipe process – this may take some time depending on the size of the SSD drive and the selected wipe method.
- Once the wipe is complete, the software will notify you and provide a verification report.
Following these steps will ensure that your SSD drive is thoroughly wiped and ready for reuse or disposal. Remember to safely store your important data in a separate location before proceeding with the wipe, as it cannot be recovered once the process is complete.
Additional Considerations For Securely Wiping An Ssd
When it comes to securely wiping an SSD on Windows 10, there are additional considerations that need to be taken into account. These considerations go beyond the standard wiping process and are crucial for ensuring that the data on the SSD is securely erased, thus preventing any potential security breaches or data recovery. Before proceeding with the wiping process, it is essential to understand the additional measures that can be taken to enhance the security of the SSD wiping process.
Applying Multiple Wipe Passes
When wiping an SSD, it’s advisable to consider applying multiple wipe passes. This process involves carrying out several rounds of data overwriting to ensure that the data remnants are effectively erased. One pass may not be sufficient to fully eradicate the data, so multiple passes add an extra layer of security. By overwriting the data multiple times, the chances of any residual data being recoverable are significantly reduced.
Physical Destruction Of The Ssd
In some cases, especially when the data on the SSD is highly sensitive or confidential, physical destruction of the SSD may be the most secure method. This involves physically destroying the SSD to ensure that the data is rendered irrecoverable. While this method may not be suitable for all situations, it is the most effective way to ensure complete and irreversible destruction of the data stored on the SSD. Physical destruction can be achieved through methods such as shredding or disassembling the SSD.
Credit: www.easeus.com
Ensuring A Properly Wiped Ssd: Checking Data Erasure
Ensuring a Properly Wiped SSD: Checking Data Erasure
Verifying Ssd Wipe Results
After wiping an SSD in Windows 10, it is crucial to confirm the data erasure for security.
Testing For Residual Data
Verifying residual data on the SSD ensures a thorough wipe, leaving no trace of sensitive information.
Credit: www.jetico.com
Frequently Asked Questions For How To Wipe An Ssd Windows 10
How Do I Wipe An Ssd In Windows 10?
To wipe an SSD in Windows 10, go to the “Settings” option, select “Update & Security,” then click on “Recovery. ” Choose “Reset this PC” and follow the on-screen instructions. Make sure to select the option to remove all files and clean the drive to securely wipe your SSD.
Can I Use Disk Cleanup To Wipe My Ssd In Windows 10?
No, Disk Cleanup does not wipe an SSD in Windows 10. Disk Cleanup only removes temporary files and other unnecessary files from your computer. To securely wipe your SSD, you need to use the reset and recovery options in the Windows 10 settings.
What Is The Difference Between Quick Format And Full Format For An Ssd?
Quick format and full format are two options to format an SSD. A quick format only erases the file system metadata, while a full format also checks for bad sectors and scans the entire drive for errors. For secure data wiping, it’s recommended to perform a full format on your SSD.
Conclusion
Wiping an SSD on Windows 10 is a crucial task to maintain its performance. By following the steps outlined in this guide, you can effectively erase sensitive data and optimize your SSD for better functionality. Remember to back up important files and proceed with caution to avoid any potential data loss.
Keeping your SSD clean and well-maintained ensures a smooth and efficient computing experience.
0 comments