
After installing a new GPU, make sure to update your graphics drivers for optimal performance. Upgrading your graphics card can greatly enhance your gaming and computing experience.
To ensure that your new GPU is running smoothly and efficiently, there are a few key steps you should take post-installation. By updating your graphics drivers, you can take advantage of the latest features and improvements offered by the manufacturer.
Additionally, adjusting your graphics settings to match the capabilities of your new GPU can help maximize performance. It is also recommended to monitor the temperatures and check for any compatibility issues to avoid potential problems in the future. By following these steps, you can fully enjoy the benefits of your newly installed GPU.
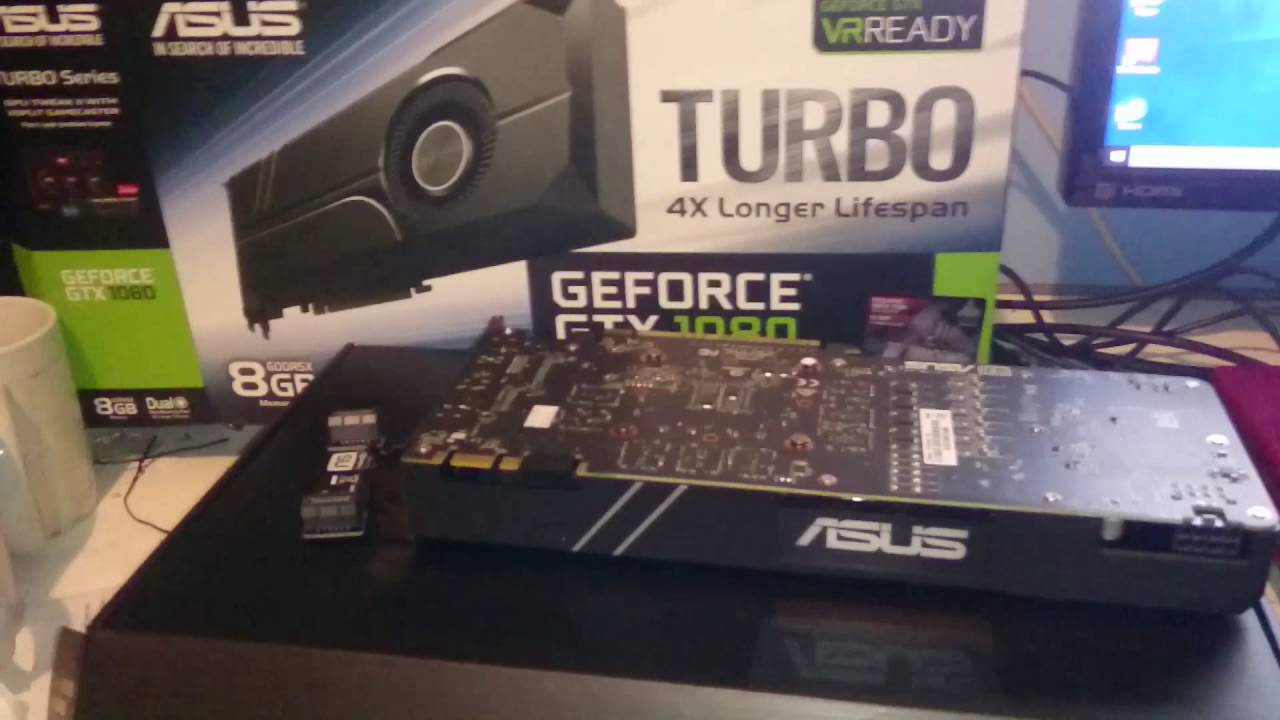
Check Compatibility
After installing a new GPU, it is crucial to check compatibility to ensure that it will work seamlessly with your system and power supply. In this guide, we will walk you through the essential steps to verify the compatibility of your new GPU.
With Your System
Before anything else, it’s important to make sure that your new GPU is compatible with your system. Here are a few important factors to consider:
- Interface: Check if the GPU uses the same interface as your motherboard, such as PCIe or AGP.
- Form Factor: Ensure that the physical size of the GPU fits inside your computer case.
- Driver Support: Research and confirm that the GPU has driver support for your operating system.
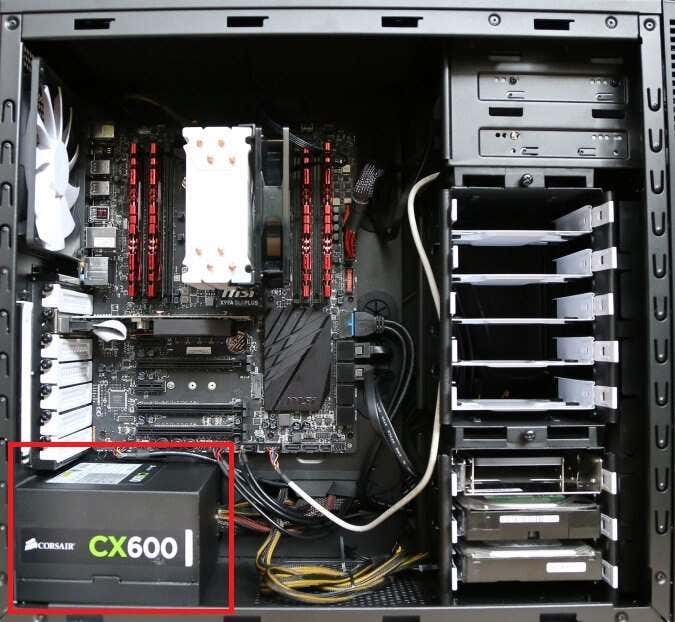
With Your Power Supply
Next, it’s crucial to assess the compatibility of your new GPU with your power supply to avoid any issues related to power consumption. Here’s what you need to consider:
- Power Connectors: Check if the GPU requires any specific power connectors and ensure that your power supply has the necessary connectors.
- Power Requirements: Verify that your power supply can accommodate the power demands of the new GPU to avoid any power-related issues.
Update Drivers
After installing a new GPU, it’s crucial to Update Drivers for optimal performance and compatibility.
Download Latest Drivers
Visit the GPU manufacturer’s website and download the latest drivers for your specific model.
Uninstall Old Drivers
Before installing new drivers, Uninstall Old Drivers to prevent conflicts and ensure a clean installation.
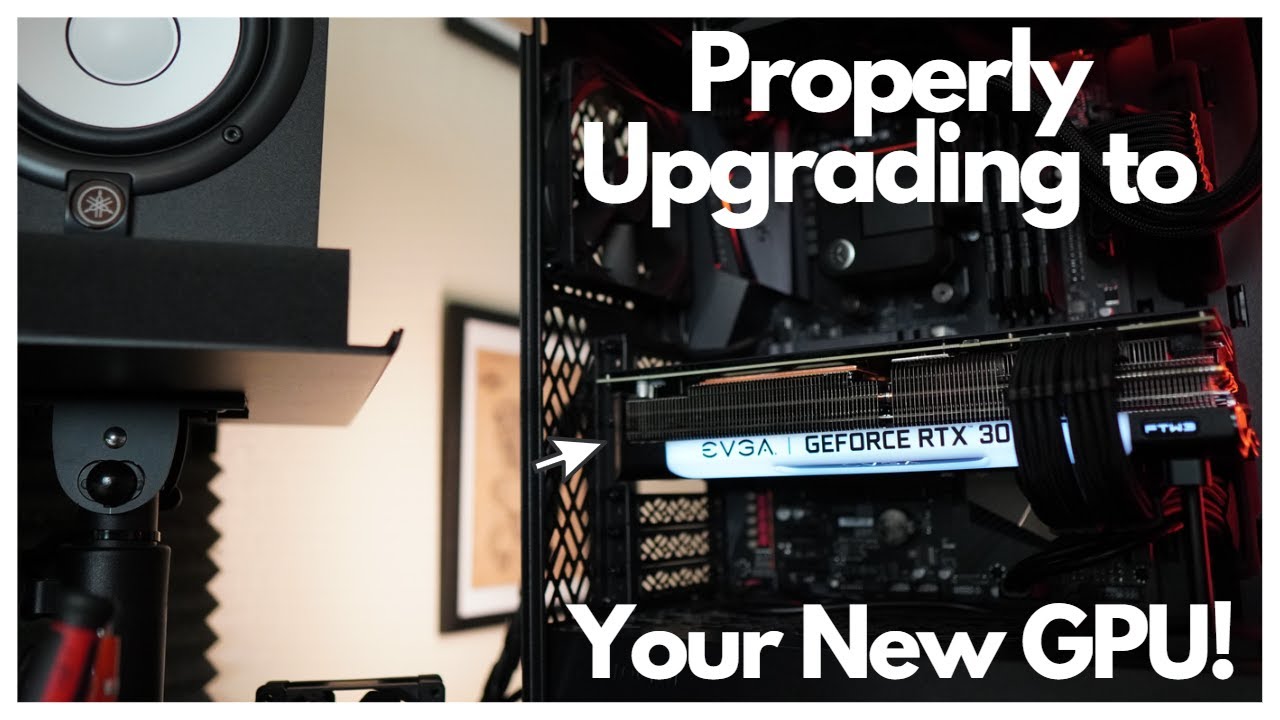
Install Gpu
After installing a new GPU, the next step is to insert it into your computer system.
Power Down And Unplug Your Computer
- Shut down your computer and unplug all cables to ensure safety.
Open The Computer Case
- Remove the side panel of your computer case carefully.
Remove The Old Gpu
- Locate and unscrew the old GPU from the motherboard.
Insert The New Gpu
- Align the new GPU with the PCIe slot on the motherboard.
Secure The Gpu
- Once inserted, secure the GPU in place by screwing it back onto the case.
Credit: m.youtube.com
Connect Power Cables
After installing a new GPU, the next step is to connect the power cables. This is a crucial step to ensure that your graphics card receives the necessary power to function at its optimal performance. Failing to connect the power cables correctly can result in system instability and reduced GPU performance.
Find The Appropriate Power Connectors
Before connecting the power cables, it’s essential to identify the appropriate power connectors for your GPU. Most modern GPUs require one or more PCIe power connectors to deliver the required power. These connectors usually come in the form of 6-pin, 8-pin, or a combination of both. Refer to your GPU’s documentation or the manufacturer’s website to determine the specific power requirements and connectors needed.
Connect The Power Cables
Once you’ve identified the required power connectors, carefully insert them into the corresponding ports on the GPU. Ensure that the connectors are securely attached and fully inserted to prevent any power supply issues. When connecting multiple power cables, try to distribute the load evenly across the connectors to maintain a balanced power supply to the GPU.
Adjust Bios Settings
Adjusting BIOS settings is a crucial step after installing a new GPU in your computer. The BIOS (Basic Input/Output System) is responsible for controlling the hardware settings and parameters of your computer. By accessing and configuring the BIOS settings, you can ensure that your new GPU is properly recognized and optimized for performance. In this section, we will guide you through the steps to access the BIOS, enable the new GPU, and save your changes. Let’s get started!
Access Bios
To access the BIOS, you need to restart your computer. Once the computer starts booting up, keep an eye on the screen for a message such as “Press [KEY] to enter Setup.” The specific key to access the BIOS may vary depending on your computer’s manufacturer, but it is often the F2, Del, or Esc key. Press the designated key repeatedly until the BIOS setup utility appears.
Enable The New Gpu
After entering the BIOS setup utility, you will notice various menus and options. Navigate through the menus using the arrow keys on your keyboard. Look for a menu related to “Hardware” or “PCIe/PCI” settings. This is where you can enable or disable specific devices connected to your computer. Find the option to enable the new GPU and select it.
Save And Exit Bios
Once you have enabled the new GPU, it is essential to save your changes and exit the BIOS setup utility. Look for a menu or option called “Save & Exit” or something similar. Select this option and confirm your choice. The BIOS will then save your modifications and restart your computer. After the restart, your computer should recognize the new GPU and utilize its performance capabilities.
Test The Gpu
So, you’ve just installed a new GPU in your computer, and you’re excited to see the improvements in performance and graphics it will bring. But before you start diving into your favorite games or resource-intensive tasks, there are a few essential steps you should take to ensure that your new GPU is running smoothly and to its full potential. Here are a few important things to do after installing a new GPU:
Run Benchmarking Software
Before you get too carried away with your newfound gaming capabilities, it’s a good idea to run some benchmarking software to test the performance of your new GPU. Benchmarking software will put your GPU through a series of tests and provide you with detailed information about its capabilities.
One popular benchmarking software is 3DMark, which is specifically designed for testing the graphics performance of your GPU. The software will run a series of visually intensive tests and provide you with a score that you can compare to other systems. This will give you an idea of how well your GPU performs compared to others on the market.
Another useful benchmarking tool is Novabench. It offers a comprehensive benchmarking suite that tests various aspects of your system, including the GPU. It provides you with a detailed report that includes information about your GPU’s performance and compares it to similar systems.
Monitor Temps And Performance
Once you have run some benchmarking software and are satisfied with the initial performance of your new GPU, it’s important to keep an eye on its temperatures and performance over time. Proper cooling and monitoring are key to ensuring that your GPU remains stable and performs optimally.
An easy way to monitor both temperatures and performance is to use software specifically designed for this purpose, such as MSI Afterburner. This software allows you to track real-time GPU temperature, fan speed, and usage, giving you an indication of how well your GPU is handling the workload. It also provides you with the ability to adjust fan speed and voltage settings to optimize cooling.
In addition to using monitoring software, it’s a good idea to regularly clean your computer, especially the fans and heatsinks, to ensure proper cooling. Over time, dust and dirt can accumulate and restrict airflow, leading to higher temperatures and reduced performance.
By following these steps and regularly monitoring your GPU’s performance and temperatures, you can ensure that your new GPU is running at its full potential and enjoy a smooth gaming experience or productive workflow.
Configure Display Settings
After installing your new GPU, it’s crucial to configure the display settings to ensure optimal performance and visual experience. This involves setting the correct resolution, adjusting the refresh rate, and enabling G-Sync/FreeSync if applicable.
Set Correct Resolution
Go to your computer’s display settings and select the appropriate resolution for your monitor. A higher resolution results in sharper images, but it may impact performance, while a lower resolution may cause a blurry display.
Adjust Refresh Rate
Access the display settings and adjust the refresh rate to match the capabilities of your monitor. A higher refresh rate provides smoother motion and reduces screen tearing, but it may demand more from your system.
Enable G-sync/freesync
If your monitor supports G-Sync (Nvidia) or FreeSync (AMD), ensure that these technologies are enabled in the graphics driver settings. G-Sync/FreeSync synchronizes the monitor’s refresh rate with the GPU’s frame rate, minimizing stuttering and tearing.

Credit: www.reddit.com
Overclock (optional)
After installing your new GPU, you might consider overclocking to boost performance.
Research Recommended Overclock Settings
Look up recommended settings for your specific GPU model to avoid damaging your hardware.
Use Overclocking Software
Utilize dedicated software tools for safe and efficient overclocking processes.
Enjoy Your Upgraded Graphics
After installing your new GPU, it’s time to revel in the enhanced visual experience it brings to your computing activities. Let’s explore the next steps to make the most of your upgraded graphics.
Lunch Games And Applications
Immerse yourself in your favorite games and applications with improved graphics quality and smoother performance.
Experience Improved Performance
Notice the difference in speed and visuals as your new GPU boosts the performance of your system.
Credit: helpdeskgeek.com
Frequently Asked Questions On What To Do After Installing New Gpu
How Do I Install A New Gpu?
To install a new GPU, first, make sure your computer is turned off and unplugged. Open the computer case and locate the PCI-E slot. Carefully insert the GPU into the slot, ensuring it is properly aligned. Secure the GPU with screws if necessary.
Finally, connect the necessary power cables to the GPU and close the computer case.
Do I Need To Uninstall The Old Gpu Drivers Before Installing A New Gpu?
Yes, it is recommended to uninstall the old GPU drivers before installing a new one. This ensures that there are no conflicts or compatibility issues between the old and new drivers. You can uninstall the drivers through the Device Manager or by using third-party software such as Display Driver Uninstaller.
How Do I Update My Gpu Drivers After Installing A New Gpu?
After installing a new GPU, it is important to update the drivers for optimal performance. You can update your GPU drivers by visiting the manufacturer’s website and downloading the latest drivers for your specific GPU model. Install the drivers by following the on-screen instructions, and then restart your computer for the changes to take effect.
Conclusion
To sum up, properly configuring and testing your new GPU is essential to maximize performance and avoid potential issues. Remember to update the drivers, adjust the settings, and monitor the temperature to ensure smooth operation. By following these steps, you can fully enjoy the enhanced graphics and gaming experience your new GPU has to offer.
0 comments